Beginner's Guide
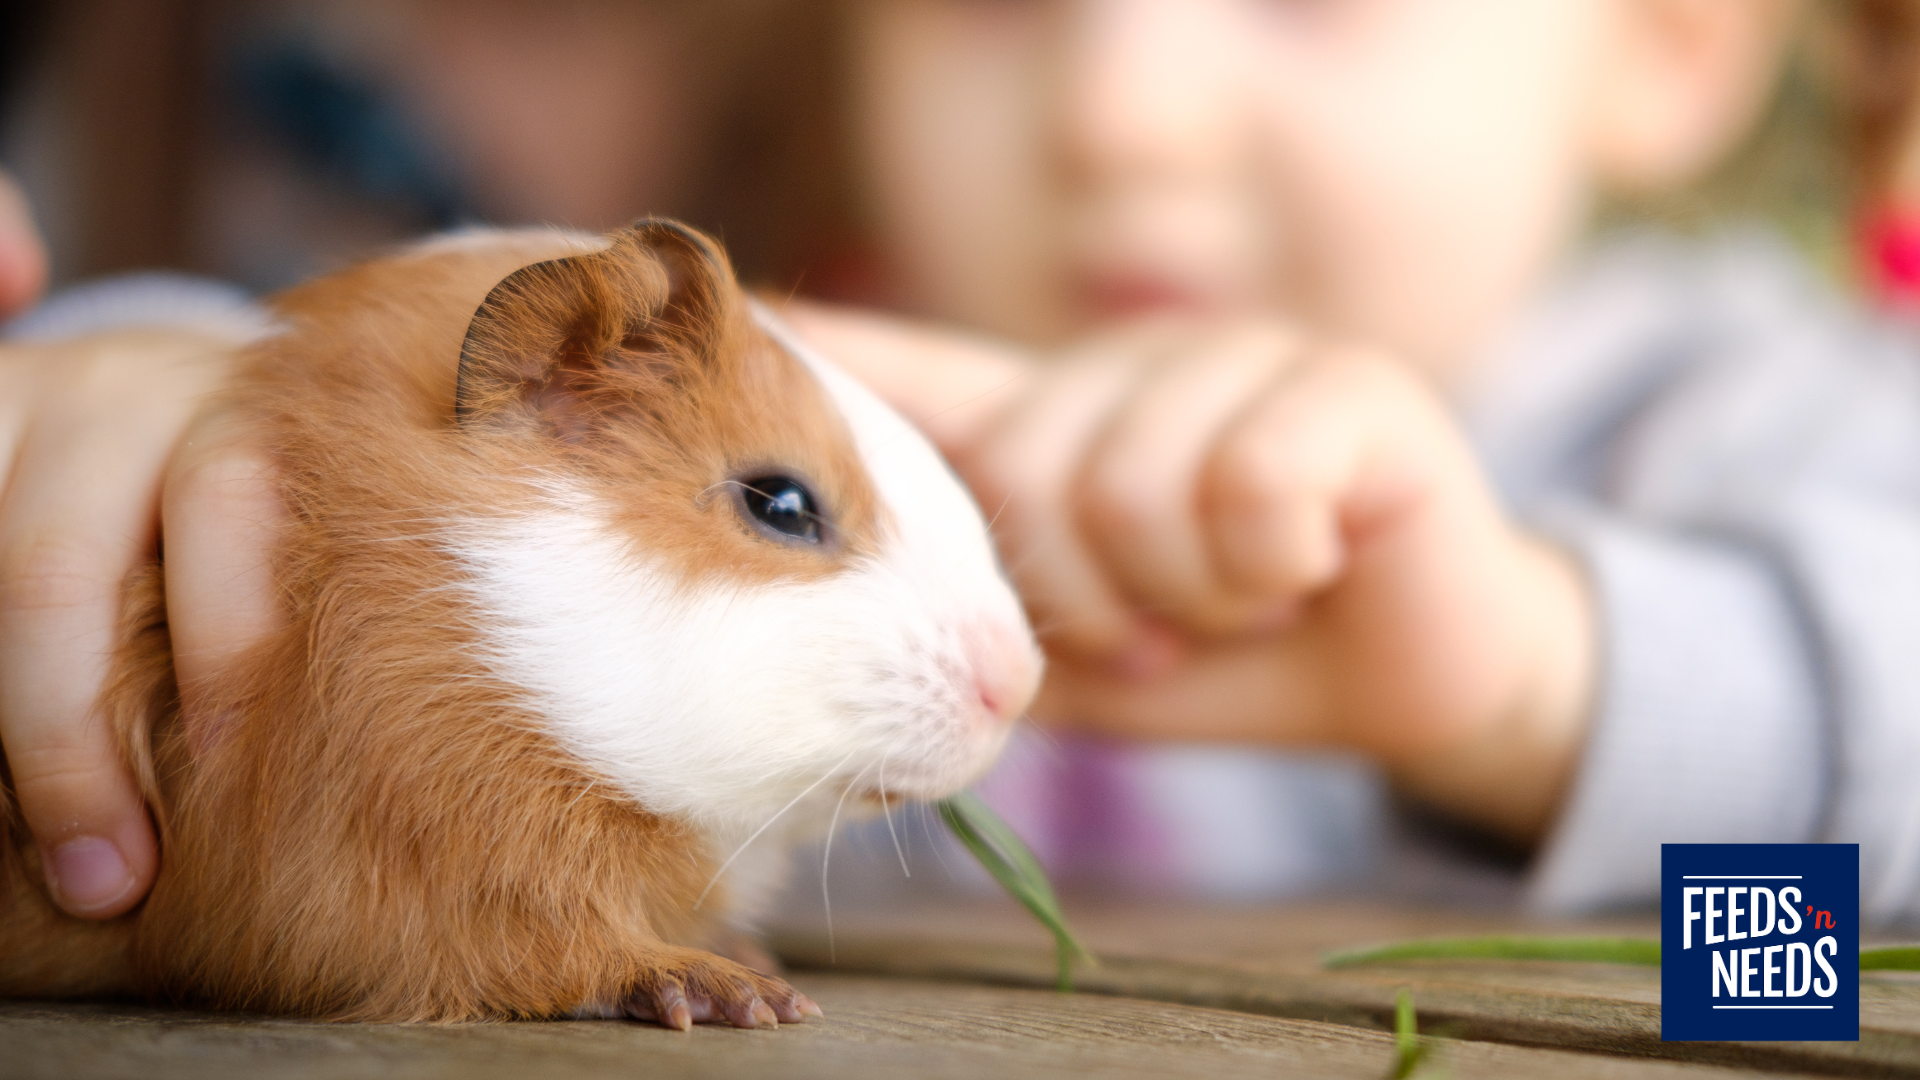
Nutrition and Hay Needs for Rabbits and Guinea Pigs
12 October 2026 +Timothy hay is a widely used grass hay with a balance of fibre, leaves and stems. Its texture encourages chewing and foraging, making it a ...

 Hay Storage & Hay Quality Guide for Fall: How to Inspect, Store & Protect Your Hay for Winter in Atlantic Canada
As summer winds down, many livestock and horse owners shift their focus toward one of the most important jobs of the season—preparing hay for fall and winter.
Whether you’re feeding a few backyard sheep, a small family horse barn, or a commercial cattle operation, the quality of the hay you store this fall will directly impact the health of your animals throughout the winter months.
Atlantic Canada’s unpredictable weather brings unique challenges. Late summer humidity, hurricane season, and early fall rain can quickly turn quality hay into wasted feed if it isn’t stored correctly.
Here’s how to evaluate your hay, improve storage conditions, and ensure your livestock have a safe, nutritious feed supply all winter long.
Hay isn’t just filler—it’s often the primary source of fiber and nutrition for livestock throughout the winter.
Poor-quality hay can result in:
Step 1: Evaluate Your Current Hay Supply
Before purchasing additional hay, take inventory of what you already have.
Ask yourself:
As a general guideline, horses and livestock consume approximately 2–3% of their body weight daily in forage, depending on species, age, workload, and production stage.
If your numbers look tight, now is the time to secure additional hay before supplies become limited.
Step 2: Check Every Bale
Not all hay is created equal.
When evaluating square or round bales, inspect for:
Avoid hay that smells: Musty, Sour, Damp, Mold; These are signs moisture has entered the bale.
Look for:
Step 3: Inspect Your Hay Storage Area
Your barn protects more than your equipment—it protects your winter feed investment.
Late summer is the perfect time to inspect your storage before fall weather arrives.
Walk through your hay storage and check for:
Atlantic Canada often experiences tropical storms and hurricanes well into the fall.
One unnoticed roof leak can ruin dozens of bales during a single heavy rain event.
Repair these issues before your barn is full for winter.
Step 4: Make Airflow a Priority
Even perfectly dry hay needs ventilation.
Without proper airflow, moisture becomes trapped, increasing the risk of:
For best results:
Step 5: Store Hay Off the Floor
Ground moisture slowly moves upward into stored hay. Even concrete floors can transfer moisture over time.
Use:
Step 6: Rotate Older Hay First
Practice “first in, first out.”
Use older hay before newly harvested bales. This helps maintain feed quality while reducing unnecessary waste.
Mark different hay lots or harvest dates if possible, to make rotation easier throughout winter.
Step 7: Plan Before Supplies Tighten
Many Atlantic Canadian producers begin purchasing winter hay in late summer and early fall.
Waiting until the first snowfall—or after a poor second cut—can mean:
A Few Minutes Today Can Save You All Winter
Hay is one of the biggest investments many farms make each year.
Spending an afternoon inspecting your hay, repairing storage areas, and calculating your winter feed requirements can prevent unnecessary waste and help keep your animals healthy throughout the colder months.
Whether you’re feeding two backyard goats or managing a barn full of horses, proper hay storage is one of the simplest ways to protect both your animals and your investment.
At Feeds’n Needs, we’re here to help you prepare for the season ahead with quality livestock feeds, horse nutrition, minerals, bedding, feeders, and the supplies you need for a successful fall and winter.
Visit your local Feeds’n Needs store and let our team help you get ready before winter arrives.

Timothy hay is a widely used grass hay with a balance of fibre, leaves and stems. Its texture encourages chewing and foraging, making it a ...
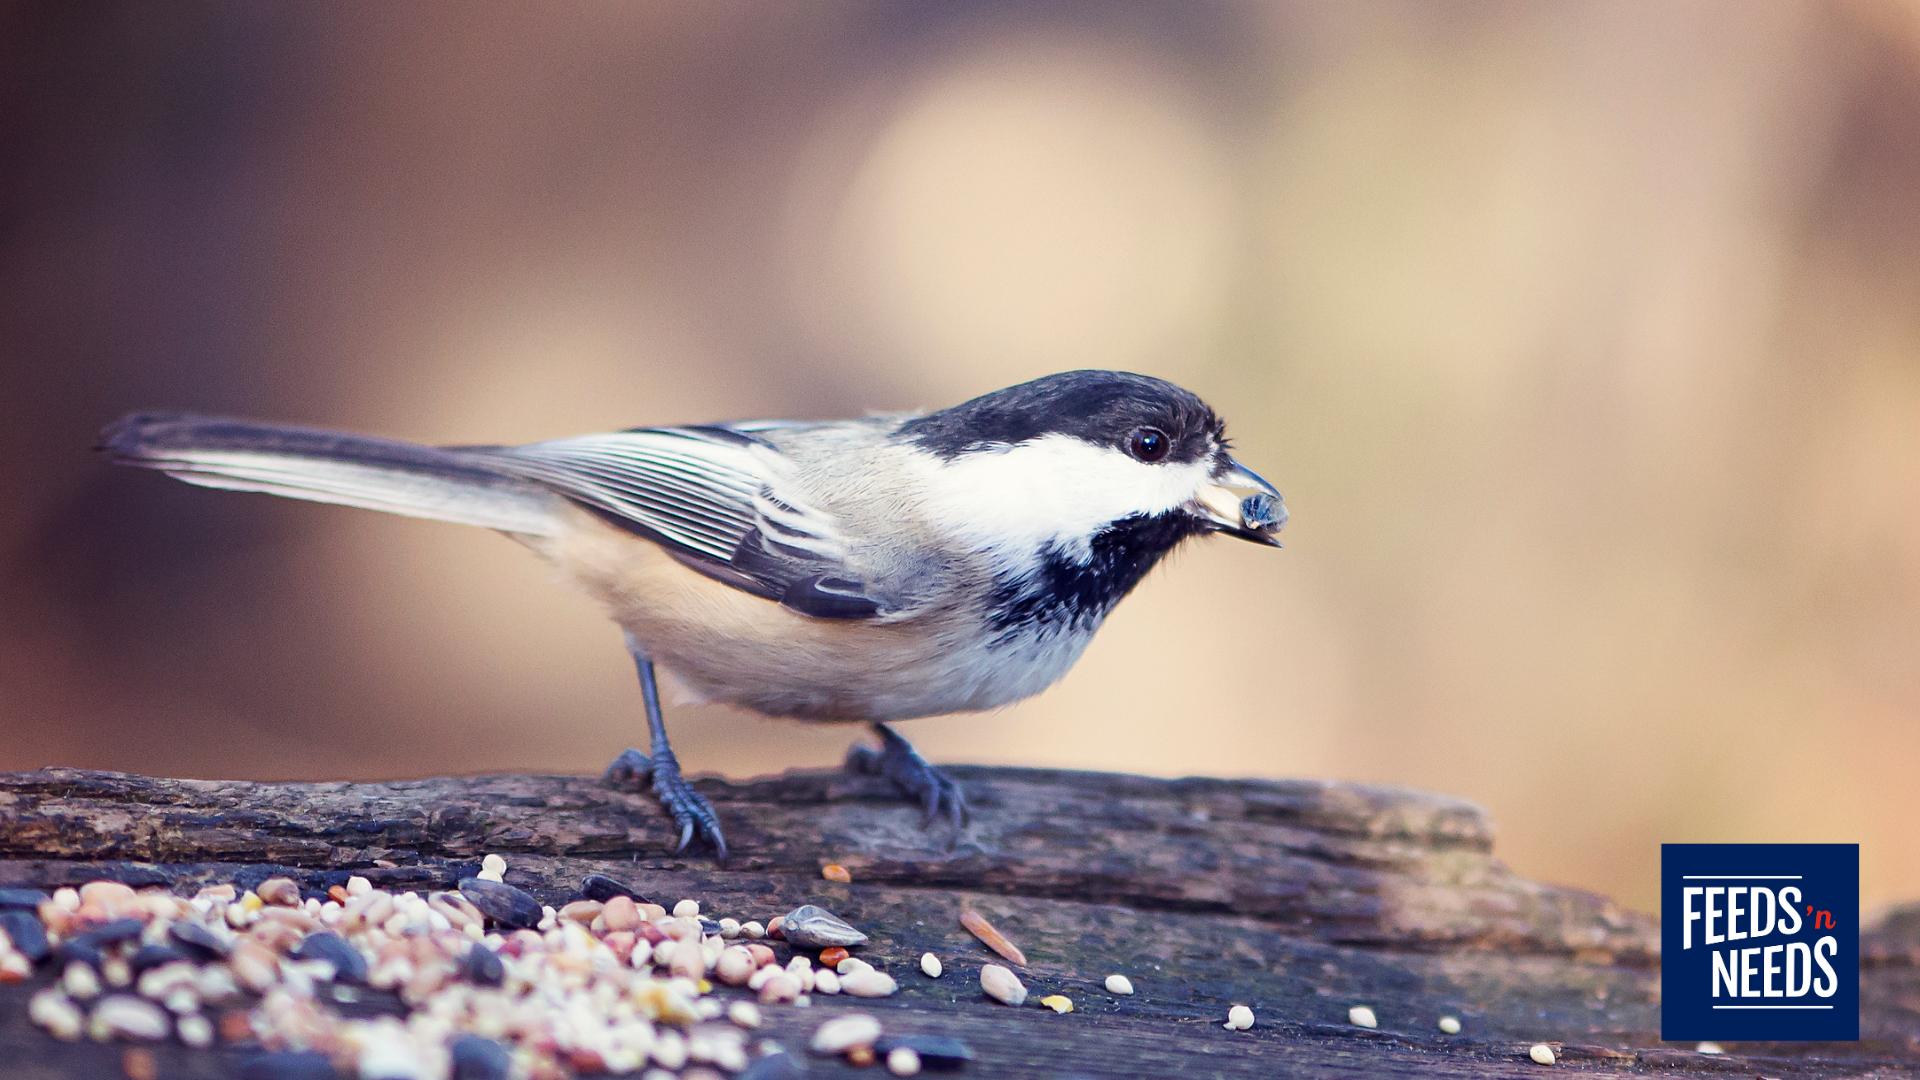
Black oil sunflower seed works well in: Tube feeders Hopper feeders Platform feeders Covered tray feeders Squirrel-resistant feeders Choose a feeder with drainage and enough protection to keep seed as dry ...
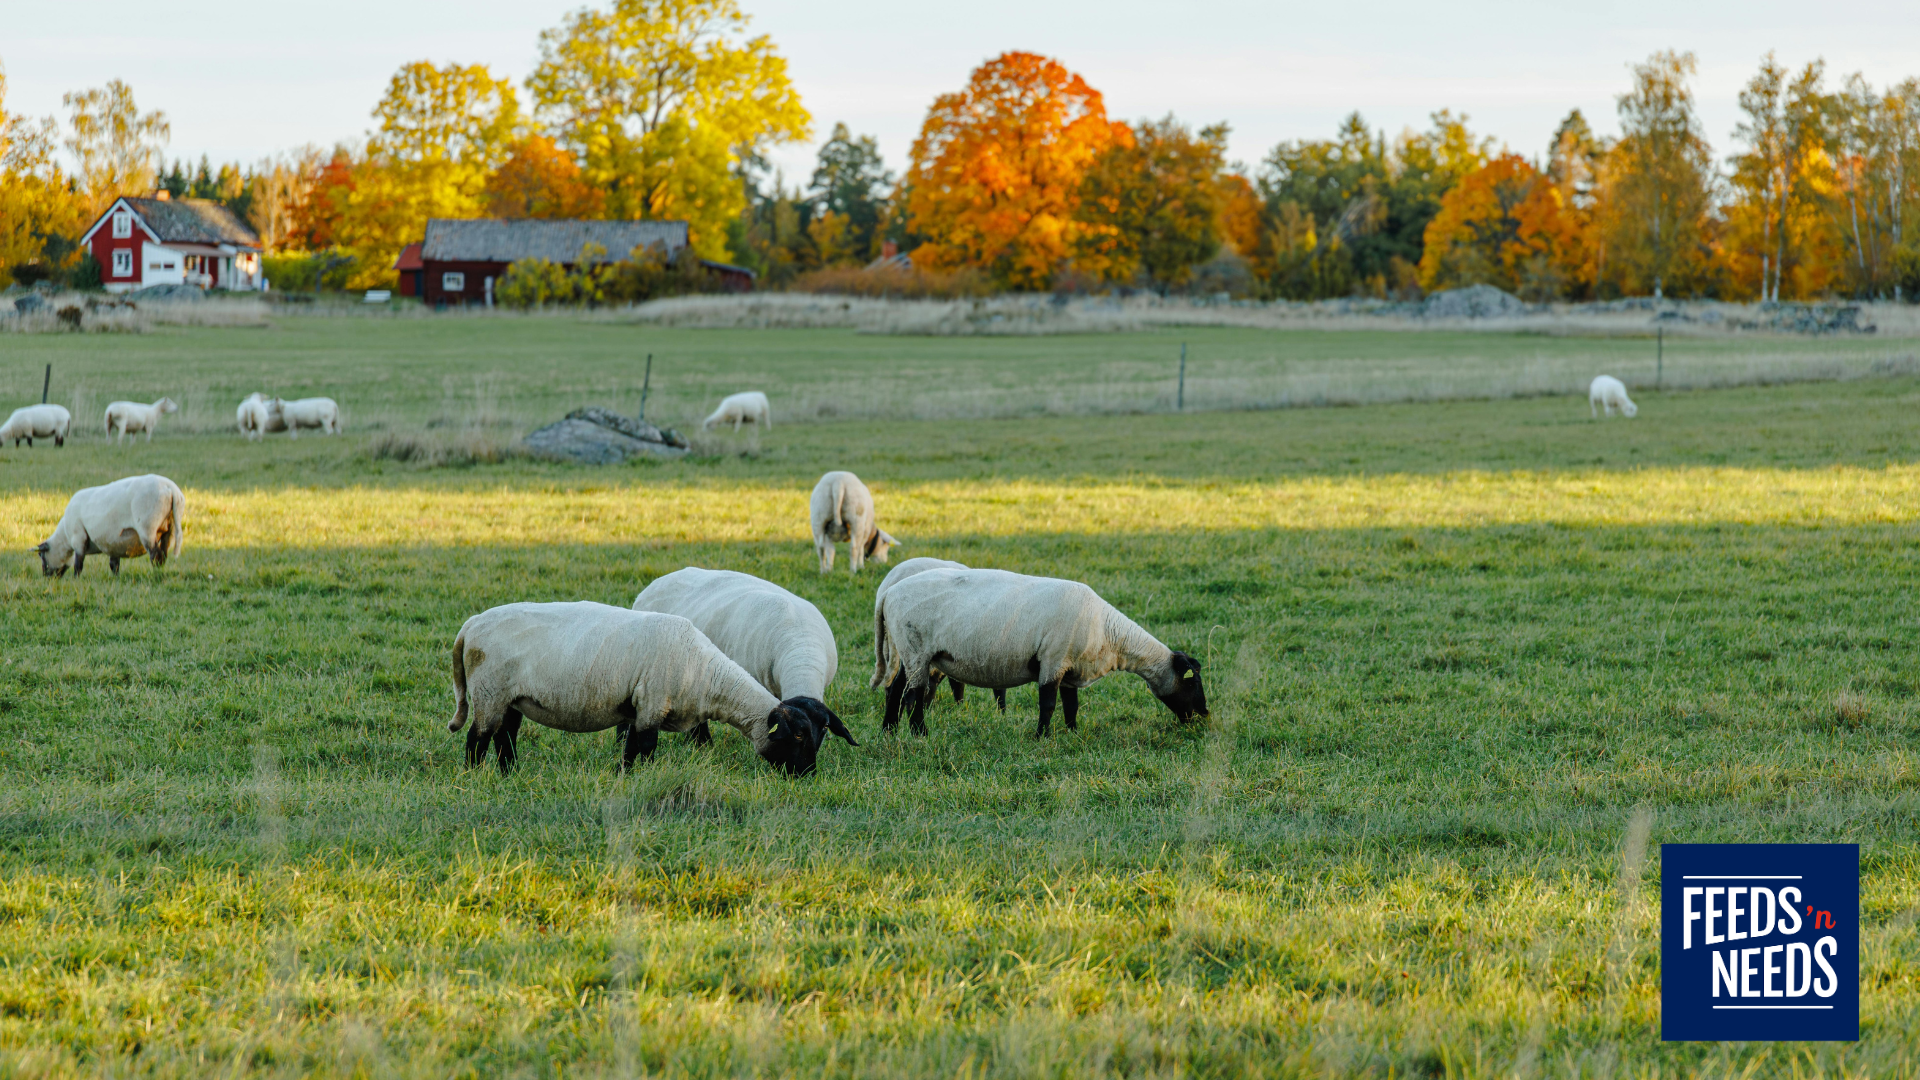
Pastured cattle may encounter gastrointestinal roundworms, lungworms, lice, grubs and other internal or external parasites. Calves and yearlings are often more vulnerable than mature cattle ...

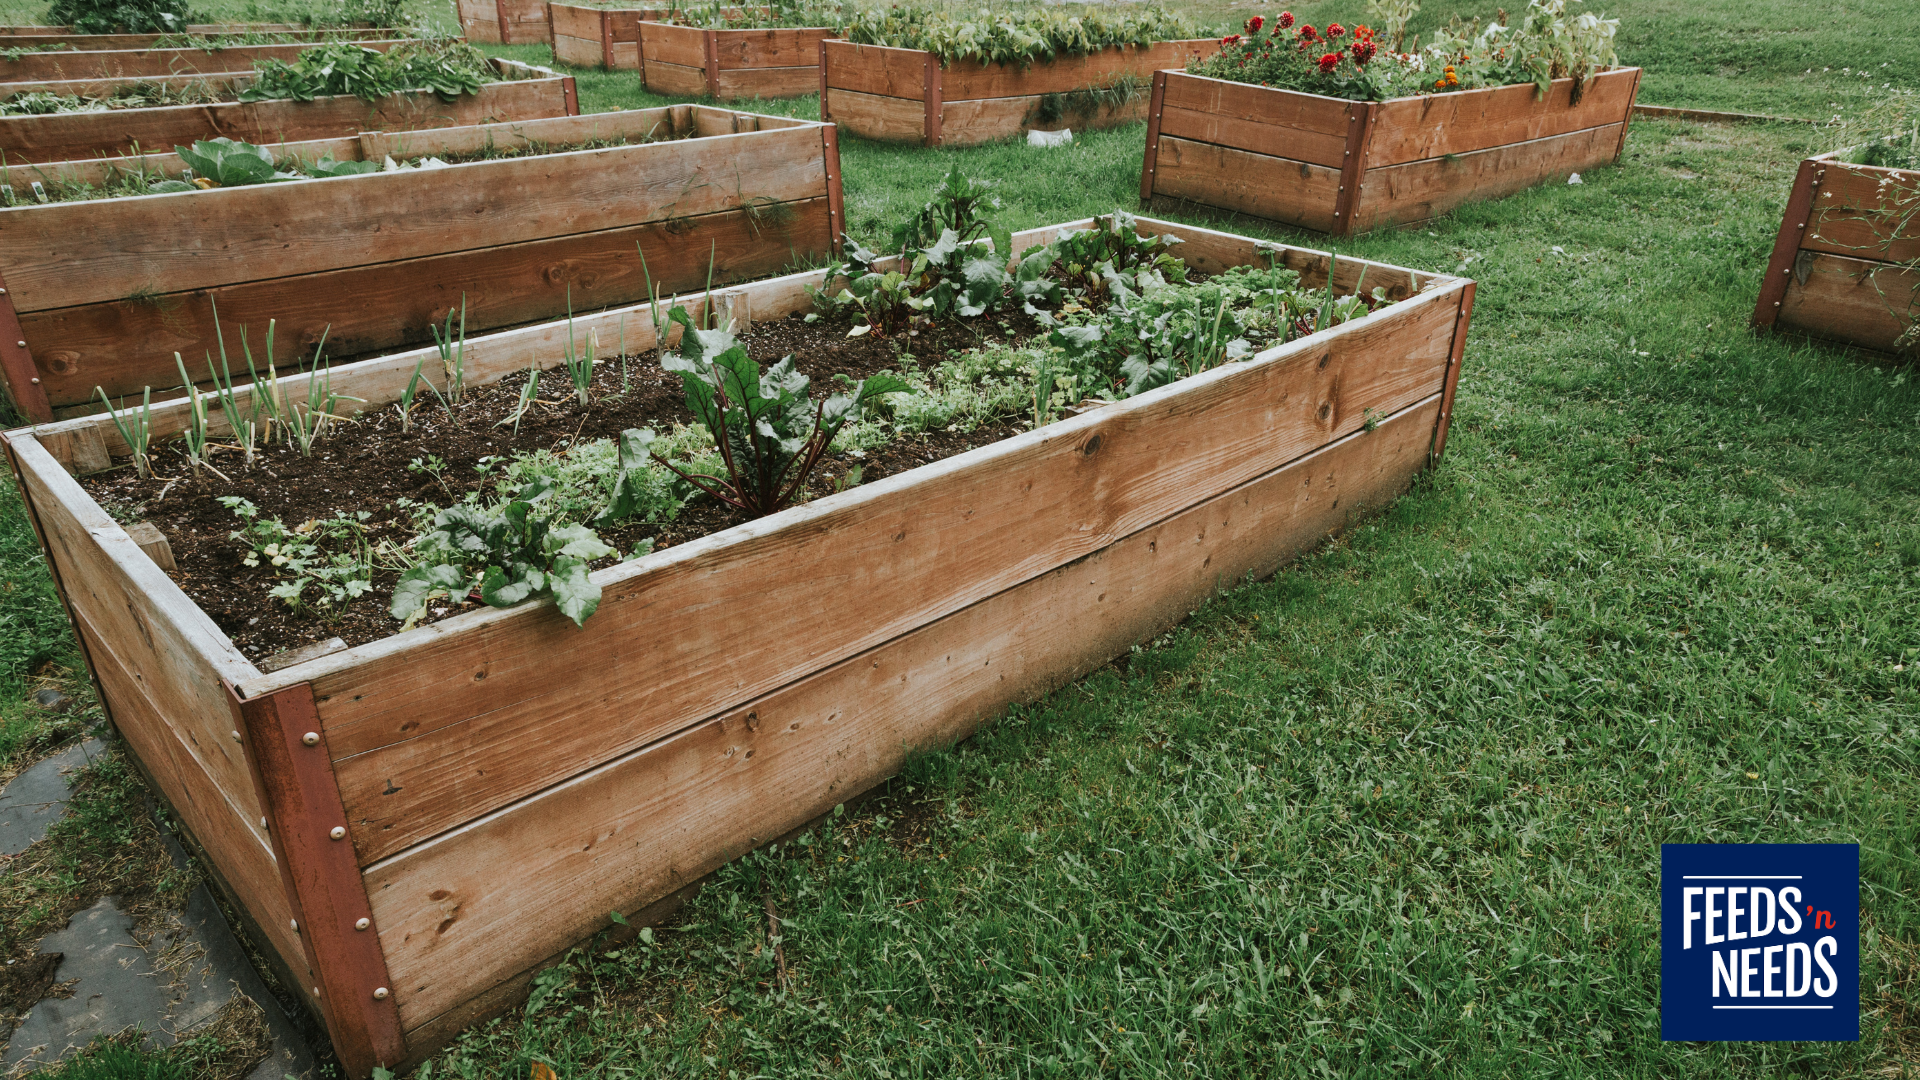
Healthy plant material can generally be added to a properly managed compost pile. Diseased or heavily infested plants require more caution. A typical backyard compost pile ...
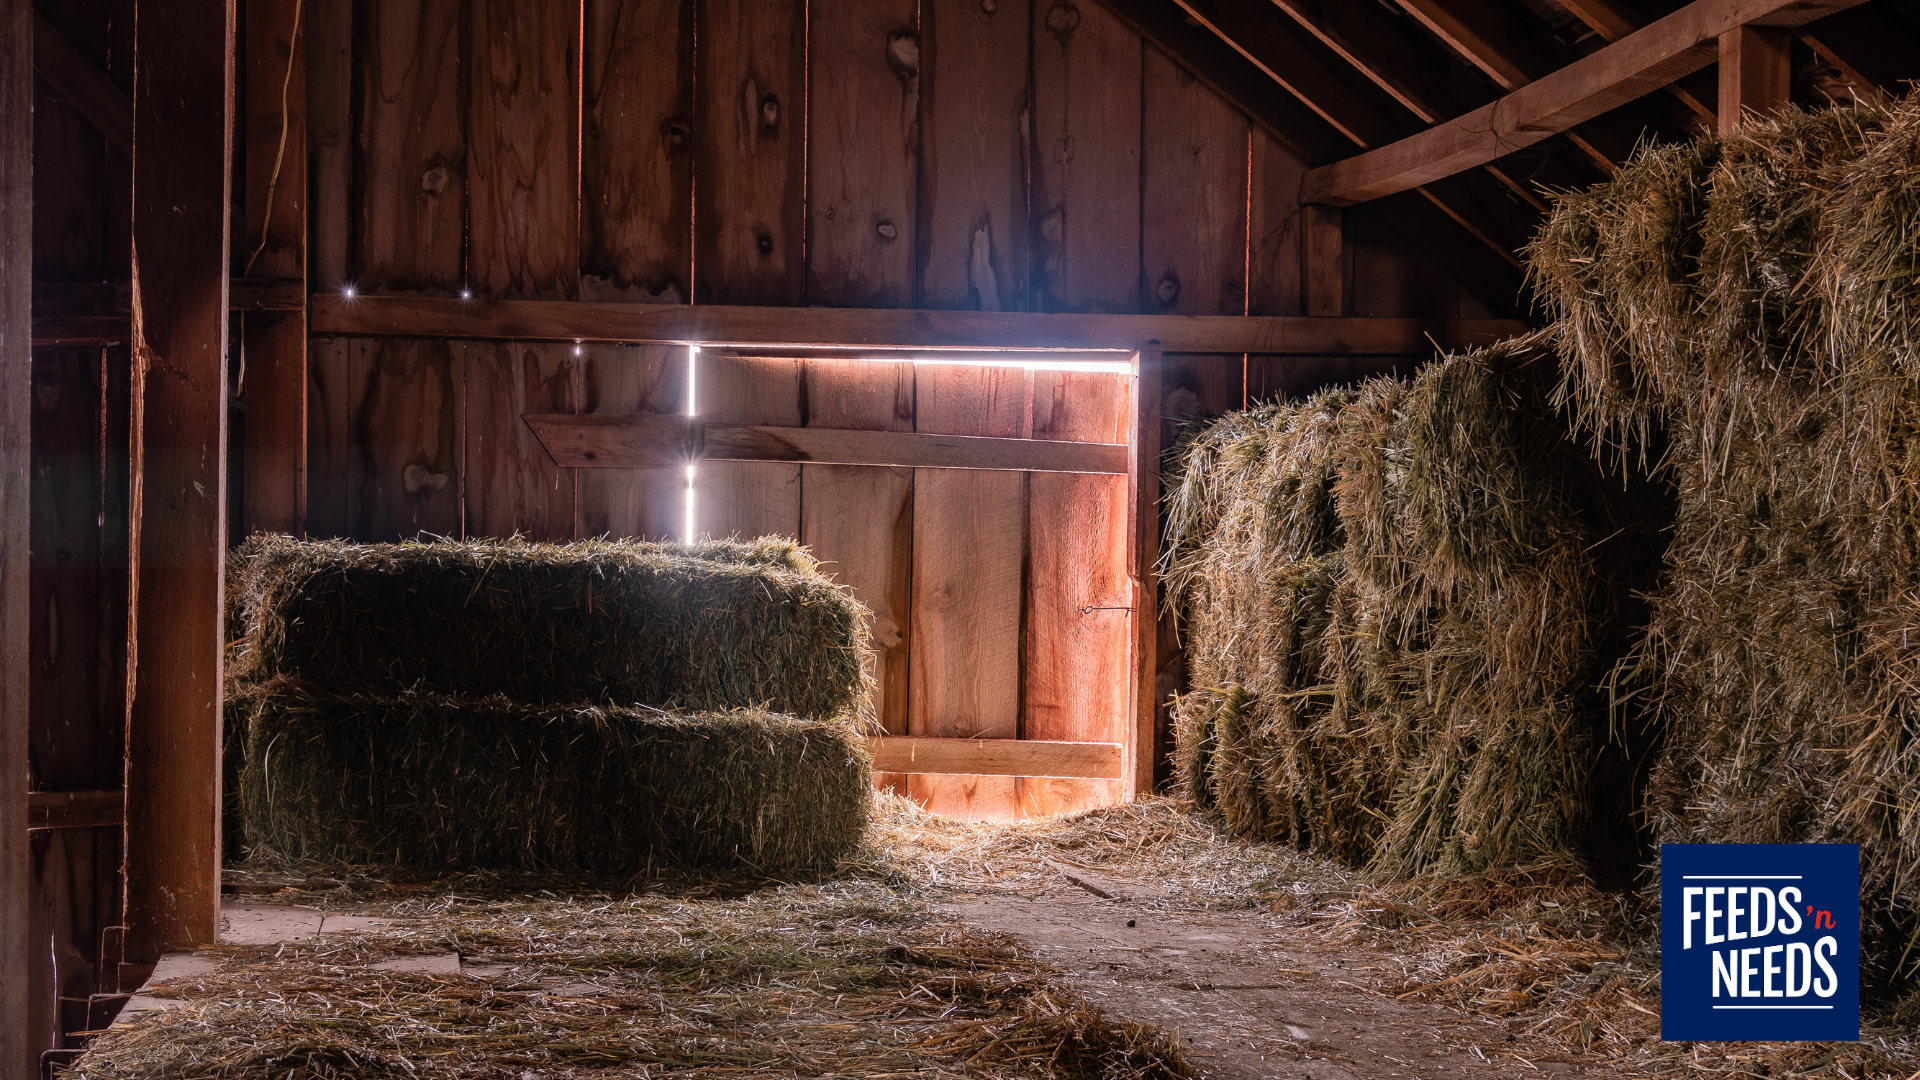
Hay isn’t just filler—it’s often the primary source of fiber and nutrition for livestock throughout the winter. Poor-quality hay can result in: Weight loss Reduced milk production Lower body ...
As the ground thaws and the days get longer, spring becomes the season gardeners wait for all year. Whether you’re a seasoned grower or just ...
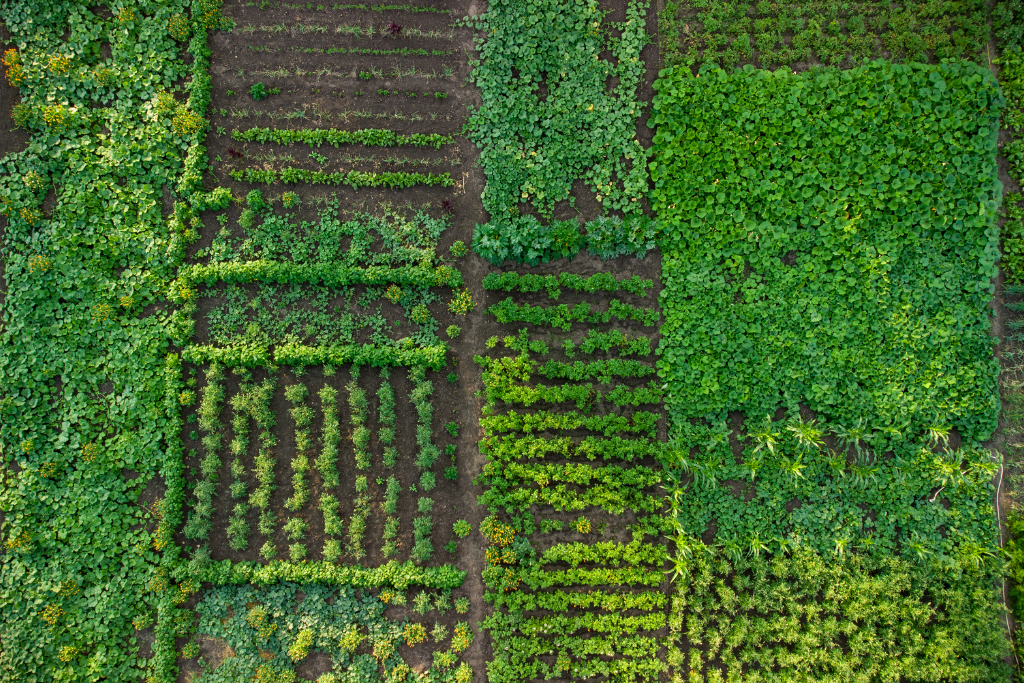
Planning your garden layout is one of the most exciting steps in kicking off a new growing season. Whether you’re a first‑time gardener or expanding ...
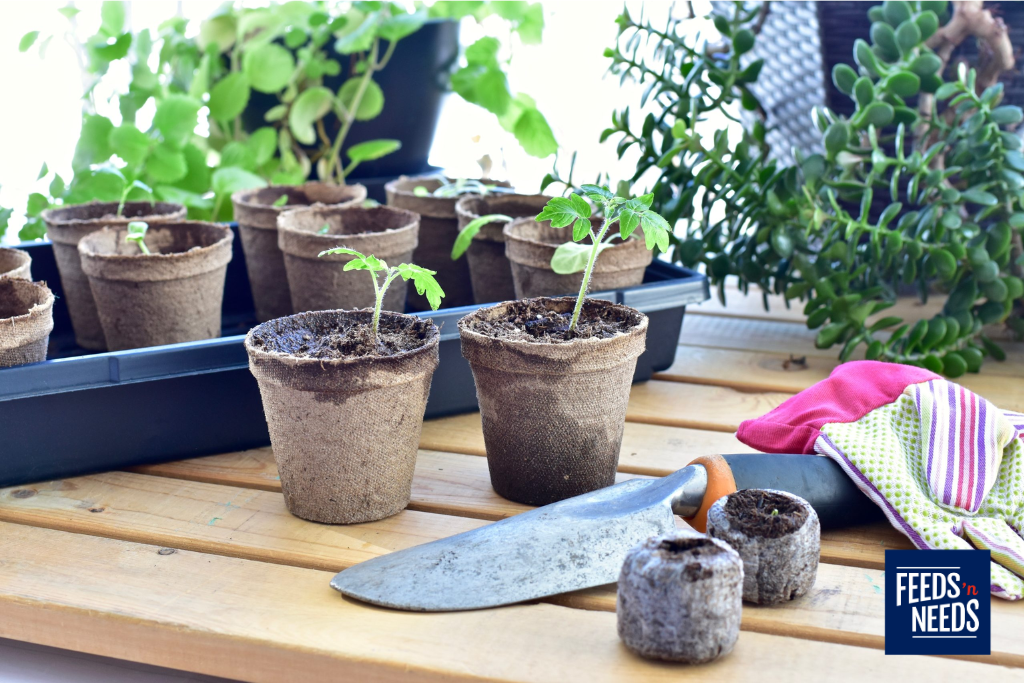
Spring is the perfect time to get a jump on your garden by starting seeds indoors—especially in Atlantic Canada, where our last frost typically lands ...


