Advice
Maritime Winter Lawn Care
10 October 2026 +Dormant grass is alive — the crowns and roots remain viable under snow and frozen soil Most winter lawn damage in the Maritimes is caused by ...


If you’re looking for an easy, mess-free way to start your seeds indoors, try peat pellets! These discs of dehydrated peat moss, held together with biodegradable mesh, are simple to use, require minimal maintenance, and can be transplanted directly into the ground once your seeds have sprouted.
Here’s what you’ll need:
To start seeds indoors using peat pellets, follow these six basic steps:
1. Arrange your pellets – Place the pellets in rows of 5 or according to the number of seeds per variety. This simplifies labelling.
2. Expand/soak pellets – Pour warm water over the pellets, submerging them about 2 cm from the top of the tray. Allow 10 minutes for full expansion, then drain any excess water.
3. Plant seeds – Tear the top of the netting on each pellet slightly. Use a pencil, toothpick, or your finger to create a small hole for the seeds. Plant 2 seeds per pellet and lightly cover them.
4. Label pellets – Always label your seeds! Mark the rows with masking tape on the tray or label each pellet individually.
5. Cover with dome lid – Cover the tray with the plastic dome lid and place it in a warm location. Seeds do not require light to sprout, so they do not need to be initially under the grow lights. Water only when the pellets look dry.
6. Place under lights and remove dome – Once the seeds have sprouted, remove the plastic dome and place the tray under the grow lights. If more than one seed sprouts in a pellet, pinch off or cut the extra seedling, leaving one healthy plant per pellet.
Pellet Benefits:
Peat pellets retain sufficient moisture for seed germination and ensure good drainage to prevent overwatering. The netting around the pellet allows air circulation through the root ball. Additionally, pellets reduce transplant shock since the roots experience minimal disturbance during transplanting.
Our experts at Feeds’n Needs know how exciting gardening season is! Visit your local Feeds’n Needs and check out our gardening section for everything you need to start seeds indoors with peat pellets.
For more helpful gardening tips and tricks, check out our related posts.
What Type of Garden Best Suits Your Needs
Garden Planning for Spring and Summer
Gardening Tips for Beginners
How to Successfully Grow a Vegetable Garden
How to Sprout Your Own Seeds

Dormant grass is alive — the crowns and roots remain viable under snow and frozen soil Most winter lawn damage in the Maritimes is caused by ...
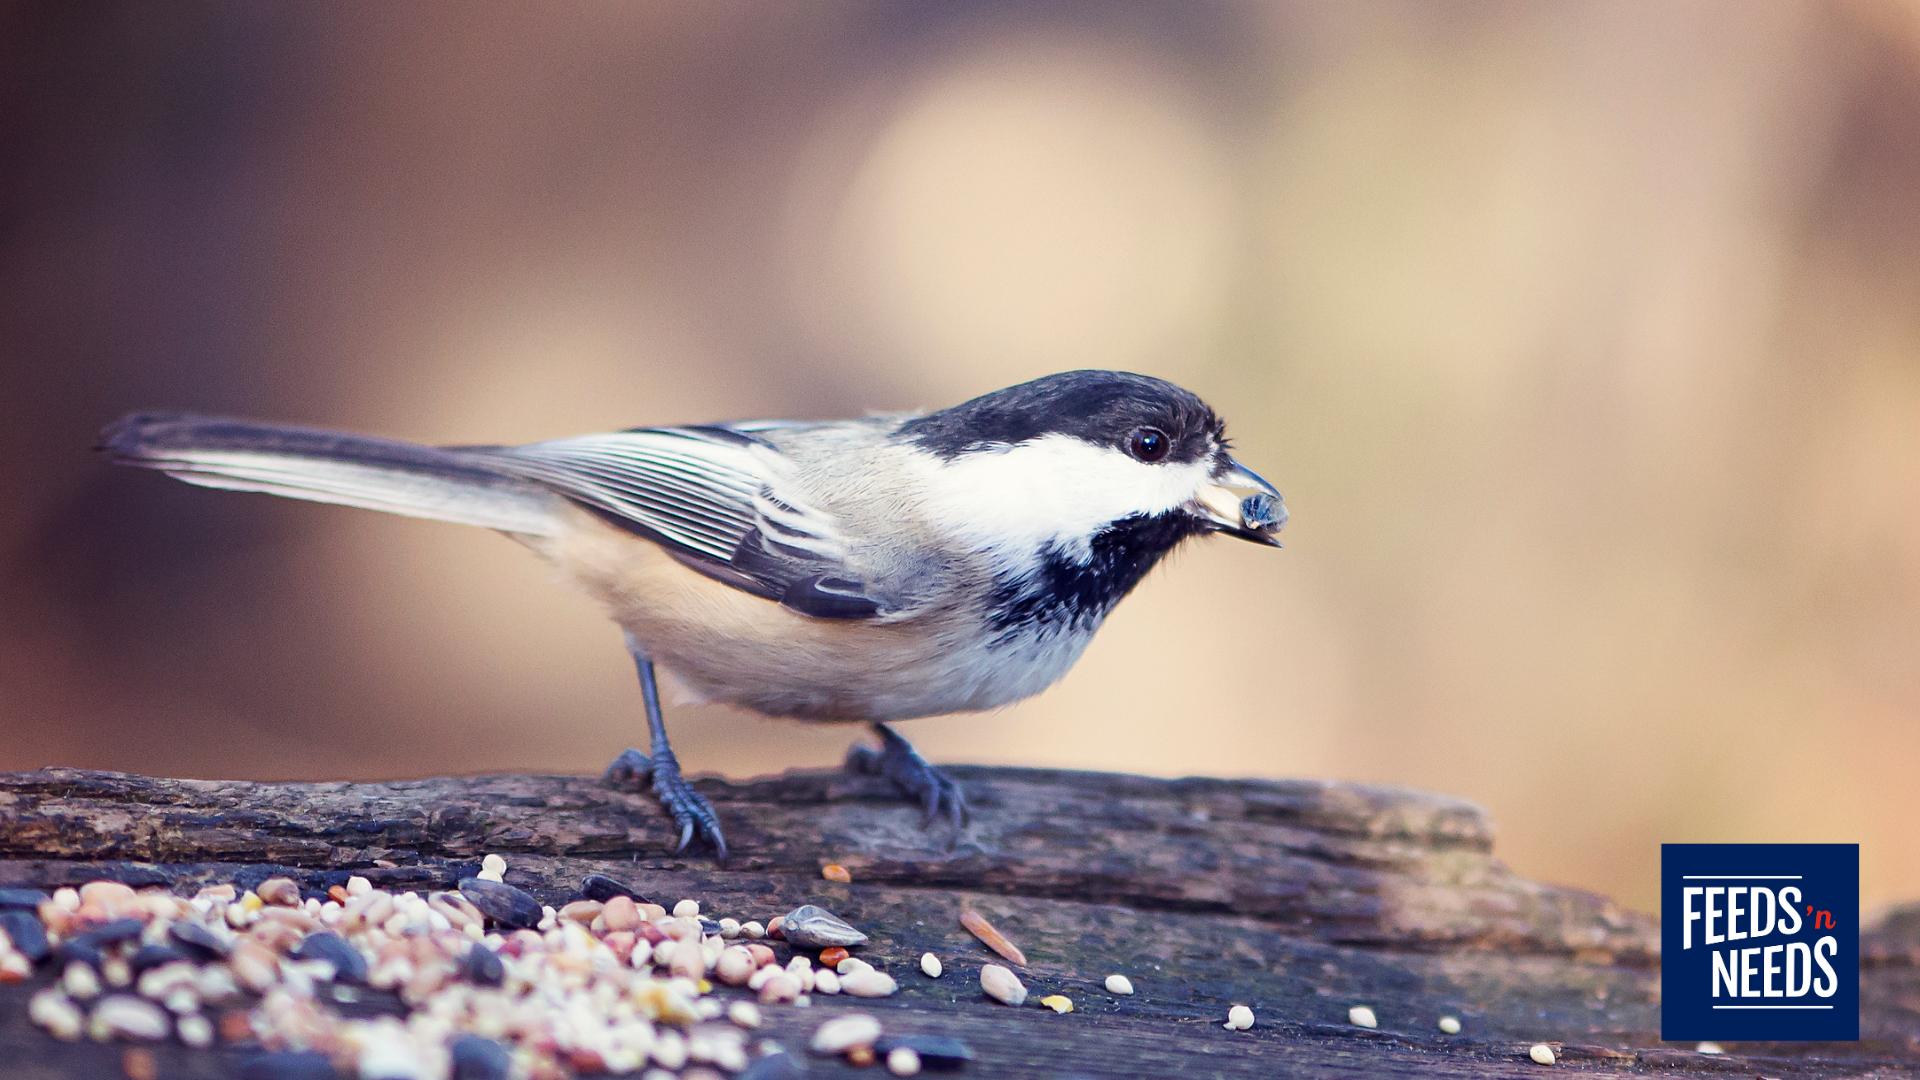
Black oil sunflower seed works well in: Tube feeders Hopper feeders Platform feeders Covered tray feeders Squirrel-resistant feeders Choose a feeder with drainage and enough protection to keep seed as dry ...
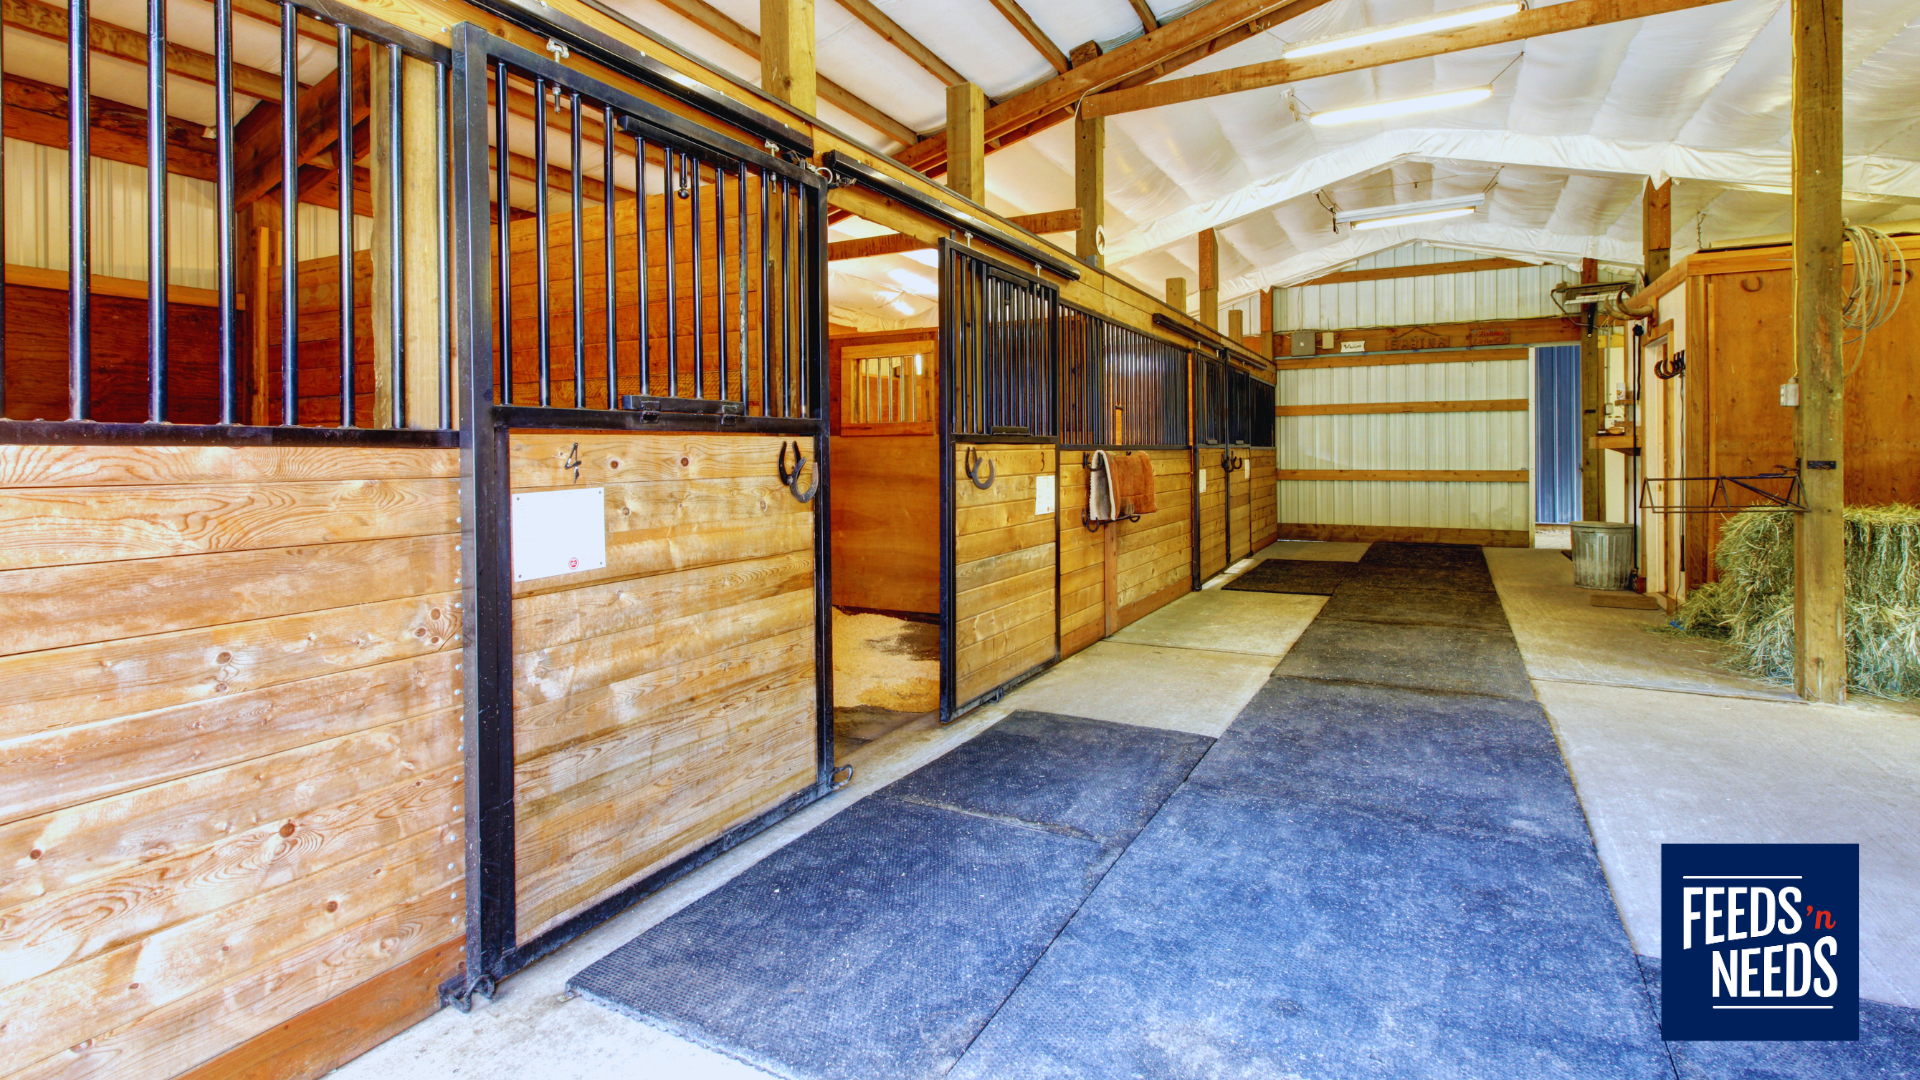
Whenever possible, store grain, pellets, supplements, pet food and birdseed in durable containers with tight-fitting lids. Metal containers are often the most resistant to chewing. Keep ...
Pastured cattle may encounter gastrointestinal roundworms, lungworms, lice, grubs and other internal or external parasites. Calves and yearlings are often more vulnerable than mature cattle ...
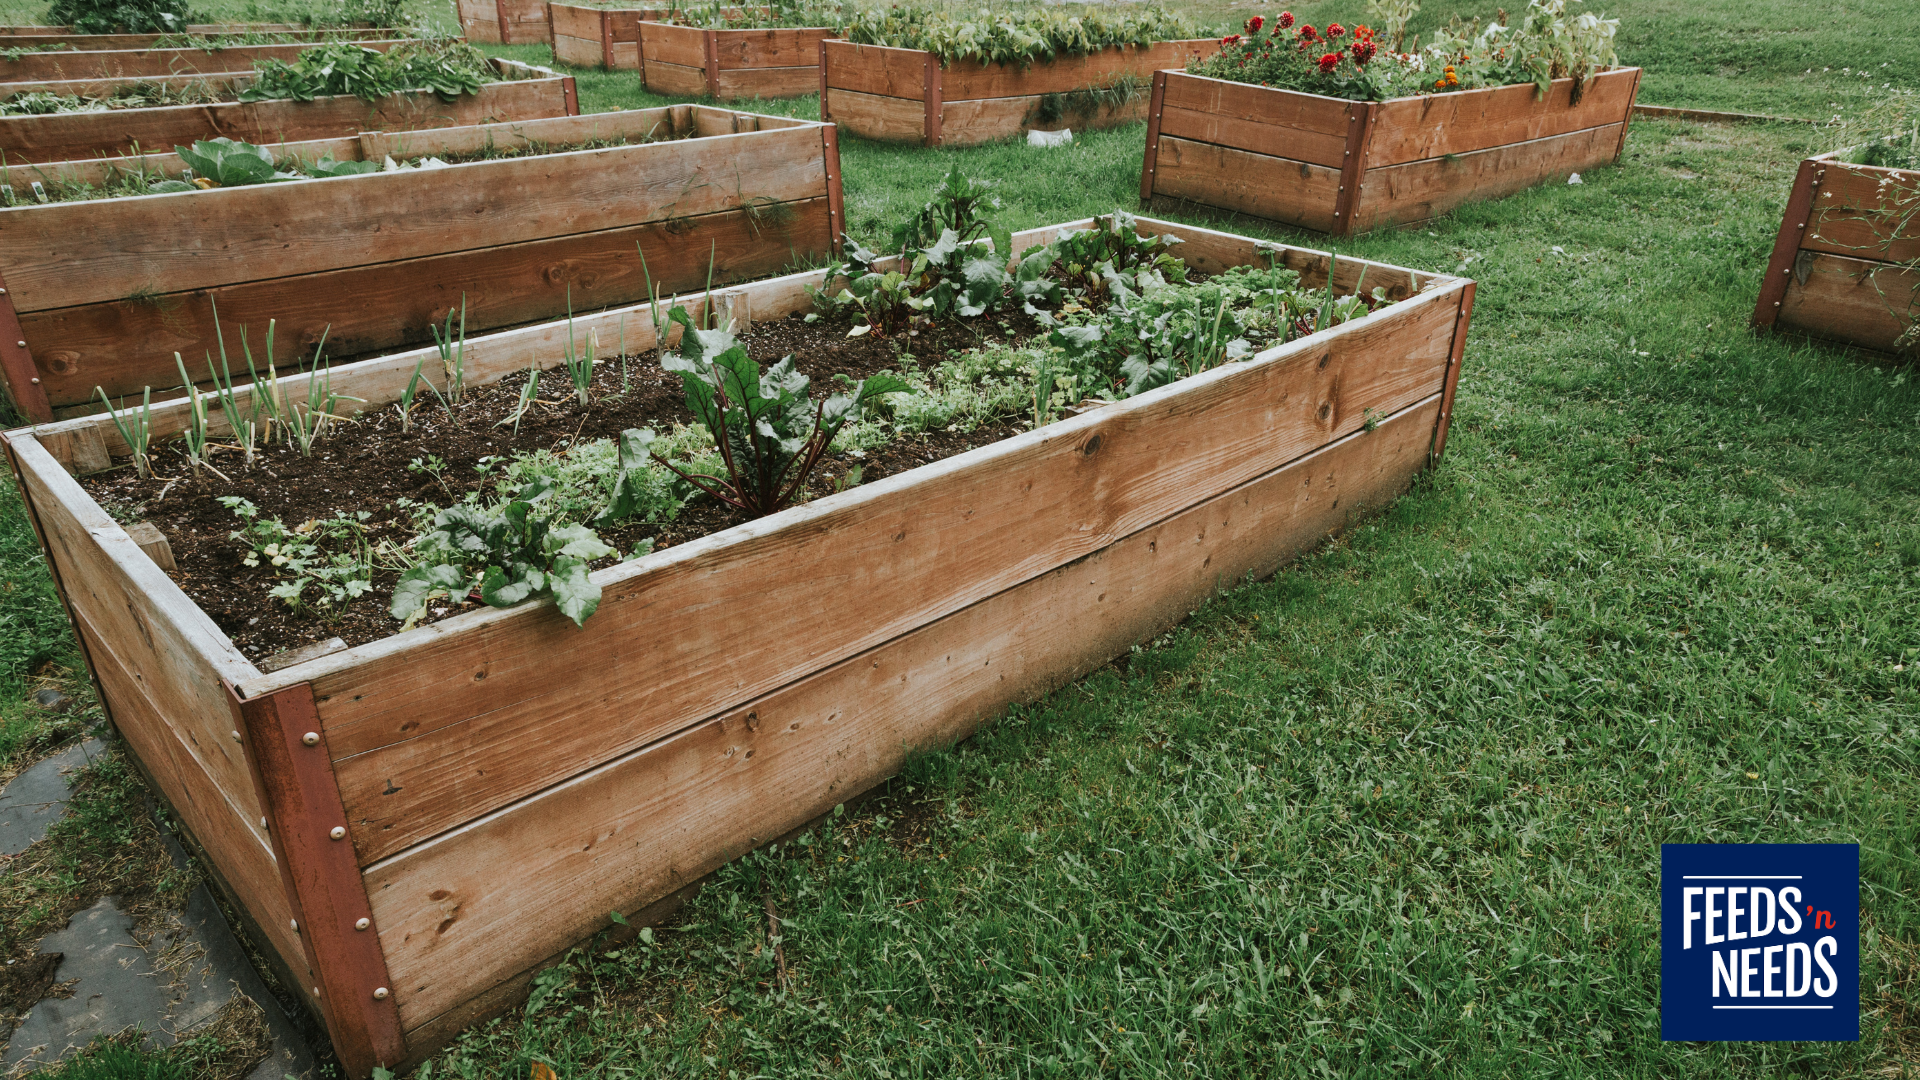
Healthy plant material can generally be added to a properly managed compost pile. Diseased or heavily infested plants require more caution. A typical backyard compost pile ...
Pick manure from smaller paddocks, dry lots and high-traffic areas regularly. Pay particular attention to: Hay-feeding areas Gates and laneways Shelters Water sources Small sacrifice paddocks Winter turnout areas Feeds’n Needs carries ...
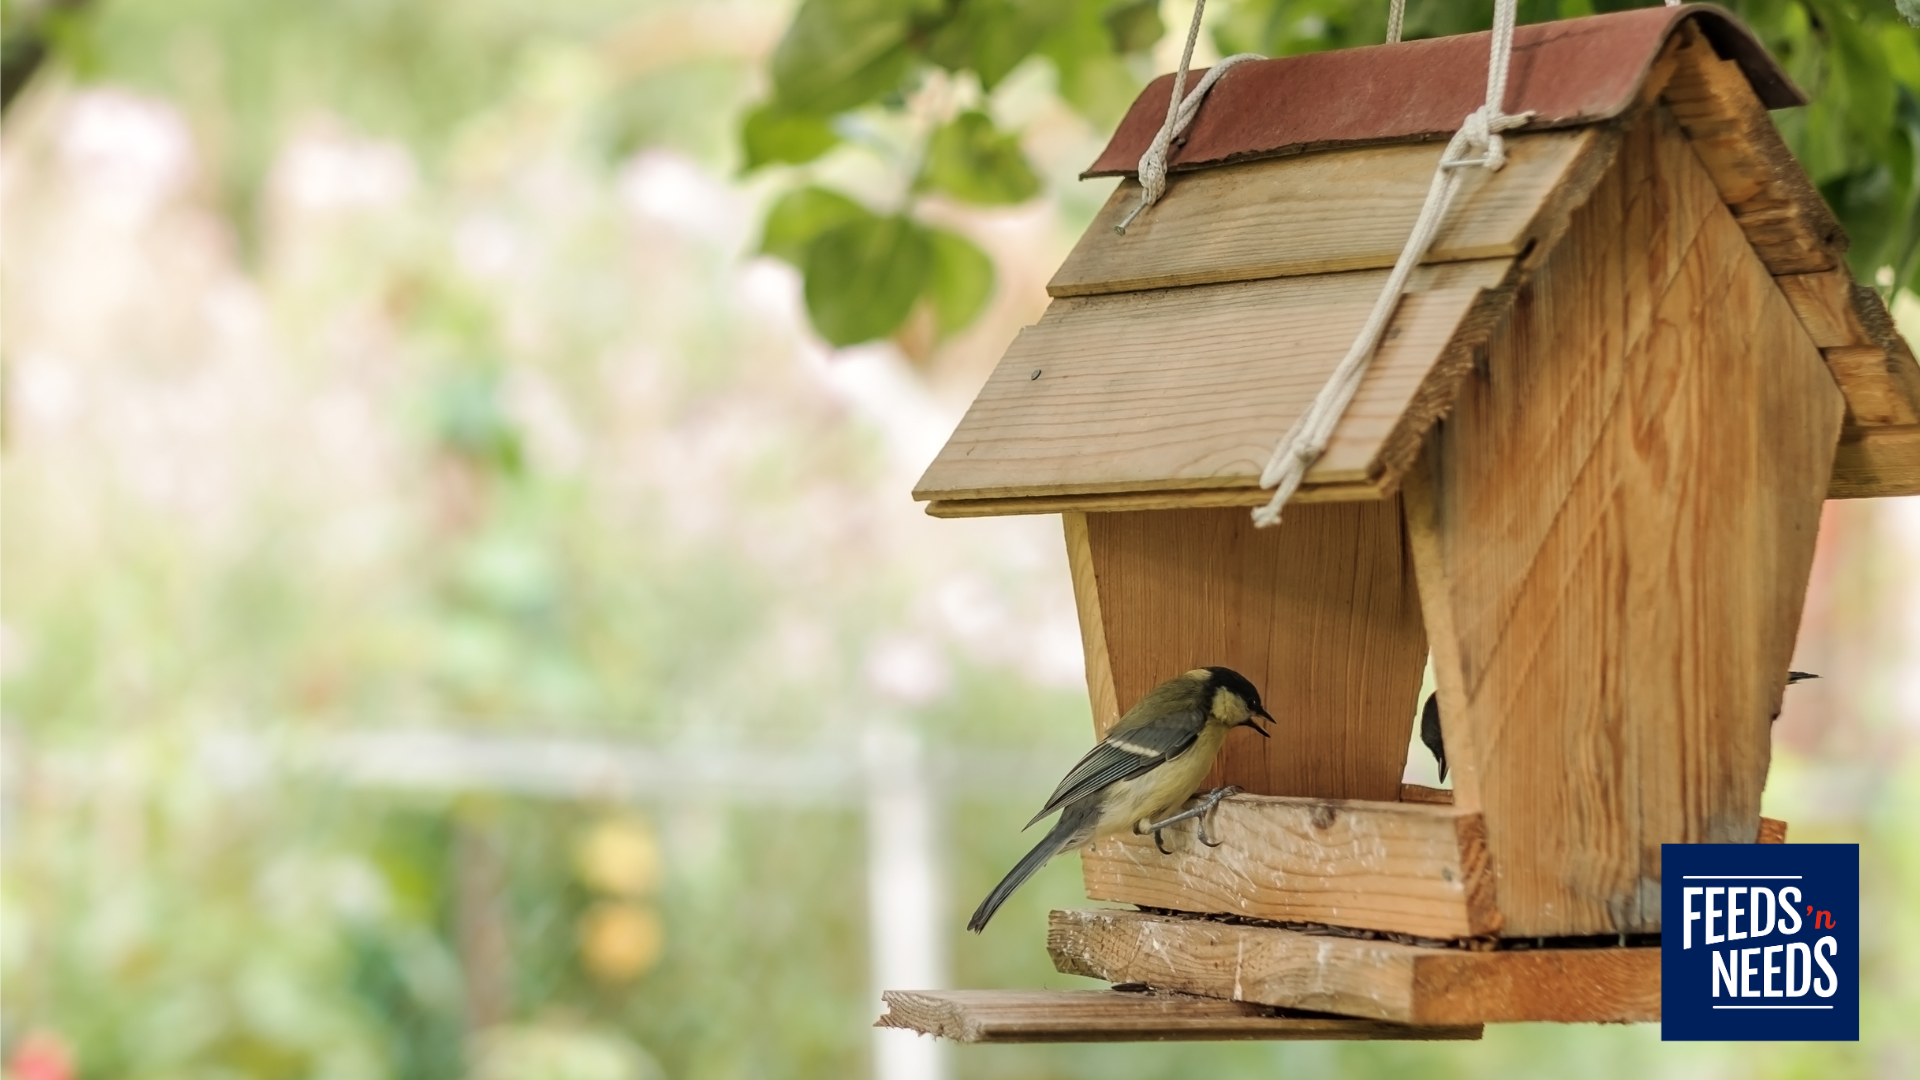
Black oil sunflower seed is one of the best all-around options for feeding backyard birds in Atlantic Canada. Its thin shell is easy for smaller ...
Fall is the single best time of year to overseed, aerate, fertilize, and lime Maritime lawns Cool-season grasses grow actively in fall — take advantage of ...
Walk the entire pasture boundary before turnout and check for: Broken or leaning posts Loose wire Damaged insulators Weak corners Low electric-fence voltage Vegetation grounding the fence Gates that sag or fail ...


