Food
Planting Garlic Bulbs
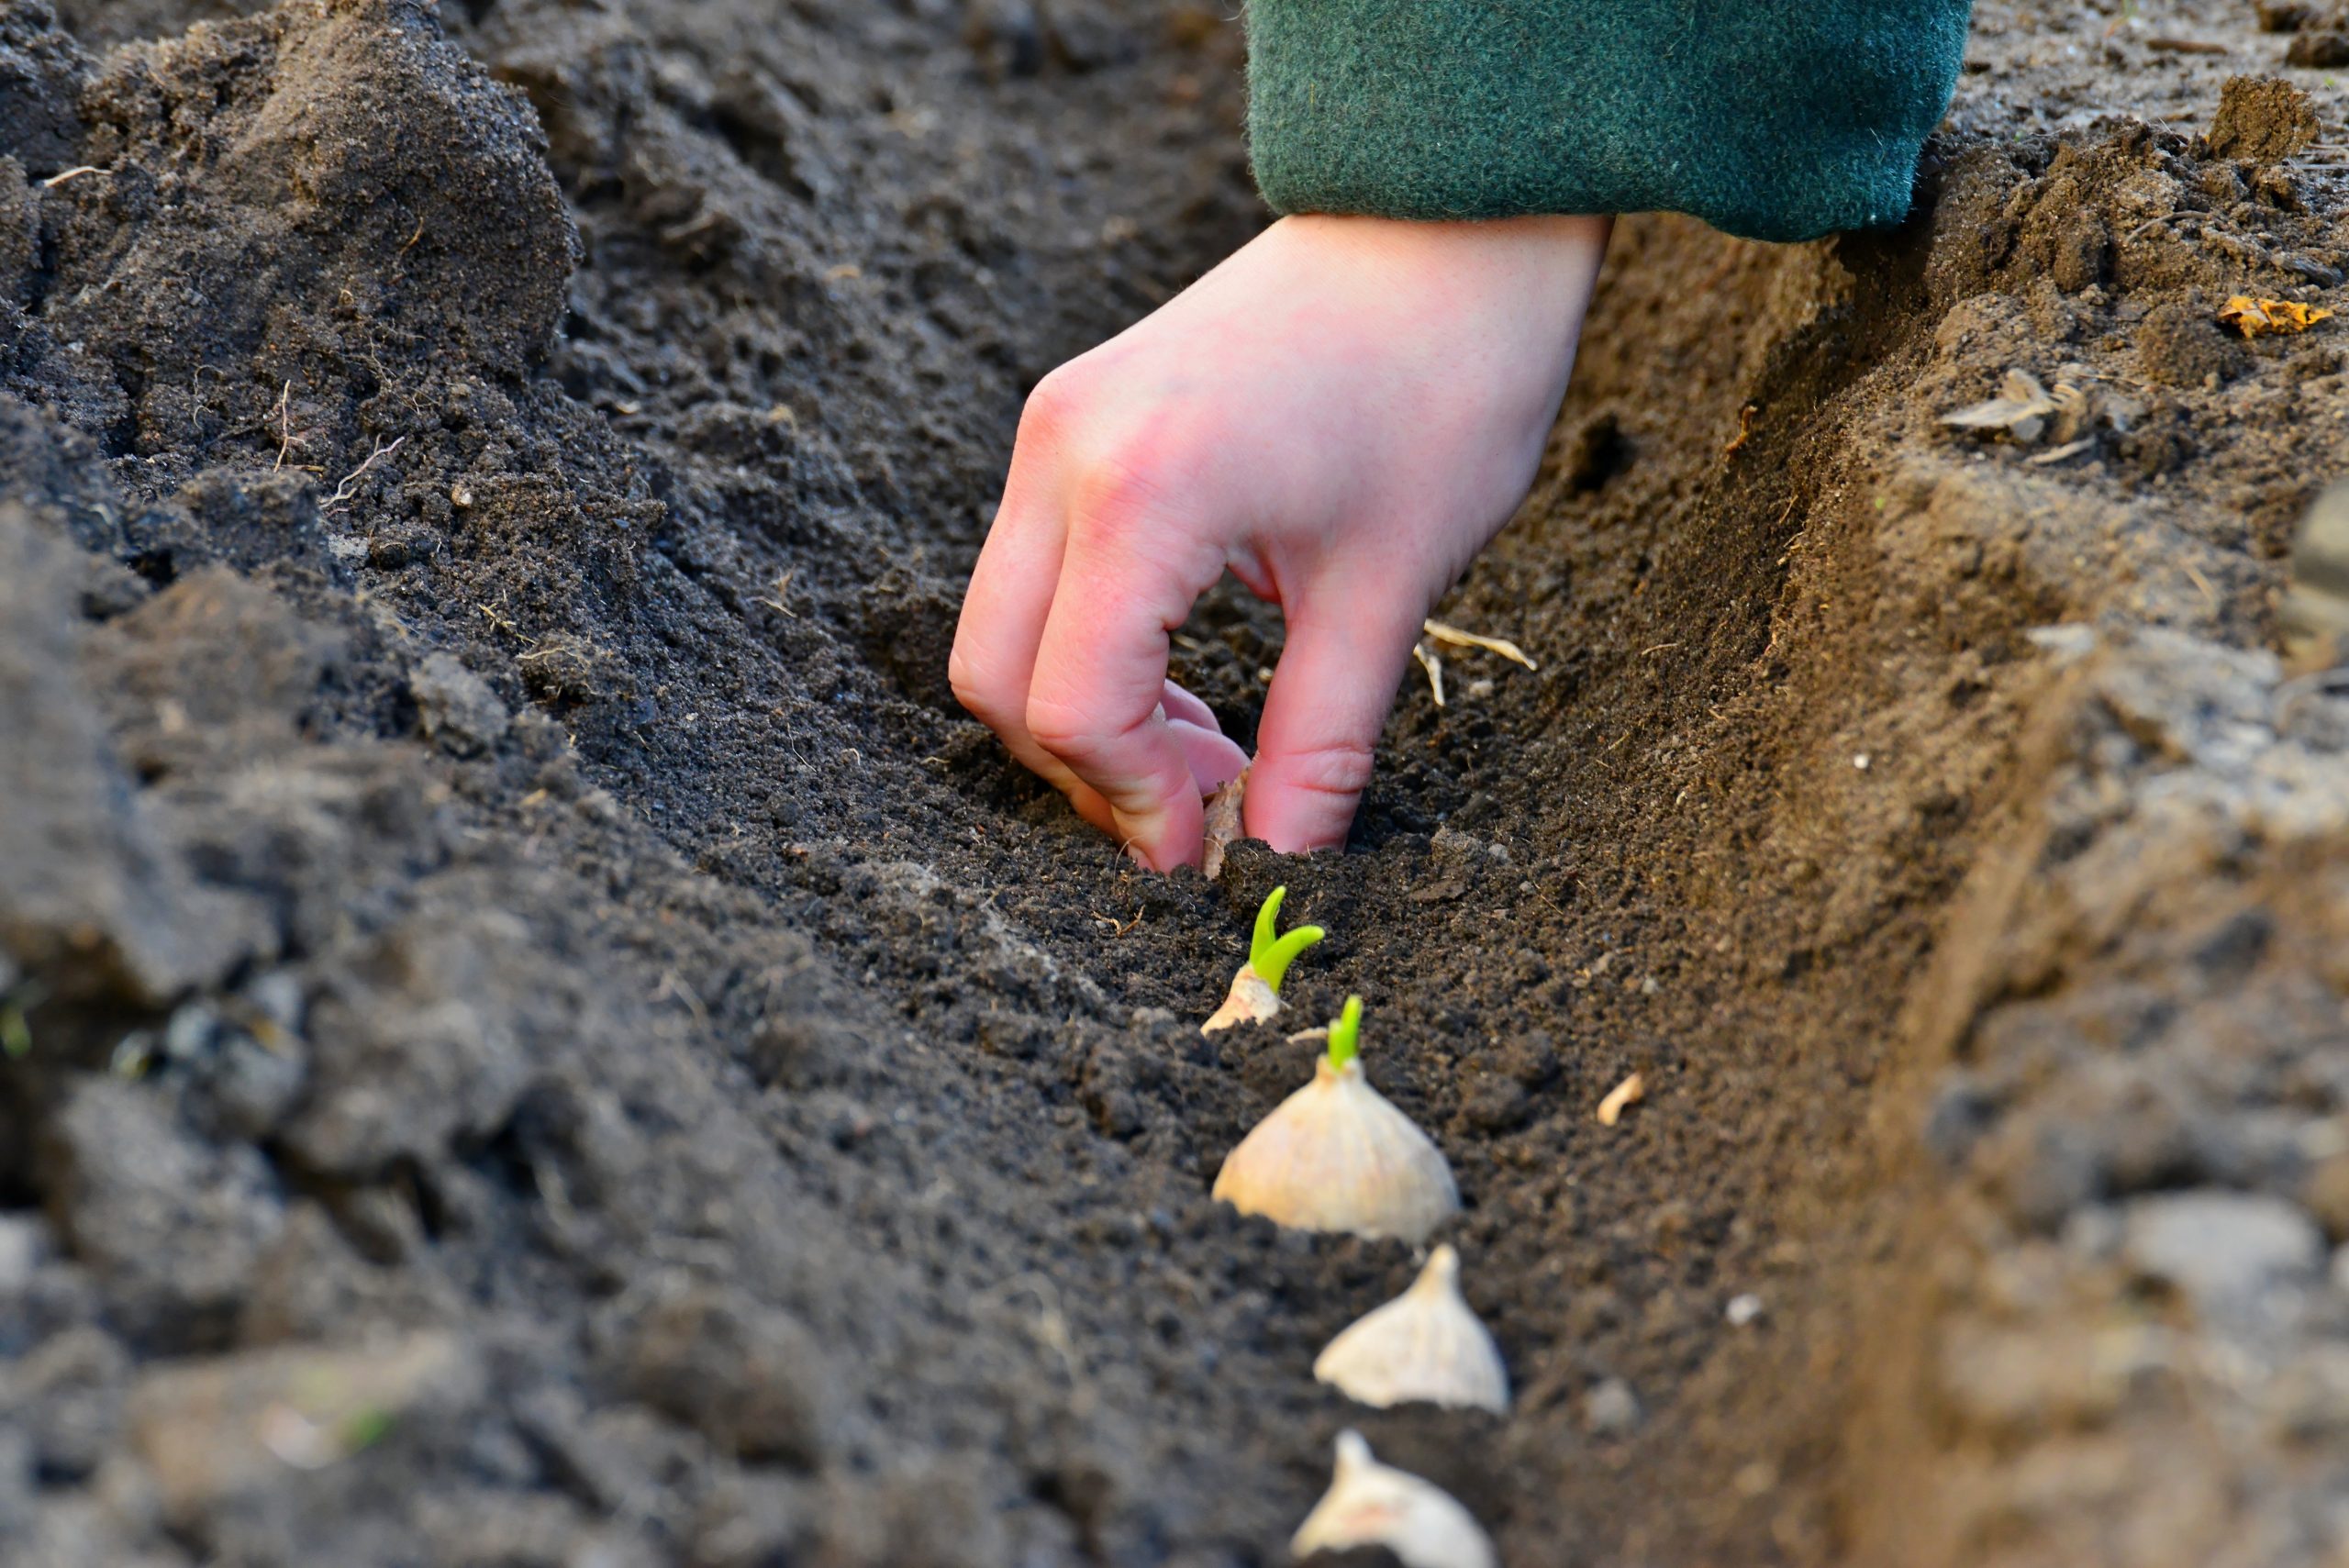
6 October 2025 +Garlic is one of the easiest and most rewarding crops to grow in your garden. Whether you’re a seasoned gardener or just starting out, planting ...


There’s something truly satisfying about harvesting fresh, juicy strawberries from your own garden. Whether you’re a seasoned green thumb or just starting out, strawberries are a rewarding and relatively easy crop to grow—especially with our Maritime climate. Here’s everything you need to know to get started on the path to a bountiful strawberry harvest.
Step 1: Choose the Right Location and Prepare the Soil
Strawberries love the sun and thrive in fertile, well-drained soil. Here’s how to set the stage for success:
Step 2: Plant the Strawberry Crowns
Once your soil is prepped, it’s time to plant:
Step 3: First-Year Plant Care
Your plants need a little TLC in their first season to set the stage for future harvests:
Step 4: Prepare for Winter
Strawberries are hardy, but they still need protection when the temperatures drop:
Step 5: Ongoing Strawberry Plant Care
Keep your plants healthy and productive with consistent care:
Best Strawberry Varieties for Atlantic Canada
Not all strawberries are created equal, especially when it comes to colder climates. These varieties are known to do well in Nova Scotia:
Growing your own strawberries takes a little planning, but the payoff is sweet—literally. With the right care and a bit of patience, you’ll be enjoying homegrown berries straight from the garden in no time.
Integrating a new pet into your household isn’t always easy, but it’s definitely rewarding. With time, patience, and plenty of positive reinforcement, your furry family members can learn to live together peacefully—and maybe even become best pals.
For more information on introducing a new cat to your home, check out our blog Preparing for Your New Kitten!
Garlic is one of the easiest and most rewarding crops to grow in your garden. Whether you’re a seasoned gardener or just starting out, planting ...

Canning is a fantastic way to preserve your garden harvest and enjoy fresh-tasting vegetables all year long. If you’re new to the process, starting with ...

Summer is here, and the temperatures are high — which means your pup might be looking for a tasty way to beat the heat! Why ...
There’s something truly satisfying about harvesting fresh, juicy strawberries from your own garden. Whether you’re a seasoned green thumb or just starting out, strawberries are ...

If you spend enough time feeding backyard birds, chances are you’ll have close encounters with your backyard feathered friends. Maybe a hummingbird buzzes by as ...

March’s Bird of the Month is the Downy Woodpecker! With their colourful feathers and lively personalities, woodpeckers make a captivating addition to any backyard. Their ...

Pets adore treats, and dental treats are a fantastic way to promote oral health. They help fight bad breath, combat plaque and tartar buildup, and ...

February’s Bird of the Month is the Northern Cardinal! With their striking red feathers and beautiful songs, cardinals are a favourite among bird watchers. These non-migratory ...

A rabbit’s digestive system is delicate, and their nutritional needs require careful attention. By understanding the basics of rabbit nutrition, you can avoid common health ...

With their playful antics and charming personalities, Chickadees are a favourite among backyard birders. These small, curious birds are year-round residents in the Maritimes, making ...
