Pet Seasonal Allergies
2 May 2024 +If you’ve ever dealt with seasonal allergies, you know springtime is one of the worst times of year for producing allergens like pollen and dust. ...

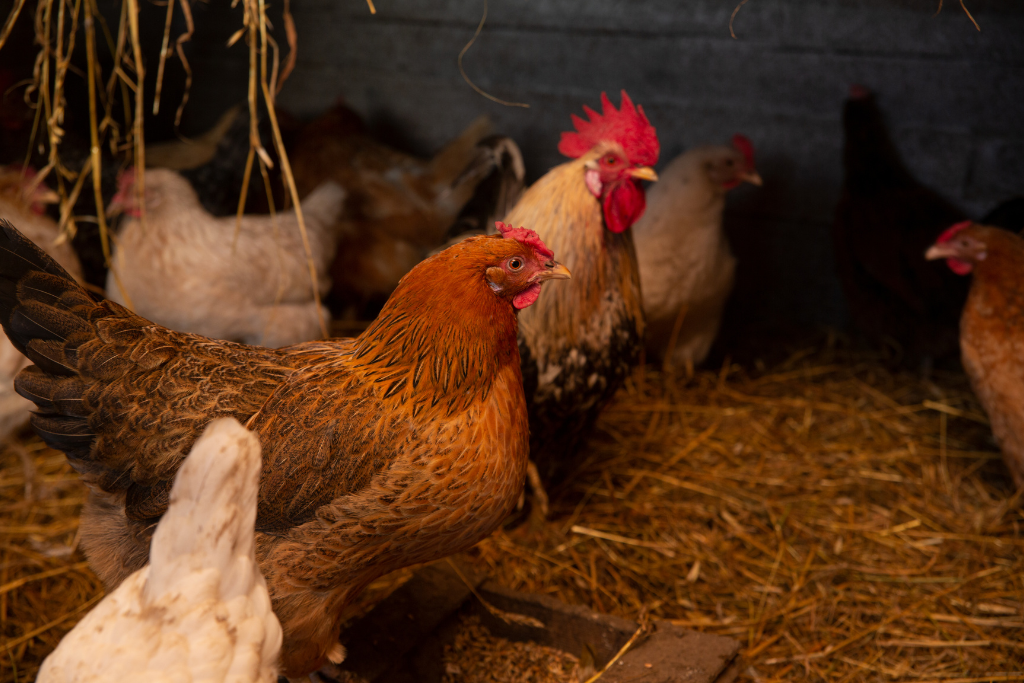
Springtime is just around the corner, which means it’s time for some spring cleaning. With the days getting longer and temperatures getting warmer, it’s the perfect time to deep clean your chicken coop and prepare your chickens for the season ahead.
Do a Health Check:
With the change of seasons, it is important to perform a quick health check on your birds. Check for overgrown beaks or toenails that need to be clipped, any abnormalities to their feet, cuts or wounds that require treatment, and ensure no mites or lice are hiding in their feathers.
Coop Cleaning: Step by Step
Wintertime typically leads to a messy chicken coop since birds aren’t out free-ranging, and cold temperatures make cleaning or repairs more challenging. This is why when spring arrives, thoroughly cleaning your coop and all supplies is essential to keeping your birds healthy and happy.
1. Remove and Clean Accessories
When you’re cleaning out your coop, you first want to remove any moveable accessories such as feeders, waterers, nesting boxes, broody cages, etc. Take any dirty bedding out of the nesting boxes and use a putty knife or scraper to remove any residue inside of them. Use a non-toxic cleaner or Dawn dish soap with a scrub brush to give those accessories a good scrub until clean. Rinse everything thoroughly and set in the sun to dry. If the winter weather was harsh on some of your feeders and waterers, be sure to stop by your local Feeds’ n Needs to find quality poultry essentials to last you for seasons to come!
2. Clear Out Dirty Bedding
Next, use a shovel to remove all the old bedding in your coop. You can use a broom to sweep the floors and the walls or ceilings to get rid of any remaining debris. Lice and mites are known to hide during the day, so it is important to pay extra attention to areas like corners and edges, under roosts and in between seams of the floor when cleaning out your coop. Mixing equal parts water and vinegar, you can make an at-home, non-toxic cleaning solution to spray down all the walls, floors and other surfaces in your coop and thoroughly scrub before putting everything back inside. This is also the perfect time to spray or dust any products to eliminate mites or lice if you have an issue with them. We carry a variety of easy-to-use products that will help you rid your coop and flock of pests in no time.
3. Inspect Your Coop
While your coop is empty and clean, thoroughly inspect it. The best defense against predators is having a safe coop to protect your birds. Check your coop for any loose boards, nails, or hardware, large or small holes that predators could fit through, leaks in the roof, and holes or weak points in your fencing. Be sure to make necessary repairs as soon as possible to prevent unwanted visitors from harming your flock.
4. Put Everything Back Together
Once your coop is clean and dry and repairs have been made if needed, refill your coop and nesting boxes with clean bedding of your choice. Our bales of pine shavings and dust-free chopped straw make excellent bedding options for your coop year-round. You can replace heated waterers with regular ones; keep an eye on the temperature forecast to ensure the water won’t freeze. Warm spring days often lead to cold nights, so be diligent. Fill feeders with fresh food and return your chickens to their clean coop!
Stop by your local Feeds ‘n Needs store to view our large selection of poultry essentials, which will help you get your spring coop cleaning under way!
For more tips, tricks, and information about raising and owning chickens, check out our related blogs:
Hen’s Health Throughout the Seasons
Prep Your Coop for Chicks
Livestock Bedding Options
Sources:
https://bestnestbox.com/blogs/news/how-to-clean-and-disinfect-your-chicken-coops-for-spring#:~:text=Mix%20equal%20parts%20vinegar%20and,for%20an%20all-natural%20cleaning.
https://www.muranochickenfarm.com/p/coop-and-housing-posts.html
https://www.muranochickenfarm.com/2018/02/preparing-chickens-for-spring.html