
Are you a new pet parent?! Congratulations on your new best friend! Be sure to start off on the right paw by stopping into your local Feeds’n Needs with your new pet. Our Experts are here to help you. Whether it is training tips, toy recommendations, or choosing the perfect food to suit your pet’s needs, you can count on our team at Feeds’n Needs to happily help you every step of the way for your new pet essentials!
During your next visit to Feeds’n Needs, ask us about our Free Pet Food Loyalty Program – Yes, FREE! Your pet deserves the best, which is why we have a large variety of quality brands to suit every need throughout your pet’s life. For most of our brands in-store, every 12 bags of pet food purchased, you will receive the 13th FREE. Ask our Experts how to sign up and start saving today because it’s not just your pet who deserves to be treated!
Be prepared. Have essential supplies on hand before your new pet arrives if you can. The first few days with a new pet is the best time for bonding and forming good habits. Here are some of the essentials we recommend having for your new pet:
- Food
- Treats
- Bowls
- Pet Tag
- Collar
- Leash
- Crate
- Pet Bed
- Brush
- Tick Spray
Let your new pet take the time to explore their new surrounding without any other pets or people around to help them adjust when you first arrive home. It’s important to introduce pets in a safe and controlled way. Let pets get used to each other through a baby gate or with the new pet crated. Keep their initial interactions short and supervised until they get used to one another.
If you have a new pet, visit your local Feeds’n Needs and ask us about our New Pet Parent brochure and savings! We are here to help get you and your furry friend off to a great start!

Seeds for Fall Planting Season
It is a great time to stock up on seeds for the fall planting season – it is never too early to start thinking about spring. Many seeds enjoy the cold spell to nestle in the ground for winter and get a head start next spring.
For fall planting in Atlantic Canada, you want to wait until after a killing frost, meaning nothing is left growing from the summer season. If you plant your seeds too early, they may sprout. You want your seeds to hibernate for the winter and emerge in spring. If a fall seedling does sprout, mulch over them to prevent them from freezing.
To plant your seeds:
1. Prepare the bed as you normally would any time of the year
2. Clear all debris and add a layer of organic compost
3. Follow the seed packet for light and soil requirements
Seeds to Plant in the Fall:
This list covers both annuals and perennials to plant in the fall. These seeds require cold stratification to bloom the following spring, or they don’t mind the cold.
- Bells of Ireland Moluccella laevis
- Cornflower Centaurea cyanus
- Blanket Flower Gaillardia
- Poppy Papaveraceae
- Coneflower Echinacea
- Columbine Aquilegea
- Sweet Peas Lathyrus odoratus
- False Queen Anne’s Lace Ammi majus
- Foxglove Digitalis
- Sea Holly Eryngium
- Tickseed Coreopsis tinctoria
- Snapdragon Antirrhinum
- Hollyhock Alcea
- Black-Eyed Susan Rudbeckia
- Forget-Me-Not Myosotis
- Penstemon Penestemon
- Sweet William Dianthus
- Ashy Sunflower Helianthus mollis
- Pansy Viola
- Love-In-A-Mist Nigella damascene
- Delphinium
- Basket of Gold Alyssum Aurinia saxatilis
- Chinese Forget-Me-Not Cynoglossum amabile
- Common Woolly Sunflower Eriophyllum lanatum
- Lunaria Lunaria annua
- Biglead Lupin Lupinus polyphyllus
- Veronica Veronica spicata
- Purple Chinese Houses Collinsia heterophylla
- Globe Gilia Gilia capitata
- Baby’s Breath Gypsophila elegans
- Baby Blue Eyes Nemophila menziesii
Vegetables to Plant in the Fall:
Here is a list of some vegetables you can plant in the fall and enjoy next spring and summer!
- Onion, garlic, and shallots:
-
- These are best planted in the fall due to their long growing season. They need a cold period to grow well and are best planted early to mid-fall.
- Turnips, carrots, radishes, and beets
-
- These root vegetables don’t mind the cold, you may even see minimal growth. You will most likely notice a sweeter taste when planted in the fall.
- Lettuce and leafy greens
-
- You can have fresh greens year-round by using a cold frame or mini-greenhouse outside throughout the winter.
Here is a complete list of when to plant vegetables in Atlantic Canada!
New Brunswick: 2023 Planting Calendar: When to Start Vegetable Seeds | The Old Farmer’s Almanac
Nova Scotia: 2023 Planting Calendar: When to Start Vegetable Seeds | The Old Farmer’s Almanac
Prince Edward Island: 2023 Planting Calendar: When to Start Vegetable Seeds | The Old Farmer’s Almanac
Visit us today at any one of our 13 Feeds’n Needs locations. Stock up on your seeds before they’re gone! Now is the perfect time to plant for next year’s harvest. Happy planting!
Source: Seeds to Plant in the Fall for Next Season’s Blooms – Garden Therapy
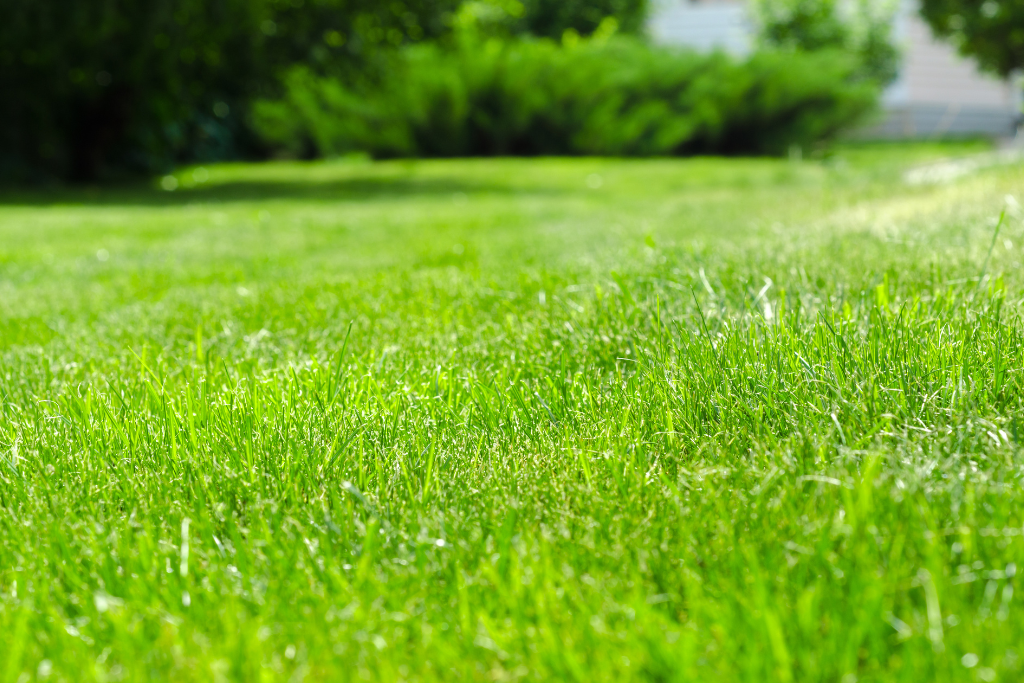
How to Maintain a Healthy Lawn
Are you looking to have the best yard in your neighbourhood this season?! Now is the time to start! While maintaining an attractive lawn, it is important to concentrate on the basic needs and conditions of the lawn and soil to fix any issues. Preventing lawn problems is usually easier than treating them with chemical pesticides after the issues start. Here are some simple tips on how to maintain a healthy lawn.
Rake Thatch
Rake any thatch – any dead grass from the previous year. Too much thatch reduces water and nutrients moving down to the roots and can shelter damaging insects and fungi.
Fertilize
Regularly fertilizing your lawn gives it the necessary nutrients to keep it strong and healthy. It will help out-compete any possible weed infestations and will make it tolerate a certain degree of insect infestation. Choose a fertilizer high in nitrogen with some iron for your first fertilizer application. Move to a fertilizer that has a longer-lasting effect for your second application. This type of fertilizer will release over the season rather than quickly. Fertilize in April/May or September when the lawn is actively growing.
Lime
Maritime soil is often very acidic. Sweeten the soil by adding lime. It is recommended to apply twice a year. Test your soil to determine whether your pH level suits your lawn. It should have a pH of 5.8-6.5.
Overseed
Overseeding is an easy and effective way to strengthen your lawn and protect against weed problems, especially in sparse areas after the winter cold or summer heat.
How to overseed:
1. Rake the bare or thin areas vigorously to loosen the soil.
2. For thickening-up purposes, apply at half the recommended rate.
3. For patching-up purposes, apply at the full recommended rate.
4. Apply a thin layer of topsoil on patched-up areas.
Aerate
Aerating the soil increases air and water circulation by opening up air spaces. Compacted soil is bad for grass development and often results in weed infestations such as plantain and clover.
Mowing Habits
Good mowing habits will help the overall health of your lawn. It is healthier to mow more frequently and keep the grass longer than removing too much at once. Maintaining your grass at a high of about 2-3 inches makes it more tolerant of drought and better to compete against weeds.
Grass Seed
Grow a lawn with more than one type of grass. Lawns with mixed grass are more tolerant of different growing conditions and insect- and disease-resistant.
Watering
Lawns usually receive enough water from rainfall, but in the driest summer periods, ensuring your lawn gets enough water is vital. Water just enough so that about 1 inch covers the entire surface of your yard. Watering in the morning or evening will reduce evaporation.
Weed Control
Weeds are prone to grow in lawns that are in poor condition. Weed seeds quickly germinate and grow in damaged areas where the soil is compacted or grass that is heavily damaged by insects and diseases. Re-seed any bare or damaged patches quickly. Walk in different places to avoid compacting the soil or waring bare spots in the grass.
Pest Control
Some lawn problems don’t seem to go away and might need a pesticide. Figure out what’s causing the problem, and visit your local Feeds’n Needs for advice on the best product to resolve your lawn issues. You can ask our Experts in-store any questions about your lawn care process. Great lawns start with Feeds’n Needs!
Early lawn care process:
April to May – Set a plan, rake, lime, create air movement, sunlight, and start with a clean slate.
May to June – Overseed and fertilize OR take care of weeds
July to August – Water (deep); mow (about 3″); fertilize, and weed
September to October – Lime, overseed and fertilize
Early November – Rake, dormant fertilize, dormant seed, put to bed
Sources:
Halifax Seed Company – Lawn Care: How to Maintain a Lush, Green & Healthy Lawn
Healthy.Lawns.pdf (novascotia.ca)
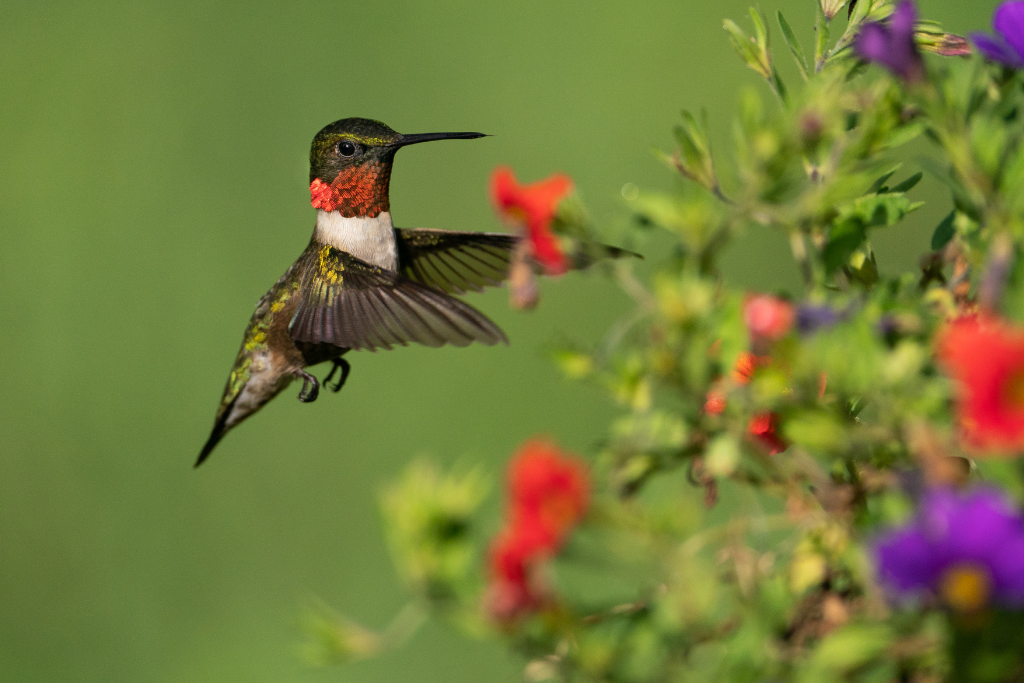
Tips on Attracting Hummingbirds
Hummingbirds are fascinating little visitors, and when we start seeing them in our backyard, we know the warmer weather is approaching as they migrate north. Native flowers are the best source of nectar, but a nectar powder or concentrate can give them a needed energy boost to help them along their journey.
The most common hummingbirds seen in Atlantic Canada are the Ruby-throated and Rufous. Here are some tips on attracting hummingbirds to your backyard.
- Choose a Feeder: Make sure your feeder is easy to open and clean. Red feeders attract hummingbirds as the flowers pollinated by hummingbirds are often red. The port size is important when choosing a hummingbird feeder because if your ports are too small, they will not allow the nectar out and will be difficult for hummingbirds to use. Ports that are too large may leak and allow insects to get in. Consider adding bee guards, which snap over ports.
- Choose a Nectar: Hummingbirds love sweet formulas and will eat nectar and sugar water all season. At Feeds’n Needs, we have many different ready-to-use nectar options available, ranging from powder concentrates, liquid concentrates and instant concentrates. Never use honey in your feeders. Honey fosters bacterial and fungal growth and ferments faster than sugar water.
- Change Your Nectar Regularly: Scrub feeders with hot water and a clean bottle brush and refill every three days. If it is hot out, you should clean and refill your feeders more often. Discard the nectar and clean your feeder immediately if there are any signs of cloudy water or mould. Always rinse feeders in hot or boiling water before adding fresh nectar. A consistently clean feeder will ensure regular feedings.
- Attract Hummingbirds to Your Backyard: Plant native plants near your hummingbird feeder. Colourful plants, predominantly red, will attract hummingbirds as they have good colour vision.
- Feeder Placement: Hummingbirds prefer feeders near trees and shrubs to rest and observe their surroundings. Set feeders in areas protected from the wind. Make sure your feeder is safe from cats and other predators.
- When to Put Up and Take Down Feeders: Set up and fill your hummingbird feeder before the first spring hummingbirds arrive. Male hummingbirds arrive a few days before females and young birds.
Hummingbird season is here, and our stores have a large selection of feeders and supplies. Check out this interactive hummingbird migration map to track them this Spring! https://www.hummingbirdcentral.com/hummingbird-migration-spring-2023-map.htm
Sources:
Fun Facts About Hummingbirds (kaytee.com)
Feeding and attracting hummingbirds – Birds Canada | Oiseaux Canada
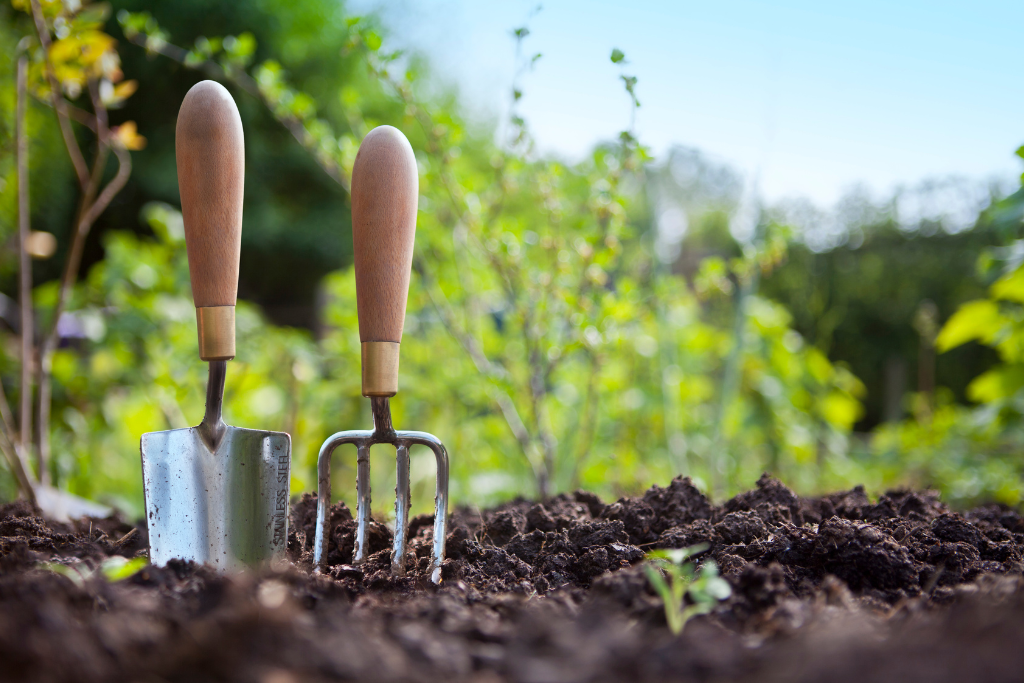
Gardening Tips for Beginners
Do you want to learn something new this spring and summer? Gardening is a fun and rewarding hobby! If you’re unsure where to start, no problem! Whether you’re trying to grow fruits and veggies or add some colour and curb appeal to your home, these seven simple gardening tips for beginners can help:
- Site it right – Gardening is all about location. When deciding where to put your garden plot, it’s essential to know if the area is “full sun,” “full shade,” or a combination of both. This information can help you determine which plants to place in which areas.
- Plan your garden – Sitting down and planning your garden is a great starting point. It is important to choose the right plants for your space and avoid overcrowding. Many plants, including fruits and vegetables, need six hours of sun daily to thrive, while others are better suited to areas with little light. If you are thinking of putting your garden in a spot that will get lots of sunlight, consider planting perennial plants (plants that return every year) like dahlias, roses, peonies, and lavender. Fruit trees and vegetables also thrive in sunny spots. If your garden will sit in a shaded area, consider plants like ferns, hydrangeas, sweet woodruff, hostas, and azaleas. Be sure to know how high your plants will grow. Shorter ones should be planted toward the front of your garden bed, with taller plants in the back to prevent blocking smaller ones.
- Test Your Soil – To thoroughly read your soil’s pH and nutrient levels, purchase an at-home testing kit available at your local Feeds’n Needs. The results will tell you how acidic or alkaline your soil is, which affects how plants absorb nutrients. Since different plants thrive in different pH levels, this test will help you decide what to plant or indicate how you should treat the soil.
- Invest in the Proper Gardening Tools – Visit your local Feeds’n Needs to pick up the essential gardening tools needed to start your garden.
- Learn Your Frost Dates – Planting too early (or late) in the season can set you up for disaster. Starting a garden before the season’s last frost is a mistake many new gardeners make. You need to know your area’s last average spring frost date so you don’t accidentally kill plants by putting them out prematurely, especially if you’re growing frost-sensitive plants. It’s also good to know your first average fall frost date to get your plants harvested or moved indoors before late-season cold damages them.
- Add Some Mulch – Consider adding 2-3 inches deep of mulch around the base of each plant. This will help reduce weeds and moisture loss through evaporation, so you have to weed and water less often. You can also put down straw, shredded leaves, pine straw, or other locally available material.
- Feed Plants Regularly – Watering and fertilizing your garden should become a regular part of your routine during the spring and summer. Knowing when and how to water plants seems easy, but it is often done incorrectly. Generally, water the root rather than the leaves, as the roots absorb the water. Depending on how much rain your area receives, you should head out to your garden at least once a week to water your plants. Once every two weeks, fertilize your garden, we recommend Seaboost to help grow healthy, vibrant plants. When diluted, this concentrated liquid can be applied by watering can or spray equipment.
These are just a few tips for starting your gardening journey. If you want more specific advice or plant recommendations, visit your local Feeds’n Needs and ask one of our Experts. Happy gardening!
Sources:
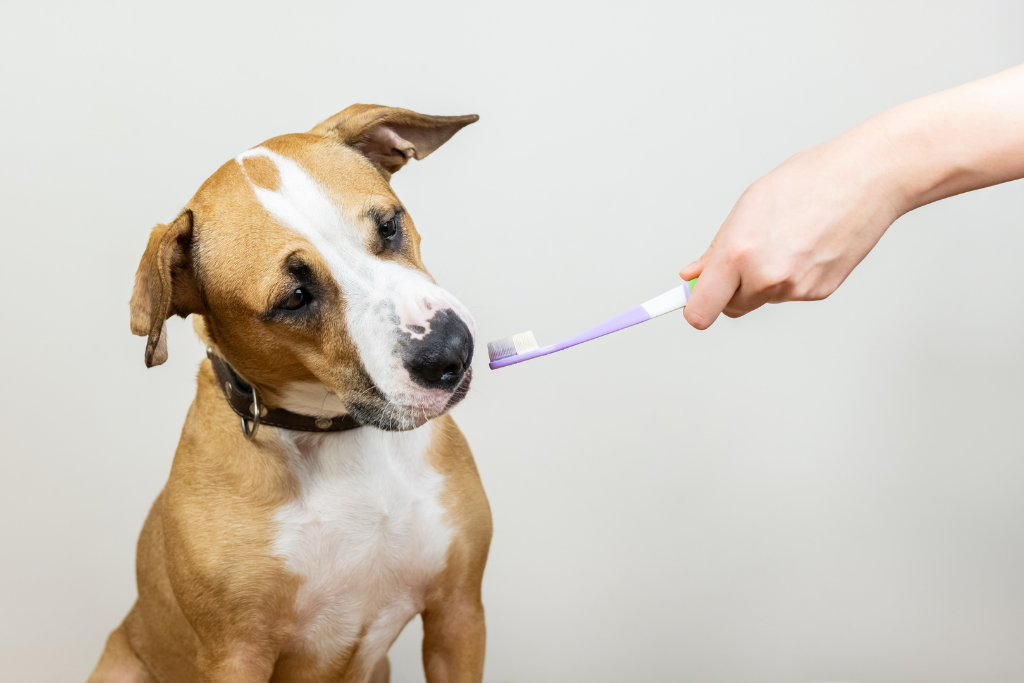
The Importance of Your Pet’s Dental Health
Dental care for pets is often overlooked. We teach our children about the importance of oral health care, so why do we neglect our pets? Our pets rely on us to keep their mouths clean and healthy. Good dental hygiene is directly tied to overall health and longevity for our pets. As pet parents, we want our pets to have healthy mouths. Here are some reasons why good dental care is so critical to our pet’s overall health:
- Preventing Tooth Loss: Good pet dental care will ensure the structures supporting a dog and cat’s teeth stay healthy and keep their teeth in place.
- Preventing Bad Breath: Bad breath will not be a problem when your pet has a healthy mouth and teeth.
- Preventing Oral Pain: Dental disease can become painful for dogs and cats. Keeping their teeth and gums healthy will prevent any pain.
- Preventing Organ Damage: Bacteria in plaque buildup can actually enter your pet’s bloodstream and spread to their heart, kidney and liver. This spread of bacteria, called bacteremia, can damage organs and make your pets quite sick.
- Preventing Worsening Dental Disease: So many pets have dental disease by the time they are three years old. Good dental care can prevent dental disease from becoming severe. It is essential to take preventative measures when your pets are young to avoid dental disease.
Preventative measures against dental disease should begin when your pets are young, but it is never too late to get them accustomed to teeth brushing! Here are some good reminders and tips to ensure the well-being of your furry friend’s oral hygiene:
- Regular exams are important. It is recommended to visit the vet once a year.
- Check your pet’s breath monthly. Bad breath can indicate gum disease.
- Dogs can often disguise how much pain they are truly in. Regularly monitor eating and chewing habits to look for signs of oral distress.
- Check for red, puffy gums and yellow or browning tartar on teeth as signs of concern.
- Supplements and diet play an important role.
- Dental-specific kibble and dental treats can help reduce plaque and tartar.
- Daily oral chews can help improve dental health.
- Look for Veterinary Oral Health Council-approved products.
- Daily brushing is essential in preventing bacteria build-up.
- Use a pet-specific toothbrush or a soft child toothbrush.
- Use pet-friendly toothpaste only.
- Start slow and work up to longer brushing.
Oral care is health care for our furry friends. Feeds’n Needs has a variety of specialty treats, chews and more to help keep your pet’s teeth healthy. Ask our Experts in-store about our favourite oral health care products and what will best suit your pet’s needs!
For more dental health tips for your pets, check out our other blogs:
Dental Health Tips for Your Dog
Dental Health Tips for Your Cat
Source:
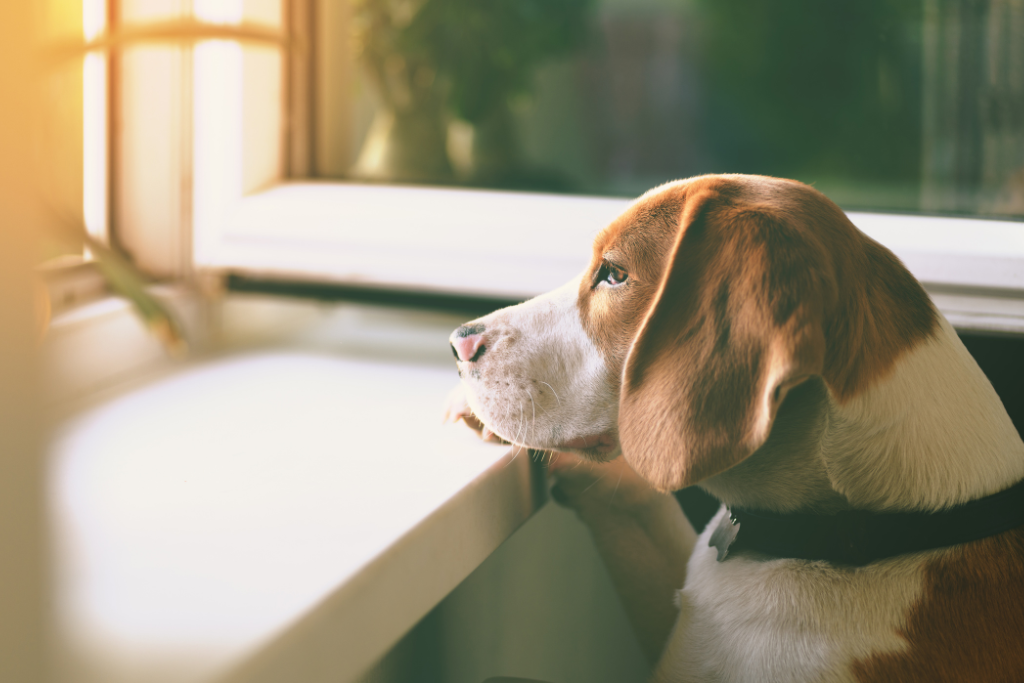
Tips To Minimize Your Dogs Separation Anxiety
Many dogs have gained separation anxiety after getting used to having their humans home with them more often over the past few years. Now that life is returning to a sense of normalcy and people are returning to the office, our dogs are left at home to deal with separation anxiety. They don’t understand why all of a sudden we aren’t at home every day with them. While you’re away, your four-legged friend may show signs of distress, such as barking, destructive chewing and even potty accidents or episodes of self-harm. These signs can all be due to separation anxiety.
Separation Anxiety In Dogs Can Be From Different Scenarios Such As:
-
- Being left alone for the first time or when used to constant human contact.
-
- Suffering a traumatic event, such as time away from you at a boarding kennel.
-
- A change in your dog’s routine or the loss of a family member or another pet.
Here Are Some Tips To Help Minimize Your Dogs Separation Anxiety:
- Keep arrivals and departures low-key. Ignore your pup for the first few minutes after you get home.
- Leave some recently worn clothes that have your scent on them.
- Consider trying an all-natural calming product such as Hemp 4 Paws Hemp Seed Oil. A natural health alternative for pets made with organic cold-pressed hemp seed oil and CO2-extracted hemp terpenes. These products are THC-free, so your pets can experience all of the health benefits of the hemp plant without any psychoactive effects. Ask your Feeds’n Needs Experts for more information on this great product on your next visit!
- Give your dog a special toy or treat each time you leave. Only give it to them when you’re gone, and take it away when you get home.
- Create a crate routine. Practice keeping your dog in their crate for short periods while you are home and gradually lengthen the time.
- Practice leaving your house for short periods. Not being home, even for a brief amount of time, can help maintain a sense of normalcy and help prevent your dog from becoming too dependent on your presence.
- Confine your dog in a safe place, such as a room with a window and toys that will keep them busy, and never leave them in total isolation.
- If you’re really concerned about your dog’s behaviour while you are out of the house, try a pet cam to help give you some peace of mind. Look for a model with two-way features that allow your dog to see and hear you. This trick is helpful for some dogs, while for others, it can make their anxiety worse not knowing where you are but being able to hear you.
- Desensitize items such as putting your shoes on and picking up your keys. Try putting on your shoes and then sit down at the table. Or pick up your keys and watch TV. Do this over and over many times a day.
What NOT To Do:
- Punishment is never effective in trying to help separation anxiety. It can worsen the situation.
- Getting your dog a companion usually doesn’t help an anxious dog because their anxiety results from their separation from you, not just the result of being alone.
- Crating your dog without being crate trained. If you do not crate train your dog and try to crate them to help with separation anxiety, they will still engage in anxiety responses inside their crate. They may urinate, defecate, howl/bark or even injure themselves in an attempt to escape.
Don’t rush things when helping your dog minimize their separation anxiety. Only you can tell if your dog is ready to be left home alone for more extended periods. Make sure your pup gets lots of exercise daily. It’s important to challenge your dog’s mind and body. A tired, happy dog will be less stressed when you leave them home.
Sources:
Separation Anxiety: How to Keep Your Dog Calm When You Leave (webmd.com)
Helping dog anxiety | The Humane Society of the United States
24Petwatch: Soothe Your Dog’s Separation Anxiety in These 8 Ways

Pet Fire Safety
National Pet Fire Safety Day takes place every year on July 15. It’s a day to learn how to keep your pet safe during a fire. Pets are part of the family, so it makes sense that we would dedicate a day to keeping them safe during one of the scariest situations we can imagine.
It is important to have a plan for your pets and your entire family, along with making your home “fire safe” for everyone! Make sure you have working smoke detectors and fire extinguishers to protect your whole family. Take these eight additional steps to help keep your pets safe:
1. Prevention:
Never leave your pets unattended around an open flame such as a candle or fireplace. Consider replacing your candles with flameless ones. If your dog knocks it over or your cat’s tail brushes it, they’ll be safe. They offer the same ambiance as a real candle, with fewer hazards. It may be best to eliminate the unnecessary open flames in your home entirely.
If you have a fireplace, be sure to watch your pets around them. Most will stay away, but some are curious and may get too close. Toys or other flammable items can accidentally be pushed too close to a fire which could quickly ignite.
2. Keep Your Pets Away From Hazards:
Cooking equipment is a major cause of pet-originated fires. Pets who jump on counters can hit a stove knob, turning the gas on or turning up a flame. If you have a curious pet or one who climbs on top of your counters, consider using knob covers or remove the knobs when you are not around to monitor your pet safely. Keep young or untrained pets away from potential hazards by crating them or securing them in a safe area with a baby gate.
If you know your pet tends to chew on things, make sure to hide loose wires that could potentially cause a fire, and turn them off and unplug them entirely when they are not in use.
3. Make Sure Emergency Responders Know You Have Pets:
A pet alert sign near each entrance to your home is an important pet fire safety step. It tells emergency responders that one or more pets are in your home and might need help. If you crate pets when you are away or sleeping, keep them near a door, so it’s easy for firefighters to find them after entering your home. You can also keep your leashes by the front entrance so they’re visible to first responders who may enter.
4. Make A Pet Fire Safety Evacuation Plan:
Every family should have a fire evacuation plan and do a practice fire drill at least twice a year. Include your pets in your fire evacuation plan and have leashes or carriers at easy access.
5. Consider Monitored Smoke Detectors:
For pet fire safety you may want to think about upgrading your smoke detectors. Consider using monitored smoke detectors. They are connected to a monitoring center so emergency responders can be contacted when you’re not home or at least send your phone a notification.
6. Know Where Your Pet Is Likely To Hide:
In case of a fire, your pet will probably be scared, especially if a loud fire alarm goes off. Know where your pet is likely to hide inside your home.
Unfortunately, if you can’t find them quickly, get outside and leave the door open for your pets to follow. Call for them to help them find their way and let firefighters know that pets are still inside.
7. Make Sure Pets Aren’t Lost During Evacuation:
A fire is a scary situation, and pets may run off. Another important pet fire safety step is ensuring your pets have a microchip before an emergency and that the information on the chip is up to date.
8. After A Fire, Watch Your Pet Closely:
If your pet acts lethargic or has trouble breathing, it could be a sign of smoke inhalation. See your veterinarian as soon as possible for any needed follow-up care.
Following these tips could help you prevent a fire or even save your pet’s life if an emergency occurs. Preparing ahead of time for pet fire safety can go a long way toward reducing risk. Spend some time this week developing your pet fire safety plan!
Sources: Pet Fire Safety: 8 Ways to Keep Your Pets Safe (bettercitiesforpets.com)

Water Safety For Dogs
Summer is here, and what better way to stay cool on hot sunny days than swimming. It’s a great source of exercise and fun for both you and your pup! Before you take your dog swimming, make sure you know how to keep things safe, especially since not all dogs know how to swim.
Here are some things to consider when swimming with your furry friend:
- Never leave your dog unattended while swimming. If you have a pool, keep your pet away from it when you are not swimming and fence it in if possible.
- Check the water temperature before you let your dog go swimming. Not all dogs can handle super cold water.
- Keep fresh drinking water nearby. Drinking pool, lake or ocean water can make your pet very sick.
- Check that the water is shallow and your pup can easily make it back to dry land. If you have a pool, show your dog how to get out using the steps.
- Thoroughly rinse your dog after swimming. Saltwater, chlorine, and lake algae can irritate or damage their skin and fur. Also, make sure to dry their ears completely to prevent any infections.
- Some dogs do well with life jackets. It’s a good idea to put a life jacket on your dog if you are on a boat or a dock. Make sure it fits them comfortably and that they still have full mobility. Visit your local Feeds’n Needs store with your pup, and our Experts can help with life jacket sizing.
- Never throw your dog into a body of water, especially if it is deep or has a current.
- Know your dog’s limits! Swimming is tiring, and a tired dog is more susceptible to drowning. Let your dog get out of the water to rest if you sense they may be getting tired.
- Remember, if they don’t want to go in, don’t force them. Try to keep it positive and stress-free on your pup. Make sure to know your dog. Some breeds are better suited for water than others. Breeds with short snouts such as pugs, English bulldogs and Boston terriers are not built to swim.
Dogs can have a lot of fun in the water, whether they love to swim or just love wading in the shallow water. Always remember that water safety for dogs is key while you and your pup have fun this summer!
Sources: Swim Safety for dogs | 24Petwatch
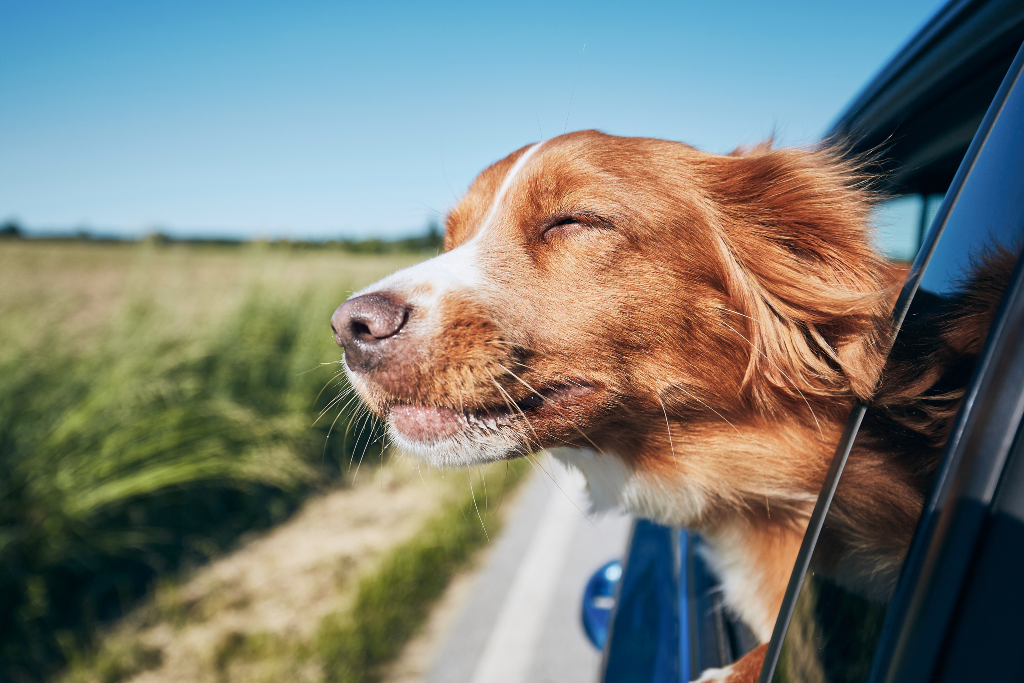
Road Trip Safety For Your Dog
While road tripping with your dog, their safety should be a top priority. Whether you’re driving a couple of kilometres or taking a long road trip, it’s important to have safety precautions in place at all times for your pet’s safety. Check out our tips to road trip safety for your dog. These tips will help keep your furry friends safe, secure and comfortable during your road trips so you both can enjoy the drive!
Keep them Buckled!
In order to keep your pup safe while on the road, the best thing to do is keep them properly restrained. Accidents can’t be foreseen, so it’s crucial to keep them protected at all times. Vehicles, unfortunately, don’t come with doggy seat belts, so during your next visit to your local Feeds’n Needs, ask our Experts what equipment is available and would be best for you and your furry friend. These are necessary to secure your dog and restrict them from harmful movement in the event of an accident. Prepare your pup for a safe road trip by taking them on short trips to town to get used to the safety equipment.
Pack the Essentials!
You never know what may happen on the road, so it’s good to have a first aid kit for you and your dog. Packing your pet’s food, water, treats, medicine, toys, and feeding bowls is also a good idea when going on a long drive. It’s a good idea to have something to keep your dog entertained and engaged, such as their favourite chew toy helping to keep them calm during the ride.
Wear your Dog Out!
A tired pup is often a more well-behaved one, so right before you plan to head out on your trip, take your pet for a long run or a visit to the dog park. This should help your dog feel more rested and calm. They may even sleep a portion of the drive. During long trips, it’s important to stop anywhere from 2 to 3 hours so your dog has some time to play and get some more energy out.
Don’t Let Them Overheat!
You should never leave your dog unattended in your car for any reason. Especially during the warmer weather, this can lead to heat stroke and even death. Be sure to pack water to keep your dog hydrated during your trip. Grab a portable dog water bottle from one of our stores before your next trip, making it simple to keep your pup hydrated during the drive!
These are just simple tips, but following them will help you have a safe road trip with your dog and one that you can both enjoy. If you ever have any questions, reach out to the Experts are your local Feeds’n Needs.


