
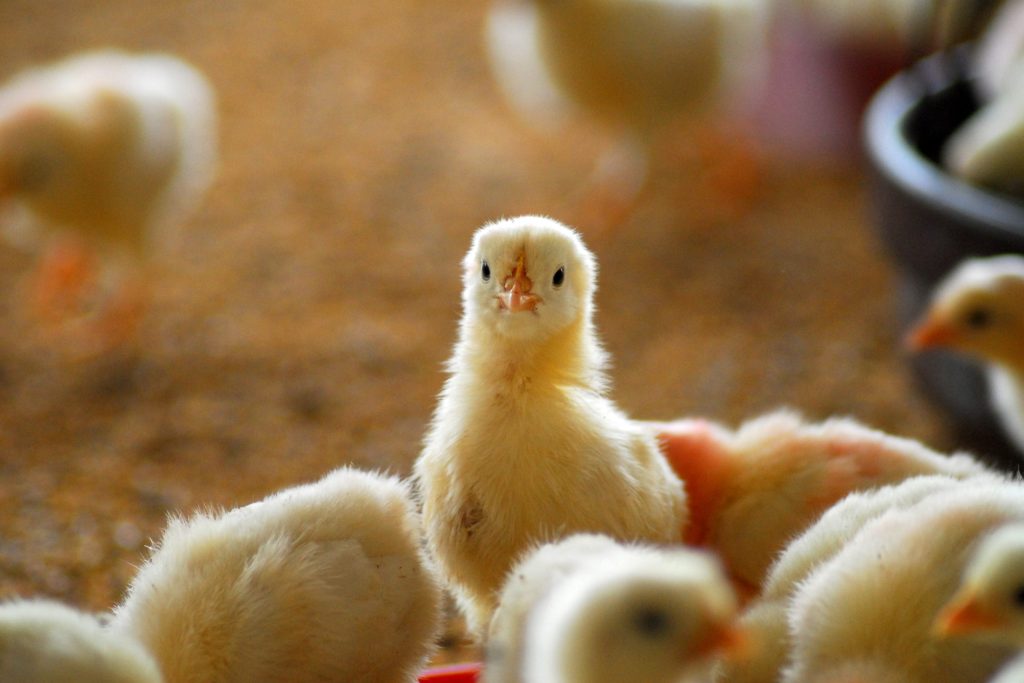
Raising layers requires a well-structured feeding regimen to ensure optimal health and egg production. This guide provides an in-depth look at the dietary essentials for layers, from the starter phase to the laying phase.
Initial Feeding Phase: 0-9 Weeks
Feed Type: Shur-Gain Homestead Chick Starter Ration Medicated Crumbles
Feeding Schedule:
- Frequency: Feed and water the pullets twice per day.
- Full Feed: Ensure that feed is available to the pullets at all times. This is known as “full feed,” meaning the feed should always be in front of them.
- Feed Freshness: Regularly check and replenish the feed to keep it fresh.
- Water Access: Provide continuous access to clean, fresh water.
Nutritional Requirements:
- Medicated Feed: Contains medication to prevent coccidiosis, a common parasitic disease in young chicks.
- Feed Consumption: By the end of the 9-week period, pullets should be consuming approximately 9 kg of feed per 100 birds per day.
Technical Details:
- Crude Protein: High protein content to support rapid growth and development.
- Vitamins and Minerals: Includes essential vitamins and minerals to promote strong immune systems and overall health.
- Medication: The inclusion of medication helps protect against early-life diseases, ensuring a healthy start for the pullets.
Growth Phase: 9 Weeks to Lay (18-20 Weeks)
Feed Type: Shur-Gain Homestead Chick Grow/Finisher
Feeding Schedule:
- Transition: After the initial 9 weeks, transition the pullets to Shur-Gain Homestead Chick Grow/Finisher.
- Feeding Limitation: Limit the feed so that pullets are out of feed for 2 hours per day to prevent overfeeding.
Nutritional Requirements:
- Growth Optimization: Formulated to support steady growth and muscle development.
- Balanced Diet: Provides a balanced diet with the necessary proteins, vitamins, and minerals to support healthy growth.
Technical Details:
- Energy Content: Optimized energy content to support the metabolic needs of growing pullets.
- Amino Acids: Includes essential amino acids to promote muscle development and overall growth.
- Feed Efficiency: The formulation is designed to maximize feed efficiency, ensuring that the pullets convert feed into body mass effectively.
Laying Phase: 18-20 Weeks and Beyond
Feed Type: Shur-Gain Homestead Layer Ration
Feeding Schedule:
- Transition: When the pullets begin their lay cycle or at 18 weeks of age, change the feed to Shur-Gain Homestead Layer Ration.
- Free Choice Feed: The birds should be placed on free choice feed until they reach a minimum intake of 105 grams of feed per bird per day. Avoid intakes greater than 120 grams per bird per day to prevent fatty liver syndrome.
Nutritional Requirements:
- Egg Production: Formulated to support optimal egg production and quality.
- Balanced Diet: Provides a balanced diet with the necessary proteins, vitamins, and minerals to support healthy laying hens.
Technical Details:
- Calcium Content: High calcium content to support strong eggshell formation.
- Energy Content: Optimized energy content to support the metabolic needs of laying hens.
- Feed Efficiency: The formulation is designed to maximize feed efficiency, ensuring that the hens convert feed into egg production effectively.
Age Range
Feed Type
0-9 Weeks
Homestead Chick Starter Ration Medicated Crumbles
9-18 Weeks
Homestead Chick Grow/Finisher
18 Weeks and Beyond
Homestead Layer Ration
Best Practices for Feeding and Care
- Monitor Feed and Water Intake:
- Regularly check the feed and water levels to ensure the chicks have continuous access.
- Clean and refill water containers daily to prevent contamination.
- Maintain Cleanliness:
- Keep the feeding area clean to prevent the spread of disease.
- Remove any wet or soiled feed to maintain feed quality.
- Observe Pullet Behavior:
- Monitor the chicks for any signs of illness or distress.
- Ensure that all chicks are eating and drinking properly.
- Adjust Feeding as Needed:
- As the chicks grow, their nutritional needs will change. Adjust the feed quantity and type accordingly.
By following this comprehensive guide to layer diet essentials, you’ll ensure your pullets grow into healthy, productive laying hens. Happy bird raising!

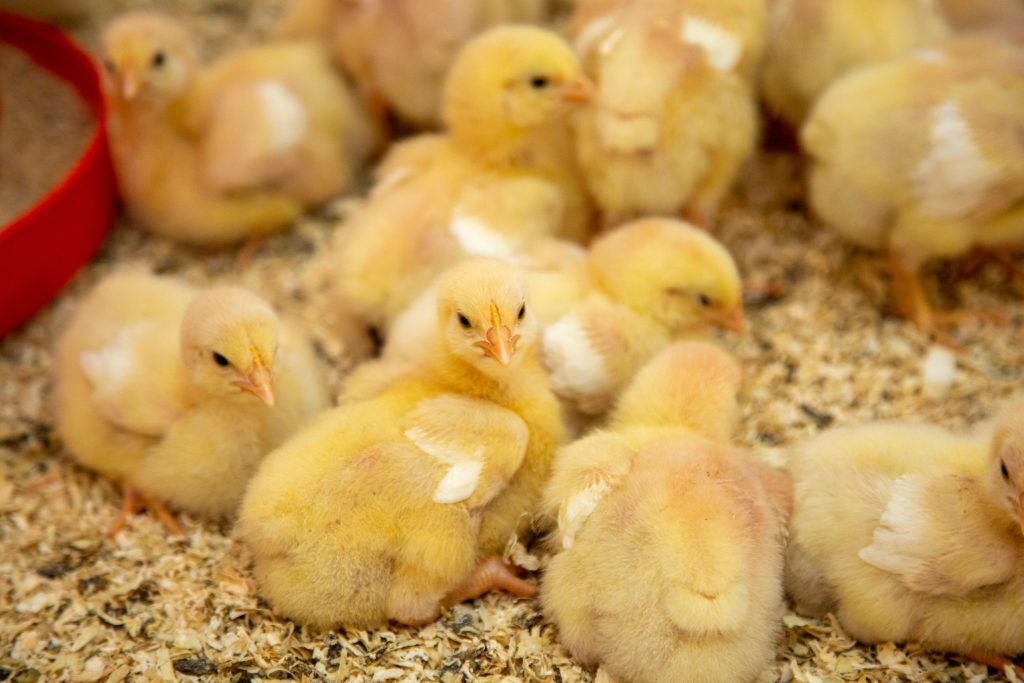
Comprehensive Guide to Broiler Diet Essentials
Raising broilers requires a well-structured feeding regimen to ensure optimal growth and health. This guide provides an in-depth look at the dietary essentials for broilers, from the starter phase to reaching market weight.
Initial Feeding Phase: 0-4 Weeks
Feed Type: Shur-Gain Homestead Chick Starter Ration Medicated Crumbles
Feeding Schedule:
- Frequency: Feed and water the chicks twice per day.
- Full Feed: Ensure that feed is available to the chicks at all times. This is known as “full feed,” meaning the feed should always be in front of them.
- Feed Freshness: Regularly check and replenish the feed to keep it fresh.
- Water Access: Provide continuous access to clean, fresh water.
Nutritional Requirements:
- Medicated Feed: Contains medication to prevent coccidiosis, a common parasitic disease in young chicks.
- Feed Consumption: By the end of the 4-week period, chicks should be consuming approximately 9 kg of feed per 100 birds per day.
Technical Details:
- Crude Protein: High protein content to support rapid growth and development.
- Vitamins and Minerals: Includes essential vitamins and minerals to promote strong immune systems and overall health.
- Medication: The inclusion of medication helps protect against early-life diseases, ensuring a healthy start for the chicks.
Growth Phase: 4 Weeks to Market Weight
Feed Type: Shur-Gain Homestead Chick Grow/Finisher
Feeding Schedule:
- Transition: After the initial 4 weeks, transition the chicks to Shur-Gain Homestead Chick Grow/Finisher.
- Market Weight: Continue feeding the Grow/Finisher ration until the chicks reach the desired market weight.
Nutritional Requirements:
- Growth Optimization: Formulated to support rapid growth and muscle development, ensuring the birds reach market weight efficiently.
- Balanced Diet: Provides a balanced diet with the necessary proteins, vitamins, and minerals to support healthy growth.
Technical Details:
- Energy Content: Optimized energy content to support the high metabolic needs of growing broilers.
- Amino Acids: Includes essential amino acids to promote muscle development and overall growth.
- Feed Efficiency: The formulation is designed to maximize feed efficiency, ensuring that the birds convert feed into body mass effectively.
Age Range
Feed Type
0-4 Weeks
Homestead Chick Starter Ration Medicated Crumbles
4 Weeks to Market
Homestead Chick Grow/Finisher
Best Practices for Feeding and Care
- Monitor Feed and Water Intake:
- Regularly check the feed and water levels to ensure the chicks have continuous access.
- Clean and refill water containers daily to prevent contamination.
- Maintain Cleanliness:
- Keep the feeding area clean to prevent the spread of disease.
- Remove any wet or soiled feed to maintain feed quality.
- Observe Chick Behavior:
- Monitor the chicks for any signs of illness or distress.
- Ensure that all chicks are eating and drinking properly.
- Adjust Feeding as Needed:
- As the chicks grow, their nutritional needs will change. Adjust the feed quantity and type accordingly.
By following this comprehensive feeding guide, you can ensure that your broilers receive the proper nutrition and care they need to thrive. Proper feeding practices not only promote healthy growth but also contribute to the overall well-being and productivity of your flock.

Brooder Checklist for Getting Started
Raising backyard birds can be a rewarding experience, but it’s essential to start with the right setup. A brooder is a safe, warm environment for your chicks to grow during their first few weeks of life. Here’s a comprehensive checklist to help you get started:
Brooder Box
- Size: Ensure the brooder box is large enough to accommodate your chicks as they grow. A good rule of thumb is to provide at least 0.5 square feet per chick. Suitable options include plastic storage bins, cardboard boxes, or wooden crates.
- Ventilation: Make sure the box has adequate ventilation to prevent overheating and ensure fresh air circulation. You can create ventilation holes if necessary, but ensure they are small enough to prevent drafts.
Heat Source
- Heat Lamp: Use a heat lamp with a red or infrared bulb to provide consistent warmth. Position it securely above the brooder box, ensuring it is not too close to avoid overheating. The lamp should be adjustable to raise or lower the temperature as needed.
- Thermometer: Place a thermometer at chick level to monitor the temperature accurately. Start with 95°F (35°C) directly under the lamp and reduce by 5°F each week until the chicks are fully feathered (around 6 weeks old). Ensure there is a cooler area in the brooder for chicks to move to if they get too warm.
Bedding
- Material: Use absorbent bedding such as pine shavings, straw, or paper towels. Avoid cedar shavings as they can be harmful to chicks due to their strong aroma.
- Depth: Ensure the bedding is about 2-3 inches deep to provide comfort and absorb waste. Change the bedding regularly to maintain cleanliness and prevent the buildup of ammonia from droppings.
Food and Water
- Feeder: Use a chick feeder to provide easy access to food. Refill it regularly with chick starter feed, which is high in protein (18-20%) and essential nutrients for growth. Ensure the feeder is clean and free from droppings.
- Waterer: Provide a shallow waterer to prevent drowning. Add marbles or small stones to the water dish to keep chicks safe. Change the water daily and ensure it is always clean and fresh.
Safety and Hygiene
- Secure Lid: Ensure the brooder box has a secure lid to protect chicks from predators and prevent them from escaping. The lid should allow for proper ventilation.
- Cleanliness: Clean the brooder regularly to prevent the buildup of waste and bacteria. Replace bedding as needed and sanitize the feeder and waterer with a mild disinfectant. Rinse thoroughly to remove any residue.
Additional Supplies
- Thermometer: Keep an extra thermometer on hand to ensure accurate temperature readings.
- Chick Grit: Provide chick grit to aid digestion, especially if you’re feeding treats or non-commercial feed. Grit helps grind food in the chick’s gizzard.
- First Aid Kit: Have a basic first aid kit ready for any minor injuries or health issues. Include items like antiseptic, bandages, and electrolytes.
Monitoring and Care
- Observation: Check on your chicks frequently to ensure they are warm, healthy, and active. Look for signs of distress such as huddling under the heat lamp (too cold) or panting away from it (too hot). Adjust the heat source accordingly.
- Socialization: Handle your chicks gently and regularly to help them become accustomed to human interaction. This will make them easier to manage as they grow.
By following this technical brooder checklist, you’ll create a safe and nurturing environment for your chicks to thrive. Happy bird raising!

Brooder Maintenance for Raising Backyard Chicks
Step 1: Check Food & Water Daily
Nutritional Requirements:
Feed Type: Use a high-quality chick starter feed with 18-20% protein content.
Water Quality: Ensure water is clean and fresh. Use a chick waterer to prevent contamination.
Daily Routine:
Food: Refill feeders daily and remove any old or damp feed to prevent mold growth.
Water: Change water at least twice a day. Clean the waterer regularly to avoid bacterial buildup.
Step 2: Keep Bedding Clean & Dry
Bedding Material:
Types: Use absorbent materials like pine shavings or straw. Avoid cedar shavings due to their strong odor and potential toxicity.
Depth: Maintain a bedding depth of 2-3 inches to provide insulation and comfort.
Maintenance:
Daily Checks: Remove soiled bedding daily to reduce ammonia buildup and prevent respiratory issues.
Full Replacement: Replace all bedding weekly or as needed to maintain a clean environment.
Step 3: Monitor the Brooder Temperature
Temperature Requirements:
Initial Temperature: Start with a brooder temperature of 95°F (35°C) for the first week.
Gradual Reduction: Decrease the temperature by 5°F (2.8°C) each week until it reaches ambient temperature.
Monitoring Tools:
Thermometers: Place thermometers at chick level to accurately monitor the temperature.
Heat Sources: Use heat lamps or brooder plates. Ensure they are securely positioned to prevent accidents.
Step 4: Provide a Roosting Pole and Secure the Brooder
Roosting Pole:
Introduction: Introduce a low roosting pole when chicks are about 2 weeks old to encourage natural behaviors.
Placement: Ensure the pole is stable and positioned away from food and water sources.
Brooder Security:
Enclosure: Use a secure brooder box with high sides to prevent chicks from escaping.
Predator Protection: Cover the brooder with a mesh lid to protect chicks from predators and pets.
Step 5: Play with Your Chicks
Socialization:
Handling: Gently handle chicks daily to build trust and reduce stress.
Enrichment: Provide toys and perches to stimulate their curiosity and physical development.
Observation:
Health Monitoring: Regularly observe chicks for signs of illness or distress. Early detection is key to preventing health issues.
By following these detailed steps, you can create a safe, healthy, and stimulating environment for your backyard chicks, ensuring they grow into strong and healthy adult chickens. Happy chick raising!

Chicken Treats
Treating your chickens to the right snacks can make a world of difference in their health and happiness. High-protein options like dried mealworms are great for boosting energy, especially during molting season, while fresh fruits, vegetables, and even herbs offer a nice variety of nutrients. However, it’s important to remember that treats should make up no more than 5% of their overall diet. Here are some of the top choices:
Dried Mealworms: Dried mealworms are a top favorite among chickens and for good reason. They’re packed with protein, making them ideal for molting season when your flock needs an extra nutritional boost.
Black Soldier Fly Larvae: Dried black soldier fly larvae are another excellent high-protein, calcium-rich treat. These are especially beneficial for laying hens, supporting strong eggshells and healthy growth.
Fresh Vegetables: Fresh veggies are a nutritious and safe treat for chickens. Try offering them: Broccoli, leafy greens like kale, spinach, and Swiss chard, peas, beets, pumpkin and squash (which also act as natural dewormers)
Fruits: Fruits can be an occasional treat for your chickens. Keep fruit servings moderate, as too much fruit can lead to excess sugar in their diet. Some favorites include: Watermelon, apples (without seeds), strawberries, and blueberries
Herbs: Not only are herbs delicious, but they can also provide health benefits. For example: Oregano boosts the immune system. Mint aids digestion. Parsley offers vitamins and minerals.
DIY Chicken Treats: Why not get creative and make some homemade treats for your chickens? DIY treats are a fun way to bond with your flock. Try our DIY Treat Blocks for Chickens recipe: feedsnneeds.ca/advices/diy-treat-blocks-for-chickens/
Grains and Other Snacks:
Oatmeal: A warm, comforting winter treat, oatmeal helps keep chickens nourished in colder months. Add some black soldier fly larvae or mealworms for an extra protein boost.
Grains: Offer grains like wheat and cracked corn in moderation, especially during winter when your chickens need more energy to stay warm.
Yogurt: Plain, unsweetened yogurt is a great probiotic treat for chickens, helping their digestion and overall health. You can also mix in some berries for a tasty, nutritious parfait! However, too much yogurt can cause digestive issues, so keep servings small.
Key Takeaways:
While it’s fun to treat your chickens, it’s important to remember that 90% of their diet should come from complete chicken feed. Offering too many treats can lead to nutrient imbalances and health issues.
Take seasonal needs into account as well. Frozen treats are perfect for hot summer days, while warm snacks can help keep chickens cozy and energized during winter. To keep them mentally stimulated, consider hanging fruits and vegetables to encourage foraging behavior.
By offering the right treats in moderation, you’ll help keep your chickens happy, healthy, and engaged!
Sources:


Transition Chicks from Brooder to Coop
Chicks are typically ready to transition from the brooder to the coop around 5-6 weeks old, once they are fully feathered. Here’s what to check for before making the move:
Feather Development
At 5 to 6 weeks, chicks begin to develop adult feathers, replacing their fluffy down. This feathering helps them regulate their body temperature, making them better suited for the outdoors. Ensure that they have most of their feathers before moving them outside.
Temperature Acclimation
Chicks start in a warm brooder, usually at 32-35°C (90-95°F). The temperature should gradually be reduced each week. By the time they reach 6 weeks, the brooder should be around 15-18°C (60-65°F), similar to the expected daytime temperatures outside. During colder weather, you might need to bring them back inside at night to keep them warm.
Introduction to the Flock
If your chicks are joining an existing flock, it’s crucial to introduce them slowly to avoid conflict. Introducing them carefully reduces the risk of bullying and aggression. All chicks, including the new arrivals, should be fed chick starter until they are 16 weeks old. Regular layer feed contains too much calcium for younger birds and can harm their development. For further information see How to Introduce New Chickens to Your Flock.
Ready for Treats and Grit
If you plan to offer treats, start introducing them a few days before moving your chicks outside. This will help them associate the treats with their new environment, making it easier to guide them into the coop at night. If you feed treats (no more than 15% of their total diet), provide grit so they can properly digest their food.
Additional Considerations
- Ventilation and Space: Ensure the coop is well-ventilated and provides enough space for the chicks to move around comfortably. Overcrowding can lead to stress and health issues.
- Predator Protection: Make sure the coop is secure from predators. This includes reinforcing doors and windows and checking for any gaps or weak spots.
- Sanitation: Maintain cleanliness in the coop to prevent the spread of diseases. Regularly clean bedding and provide fresh water and food daily.
- Health Monitoring: Keep an eye on the chicks for any signs of illness or distress. Early detection and intervention are key to maintaining a healthy flock.
By following these guidelines, you can ensure a smooth and safe transition for your chicks from the brooder to the coop.

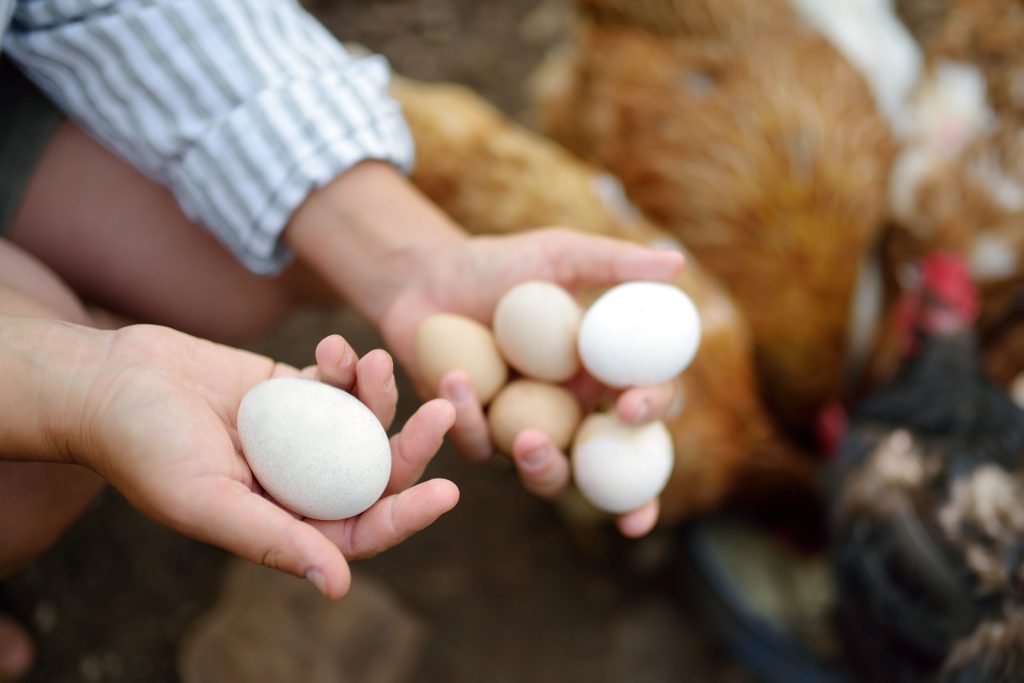
Benefits of Sourcing Fresh Eggs from your own Backyard
Freshness & Quality
Freshness is indeed the most significant advantage of backyard eggs. Store-bought eggs can be several weeks old by the time they reach your kitchen, whereas backyard eggs can be consumed the same day they are laid. This freshness translates to better taste and texture, with firmer whites and more vibrant yolks.
Nutritional Differences
Backyard eggs often have superior nutritional profiles compared to store-bought eggs. Studies have shown that eggs from chickens allowed to roam freely and forage naturally contain:
- Lower cholesterol and saturated fat: Backyard eggs typically have less cholesterol and saturated fat due to the varied diet of the chickens.
- Higher levels of vitamins and minerals: These eggs are richer in beta-carotene, vitamin A, vitamin E, and omega-3 fatty acids, which are crucial for maintaining good health.
- Deeper yolk color: The deep golden yolks of backyard eggs indicate higher levels of carotenoids, which are beneficial antioxidants.
Variety and Aesthetics
Backyard eggs come in a variety of colors, including shades of brown, green, and blue, depending on the breed of the chicken. This not only adds visual appeal but also reflects the diversity of your flock.
Control Over Chicken Health and Diet
By raising your own chickens, you have complete control over their diet and living conditions. This means you can ensure they are fed a balanced diet free from antibiotics and hormones, which are often used in large-scale egg production. Healthier chickens lay healthier eggs, which benefits your overall well-being.
Environmental and Ethical Benefits
Raising chickens in your backyard can also have positive environmental and ethical implications:
- Reduced carbon footprint: By sourcing eggs locally, you reduce the need for transportation and packaging, which lowers your carbon footprint.
- Better animal welfare: Backyard chickens typically have better living conditions compared to those in commercial egg production facilities, leading to improved animal welfare.
Economic Benefits
While there is an initial investment in setting up a chicken coop and purchasing feed, raising your own chickens can be cost-effective in the long run. You save money on eggs and potentially reduce waste by feeding kitchen scraps to your chickens.
Conclusion
In summary, sourcing fresh eggs from your backyard offers numerous benefits, from superior freshness and nutritional quality to environmental and ethical advantages. By taking control of your egg supply, you ensure a healthier, more sustainable, and enjoyable experience.


