
When planning your garden, the type of seeds you choose influences everything – from flavour and appearance to how well your plants grow and whether you can save seeds for next year. Here’s a simple guide to help you understand the main seed types and how they connect to seed saving.
Heirloom Seeds
Heirloom seeds come from plant varieties that have been passed down through generations, often 50 years or more. Their genetics remain stable because they come from open‑pollinated plants that naturally reproduce true to type.
Why gardeners love them:
- Amazing flavours and unique colours
- Rich history and biodiversity
- You can save seeds, and they’ll grow true year after year
Best for:
Gardeners who love tradition, character, and seed-saving.
Hybrid Seeds
Hybrid seeds are created by intentionally crossing two parent plants to produce offspring with specific traits like disease resistance or higher yields.
Benefits:
- Strong, uniform plants
- Improved productivity
- Better resistance to pests and disease
Important to know:
Hybrid seeds won’t grow true if you save their seeds. The next generation will be unpredictable, often reverting to characteristics of the parent plants.
Best for:
Gardeners who want reliability and consistent results.
Open‑Pollinated Seeds
Open‑pollinated seeds come from plants pollinated naturally by wind, insects, or animals. Their genetics are stable, meaning they will produce plants similar to the parent.
Why they’re great:
- Seeds can be saved and replanted
- Wide variety of shapes, sizes, and flavours
- Great for gardeners who want dependable results
All heirloom seeds are open-pollinated, but not all open-pollinated seeds are heirloom.
Saving Seeds: What You Need to Know
Seed saving is a rewarding way to maintain your favourite varieties and reduce gardening costs. But success depends on starting with the right types of seeds.
Best seeds for saving:
- Heirloom
- Open‑pollinated
These seeds will reproduce true to type, giving you plants that match the parent.
Seeds not recommended for saving:
- Hybrid: Hybrids won’t produce consistent offspring, so saved seeds usually lead to surprises not always good ones!
Tips for saving seeds:
- Choose healthy, vigorous plants as parents.
- Allow fruits or flowers to fully mature before collecting seeds.
- Dry seeds thoroughly before storing.
- Store seeds in a cool, dark, dry place.
Understanding seed types helps you make confident choices in your garden. Whether you love the charm of heirlooms, the strength of hybrids, or the dependability of open‑pollinated seeds, there’s a place for each in a thriving garden. And if you enjoy the idea of growing your own “garden legacy,” seed saving is the perfect next step.
References:
3 Main Types of Vegetable Seeds Explained – Food Gardening Network
Veseys Facebook Page
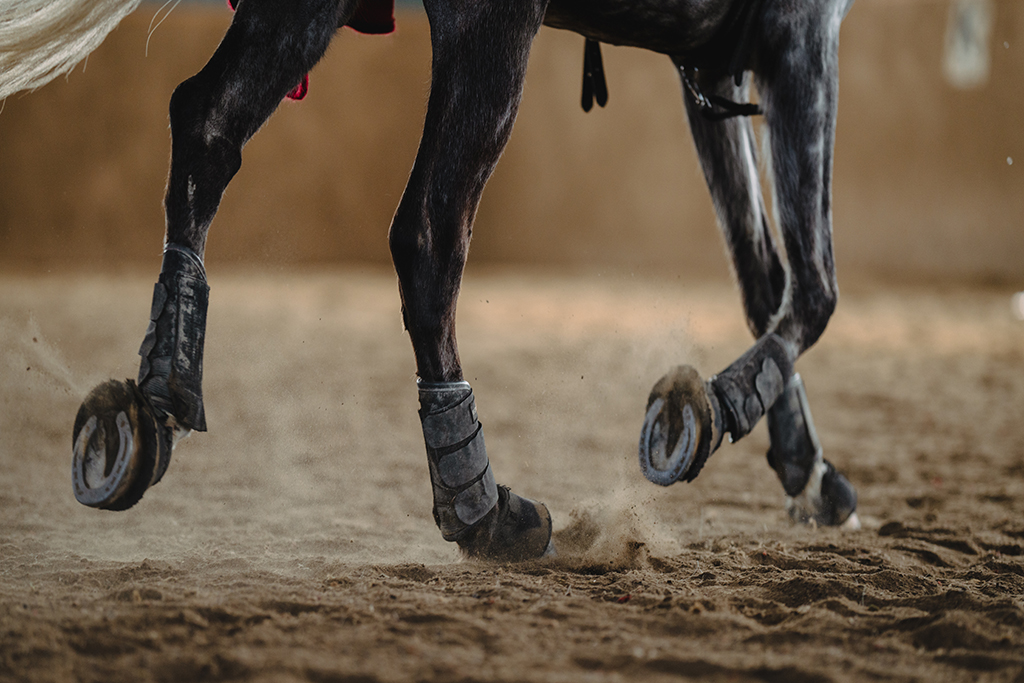
Cleaning Your Horse Track for Riding Season
As winter fades and riding season approaches, giving your horse track a thorough clean‑up is one of the best ways to set the stage for safer, smoother training sessions. A well‑maintained track supports better footing, prevents injuries, and keeps your horse performing at their best. Here’s how to get your track ride‑ready this spring.
- Clear Away Debris
Start by walking the track and removing any fallen branches, rocks, leaves, or broken fencing that may have accumulated over the winter. Even small debris can throw off footing or create hazards for horses moving at speed.
- Check Drainage
Spring melt can leave tracks damp or uneven. Take note of puddles or soft spots—these often indicate drainage issues. Clearing ditches, leveling low areas, or adding drainage material helps ensure a safer, more consistent surface.
- Repair Fencing & Perimeter Areas
Inspect the track edges and fencing for winter damage. Replace loose boards, tighten wire, and ensure gates latch properly. A secure, well‑marked boundary helps keep horses focused and riders safe.
- Groom the Footing
Footing makes all the difference. Use a harrow or drag to break up compacted areas, redistribute material, and smooth the surface. This reduces strain on your horse’s joints and provides even traction throughout the track.
If your footing feels thin or uneven, consider adding fresh material—sand, screenings, or specialized footing—depending on what your track is built from.
- Address Dust Early
As temperatures rise, dust becomes a common challenge. Watering the track or using dust‑control products helps maintain visibility and comfort for both horse and rider.
- Inspect Jumps & Training Equipment
If your track includes jumps or training markers, give them a spring tune‑up. Check for loose screws, broken poles, rotted wood, and faded markers. Safe, clearly visible equipment supports better training sessions.
- Create a Maintenance Routine
Once your track is clean and ready for spring, keep it that way with a simple weekly routine—dragging, debris checks, and moisture management go a long way toward preserving footing and preventing wear.
Ready, Set, Ride!
With a bit of spring prep, your horse track can be safe, comfortable, and ready for a great riding season ahead. A clean, well‑maintained surface doesn’t just look good—it protects your horse’s health and helps every ride feel better.

Nesting Boxes: Prep Your Backyard for Spring Birds!
As winter fades and the first signs of spring begin to appear, birds across your neighbourhood are searching for safe, cozy places to raise their young. Adding nesting boxes to your backyard is one of the easiest and most rewarding ways to support local bird populations while enjoying a little more feathered charm right outside your window. Here’s how to get your backyard spring‑ready for nesting season!
Why Nesting Boxes Matter
Natural tree cavities are becoming harder for birds to find, especially in urban and suburban areas. Nesting boxes provide:
- Safe shelter from predators
- Protection from spring weather
- A dedicated space for raising chicks
- A way to attract more bird species to your backyard
From chickadees to bluebirds, many species rely on human‑made nest boxes as part of their spring routine.
Choose the Right Nesting Box
Not all birds use the same type of nest box. Before buying or installing one, consider:
Hole Size
Different birds need different entrance sizes:
- Chickadees: ~1 1/8″
- Bluebirds: ~1 1/2″
- Tree swallows: ~1 1/2″
Matching the size helps attract the right species and keep unwanted visitors out.
Material
Look for untreated wood (pine, cedar, spruce). Avoid plastic or thin materials, which can trap heat and moisture.
Ventilation & Drainage
Quality nesting boxes include vents at the top and drainage at the bottom to keep chicks dry and comfortable.
Where to Place Your Nesting Box
Placement matters! For best success:
- Mount boxes 5–10 feet off the ground
- Face them east or southeast to avoid harsh afternoon sun
- Keep away from heavy foot traffic and high‑activity areas
- Space boxes well apart to reduce competition between species
- Ensure there’s open flight access to avoid thick branches blocking the entrance
If you’re installing multiple boxes for species like bluebirds or tree swallows, consider placing them in pairs or clusters to reduce territorial disputes.
Clean & Prep Before Spring
Before birds begin searching for homes (usually late February into March), take a few minutes to:
- Clean out old nesting material
- Remove debris, broken pieces, or old bedding
- Check screws, roofs, and panels for winter wear
- Make sure drainage holes are clear
- Secure the box tightly so it won’t wobble in the wind
A clean, sturdy box increases your chances of hosting a successful brood.
Help Make Nesting Season a Success
Little touches can make your yard even more inviting:
- Offer natural nesting materials like twigs, dried grasses, or pet‑safe fur
- Provide fresh water in a clean birdbath
- Avoid using pesticides as birds rely on insects to feed their chicks
- Add bird feeders nearby to help parents refuel throughout the day
A supportive environment encourages birds to stay and return year after year.
Enjoy a Spring Full of Song
Setting up nesting boxes is a simple, affordable way to enjoy more bird activity this spring while supporting local wildlife. With the right placement, maintenance, and materials, your backyard could become a safe nursery for some of your favourite feathered friends.
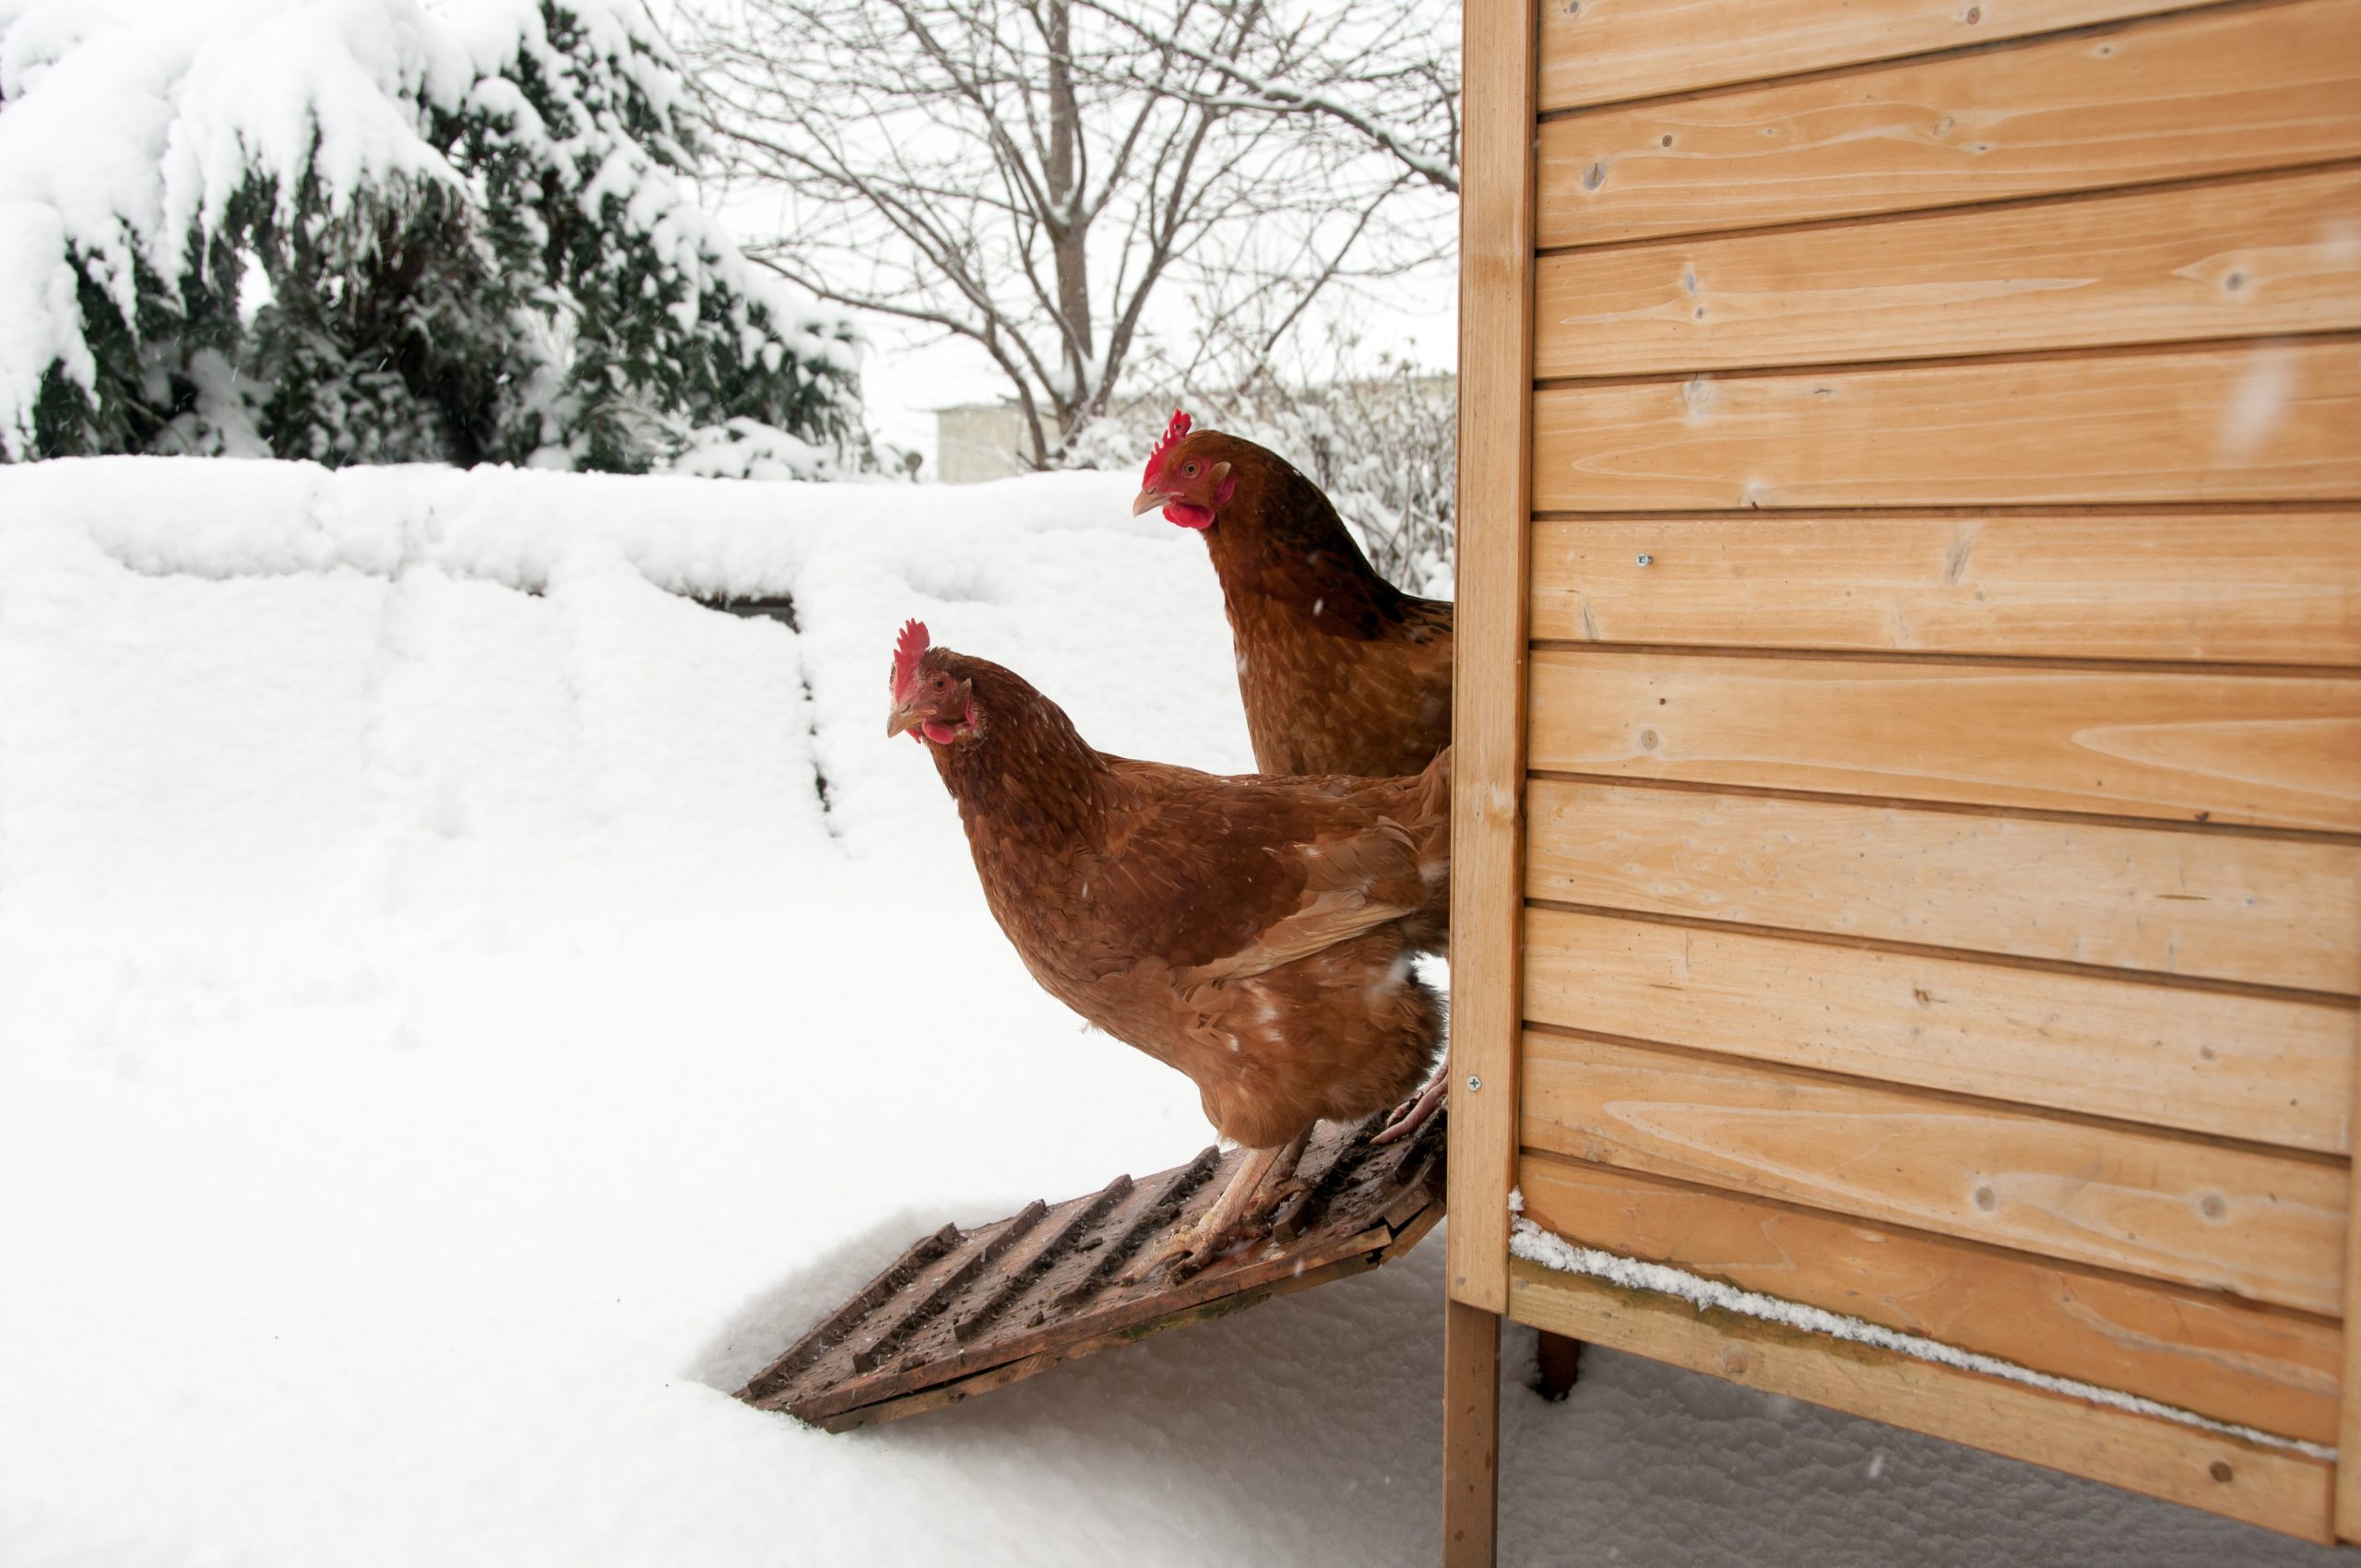
How to Prevent Frostbite in Chickens
Cold weather can be tough on backyard flocks, and frostbite is one of the most common winter challenges for chicken owners. Understanding what frostbite is, how to recognize it, and how to prevent it can make all the difference in keeping your birds healthy and comfortable.
What Is Frostbite in Chickens?
Frostbite occurs when skin and underlying tissues freeze, typically affecting a chicken’s comb, wattles, and sometimes feet. Because these areas have small surface areas, frostbite can set in quickly—especially during extreme cold or wind chills. Early detection and treatment are key to preventing long-term damage.
Signs of Frostbite
Watch for these symptoms:
- Early Stage: Combs and wattles turn gray; feet may appear dark red.
- Advanced Stage: Swelling in large combs and wattles, blackened tissue, or necrotic areas. Severe frostbite often cannot be reversed.
Chickens are good at hiding discomfort, so knowing their normal behavior helps you spot problems early.
What to Do If Frostbite Occurs
If you notice frostbite:
- Warm Slowly: Use a warm, damp cloth on combs and wattles for 15–20 minutes. For feet, a shallow lukewarm bath works well. Avoid rapid warming or rubbing the tissue.
- Isolate & Monitor: Place the bird in a warm, draft-free area with deep bedding. Apply a hydrogel spray to promote healing.
- Watch for Infection: Severe cases may involve blisters or tissue loss—contact a vet if needed.
What Temperature Puts Chickens at Risk?
When temps drop below 32°F (0°C)—especially with wind chill—frostbite becomes a real threat. Roosters and breeds with large combs are most vulnerable. Daily checks and proper shelter are essential.
7 Tips to Prevent Frostbite
- Apply a Protective Salve: Use coconut oil or bag balm on combs and wattles (avoid Vaseline in extreme cold—it can freeze).
- Ensure Proper Ventilation: Good airflow prevents moisture buildup, reducing frostbite risk.
- Provide Electrolytes & Vitamins: These can help birds cope with cold stress.
- Create Ample Roosting Space: Chickens huddle for warmth—make sure everyone has room.
- Avoid Open Water Bowls: Use nipple waterers to prevent wet feathers and feet.
- Keep Bedding Dry: Damp bedding increases frostbite risk. Use deep litter and refresh often.
- Add a Safe Heat Source: In extreme cold, consider a heating panel or caged lamp (avoid fire hazards).
Can Chickens Recover From Frostbite?
Recovery takes time—often 4–6 weeks. Dead tissue will slough off naturally, leaving healthy tissue behind. The biggest risk is infection, so monitor closely and consult a vet if needed.
Conclusion
With proper care—dry bedding, good ventilation, and a few preventive measures—you can keep your flock safe and healthy all winter long. Here’s to happy hens and a frostbite-free season!

Chickens: Your Garden’s Best Friend
Integrating chickens into your gardening routine can transform your backyard into a thriving, eco-friendly oasis. These natural foragers offer numerous benefits, from pest control to soil health improvement. Here’s how chickens can work wonders for your garden.
Benefits of Chickens in Your Garden
Chickens can be your garden’s best helpers without causing damage to your plants. Here are some key benefits they provide:
1. Natural Pest Control
Chickens have an instinct to forage for insects, happily feasting on bugs that threaten your plants. This chemical-free solution helps manage pests effectively. By eating harmful insects, larvae, and eggs, chickens reduce pest populations and keep your garden healthy, minimizing the need for pesticides.
2. Organic Fertilizer
Chicken manure is a valuable resource, boasting one of the highest N-P-K (nitrogen, phosphorus, potassium) ratios among livestock manures. It enhances soil fertility and contains ample calcium, benefiting your plants. When composted, chicken manure can:
- Improve soil moisture retention
- Enhance soil structure
- Promote stronger root development
- Increase disease resistance in plants
- Slowly release essential nutrients into the soil
For tips on composting chicken manure, check out resources like “Composting Chicken Manure.”
3. Soil Aeration
As chickens scratch around for bugs and weed seeds, they naturally aerate the soil. Aerated soil improves water penetration, leading to healthier root growth. Chickens help turn over the top layers of soil, maintaining a healthy soil ecosystem without heavy tilling.
4. Reducing Garden Waste
Chickens are excellent at cleaning up garden scraps. Instead of tossing thinned seedlings, pruned branches, and unwanted weeds, let your chickens forage through the remnants. They’ll eagerly eat:
- Thinned plants
- Pruned clippings and deadheads
- Weeds
- Damaged or overripe fruits and vegetables
In the fall, chickens can save you time by cleaning up remaining produce and fertilizing the soil with their manure, preparing your garden for the next planting season.
5. Weed Control
Weeds can be a constant headache, but chickens are happy to help. They’ll eat almost any plant, including weeds. You can feed your chickens the weeds you pull or let them roam freely to do the weeding for you. Just protect your crops, as chickens might mistake them for weeds too. Most weeds are safe for chickens to consume and can be part of their natural diet.
Common Garden Pests Chickens Love to Eat
Chickens are excellent at controlling a variety of garden pests commonly found in the Maritimes. Here are some of the most common pests they love to eat:
Beetles
Chickens will happily feast on beetles, including Japanese beetles and cucumber beetles. These pests can cause significant damage to your plants, but chickens help keep their populations in check.
Caterpillars
Caterpillars, such as cabbage worms and tomato hornworms, can be devastating to your garden. Chickens will eagerly hunt down and eat these pests, protecting your leafy greens and other crops.
Grasshoppers
Grasshoppers can quickly defoliate plants, but chickens are excellent at catching and eating them. This helps prevent the extensive damage grasshoppers can cause.
Slugs and Snails
Slugs and snails are notorious for munching on tender plants, especially in damp conditions. Chickens will seek out and eat these slimy pests, reducing their numbers and protecting your garden.
Aphids
Aphids can weaken plants by sucking sap from their leaves and stems. While chickens may not eat aphids directly, they will consume the ants that farm aphids, indirectly helping to control aphid populations.
Cutworms
Cutworms can sever young plants at the base, causing significant damage. Chickens will dig up and eat these pests, preventing them from harming your seedlings.
Earwigs
Earwigs can be a nuisance in the garden, feeding on seedlings and soft fruits. Chickens will happily eat earwigs, helping to keep their numbers down.
Ants
While ants themselves are not a major threat to plants, they farm aphids and other pests. Chickens will eat ants, disrupting this relationship and helping to control aphid populations.
Moths and Flies
Chickens will also eat moths and flies, including their larvae. This helps reduce the number of pests that can damage your plants.
Ticks
Ticks can be a problem for both humans and animals. Chickens will eat ticks, helping to reduce their numbers and lower the risk of tick-borne diseases.
Crickets
Crickets can cause damage to young plants and seedlings. Chickens will hunt and eat crickets, protecting your garden from these pests.
By allowing chickens to roam your garden, you can naturally reduce the populations of these common pests, leading to healthier plants and a more productive garden. Just remember to protect beneficial insects and your crops from being mistaken for pests!
Conclusion
Integrating chickens into your garden can provide a range of benefits, from natural pest control to enriching your soil with organic fertilizer. Chickens make great gardeners, assisting with aeration, weed removal, and reducing garden waste. Plus, their manure is a potent resource for creating a healthy, fertile environment for your plants.

Egg Collection and Storage: Best Practices for Fresh Eggs
Let’s dive into the essential practices for egg collection and storage to ensure you get the freshest and safest eggs from your flock. Here’s a detailed guide to help you manage your eggs effectively, including tips on what to do with extra eggs.
Egg Collection
Hens typically lay one egg a day, usually in the morning. Depending on the size of your flock, you may need to check for eggs more than once in a 24-hour period. Frequent checks are encouraged to prevent eggs from being accidentally stepped on or soiled.
Steps for Collecting Eggs:
- Timing: Wait until the hen has left the nesting box to collect eggs. Many backyard chicken keepers find that checking right after feeding is an ideal time.
- Handling Broody Hens: If you have a broody hen (one wanting to hatch her eggs), you might encounter some resistance. Wear gloves and a long-sleeved shirt to protect yourself from pecks. Gently shoo her out of the nest if necessary.
Cleaning Eggs
Eggs are naturally coated with a thin protective layer called a bloom, which helps protect the egg’s pores from bacteria. It’s important not to wash your eggs immediately after collecting them, as washing removes the bloom and makes the egg more vulnerable to bacteria.
Proper Cleaning Method:
- Warm Water: Submerge eggs in clean, warm water (not cold) and gently scrub them with a soft vegetable brush.
- Avoid Cold Water: Cold water can cause the egg to shrink inside the shell, promoting bacterial growth.
- Drying: Dry the eggs with a towel and allow them to air dry before storing them in the fridge.
Egg Storage
Unlike store-bought eggs, your fresh eggs are coming in daily, so it’s important to track when each egg was laid. To ensure you use the oldest eggs first, consider storing your eggs in a dated carton or writing the collection date directly on the eggshell with a pencil.
Storage Tips:
- Unwashed Eggs: If you plan to store eggs unwashed, they can be kept on the counter for a short period. Remember to give them a light scrub just before using.
- Refrigerated Eggs: For longer storage, keep eggs in the fridge. Properly cleaned and dried eggs can last several weeks when refrigerated.
Managing Extra Eggs
If you find yourself with an abundance of eggs, here are some ideas on how to manage and utilize them:
- Preserving Eggs:
- Freezing: Crack the eggs into a bowl, beat them lightly, and pour them into ice cube trays or freezer-safe containers. Once frozen, transfer the egg cubes to a freezer bag for long-term storage.
- Pickling: Hard-boil the eggs and pickle them in a vinegar-based solution for a tasty, long-lasting treat.
- Sharing with Community:
- Sell or Donate: Share your surplus eggs with neighbours, friends, or local food banks. Fresh, homegrown eggs are always appreciated.
- Bartering: Trade your eggs for other goods or services within your community.
- Cooking and Baking:
- Recipes: Use extra eggs in various recipes such as quiches, frittatas, custards, and baked goods. Eggs are versatile and can be incorporated into many dishes.
By following these best practices for egg collection, cleaning, and storage, you can ensure your eggs remain fresh and safe to eat. Additionally, managing extra eggs effectively can help you make the most of your flock’s productivity. Happy egg collecting!
Related Blogs:
How Long are Farm Fresh Eggs Good For

Encouraging Egg Laying
Whether you have a few backyard chickens or a coop full of hens providing eggs to your community, there are several helpful tips to naturally encourage your chickens to lay more eggs.
How Often Do Chickens Lay Eggs?
Typically, a hen will begin laying eggs around 18 to 22 weeks of age. Once they start, hens can lay an egg nearly every day, with most chickens producing about one egg daily. However, the egg creation process takes about 24 to 26 hours. Therefore, hens generally lay about six eggs a week, although egg production tends to slow down during the fall moult and winter months.
What Affects Egg Laying?
To maximize egg production, it’s important to keep your chickens healthy and stress-free. Several factors can influence how often your hens lay:
- Age: Very young hens can naturally have inconsistent laying patterns up until their first year. Egg production typically starts to decrease gradually as hens age, particularly after 2 or 3 years old. However, most hens will continue to lay eggs until they’re between 5 and 8 years old.
- Moulting: Moulting, which happens in the fall, is when hens shed old feathers and grow new ones. During this time, hens will stop laying eggs.
- Less Daylight: As the days get shorter in the winter, hens will naturally slow down or stop laying eggs due to reduced sunlight exposure. For optimal egg production, hens need about 14 hours of light and about 8 hours of darkness each day.
- Not Enough Calcium: Calcium is essential for egg production since eggshells are made almost entirely of calcium. If your hens aren’t getting enough calcium, it can negatively affect both their egg production and overall health.
- Low Protein: A lack of protein can lead to reduced egg laying. In warmer months, hens can forage for insects that provide them with this essential nutrient. But during winter, when the ground is frozen and covered in snow, they can’t get the same amount of natural protein.
- Stress: Stress from illness, injury, or the presence of predators can cause hens to stop laying eggs. Chickens are naturally prey animals and will retreat from egg production when they feel threatened.
- Overall Health: Keeping your chickens free from parasites and diseases is essential for their well-being and their ability to lay eggs regularly.
Natural Ways to Boost Egg Production
If your hens are in their prime laying years (6 months to 3 years old) and you notice a drop in eggs, there are a few natural strategies to try and increase egg production:
- Increase Protein Intake:
- Winter months can be particularly tough for your hens to get enough protein, so try feeding them extra protein-rich foods twice a day. Since it takes about 24 hours to make an egg, adding extra protein after your hens lay an egg can help them start the next cycle of egg-laying more efficiently.
- Provide Calcium:
- Calcium is critical for hens to lay strong eggs. To supplement their diet, keep a container of crushed oyster shells in the coop for free access. You can also save your eggshells, dry them out, and crush them to feed back to your chickens.
- Add Supplemental Light:
- As daylight shortens in the winter, egg production can drop. You can help maintain production by adding a light source to the coop. A chicken heat bulb on a timer to provide at least 14 hours of light a day can encourage your hens to continue laying.
- Maintain a Clean and Safe Coop:
- A clean, stress-free environment is crucial for laying hens. Chickens are naturally wary of predators, so it’s important to secure your coop to prevent any potential threats. Make sure the coop temperature stays between 4-32°C (40-90°F) and provide soft, clean bedding for nesting. A regularly cleaned coop, with fresh bedding added weekly, helps maintain good health and ensures your hens are productive and comfortable.
By following these tips, you can help ensure your hens lay eggs consistently and remain healthy and happy. Happy egg-laying!

Composting Chicken Manure
Composting chicken manure is a fantastic way to recycle waste and create nutrient-rich fertilizer for your garden. Not only does it provide essential nutrients for plants, but it also improves soil structure. However, it’s important to compost chicken manure properly to kill harmful bacteria before using it on fruits, vegetables, and ornamentals. Here’s an easy-to-follow guide for small flock
Why Compost Chicken Manure?
Chicken manure is packed with nitrogen, phosphorus, and potassium—key nutrients that plants need to thrive. When composted correctly, it can significantly boost your garden’s productivity. Plus, composting helps reduce waste and supports sustainable farming practices.
Getting Started
- Collecting Manure and Bedding:
- Gather chicken manure along with bedding materials like straw, wood shavings, or leaves. These materials add carbon to balance the high nitrogen content of the manure.
- Building Your Compost Pile:
- Create a compost pile in a well-ventilated area, away from waterways to prevent potential contamination.
- Alternate layers of manure and bedding with other compostable materials like kitchen scraps and garden waste.
- Aim for a mix of about 30 parts carbon (bedding, leaves) to 1 part nitrogen (manure).
- Maintaining the Right Temperature:
- To kill pathogens and weed seeds, your compost pile needs to reach temperatures between 55°C and 77°C (131°F to 170°F).
- Aerated or contained piles should maintain at least 55°C (131°F) for three days. Regularly turn the pile to ensure even heating.
- Monitoring and Turning:
- Use a compost thermometer to check the temperature regularly.
- Turn the pile every few days to aerate it and maintain consistent temperatures.
- Curing the Compost:
- After the initial high-temperature phase, let the compost cure for several weeks to a few months. This allows the compost to stabilize and mature.
Using Your Compost
- For Food Plants:
- Ensure the compost has reached and maintained the proper temperature to kill any harmful bacteria. If unsure, use the compost on non-edible plants to reduce risks.
- For Ornamentals:
- Even if the compost hasn’t been closely monitored, it can still be safely used on ornamental plants, trees, and shrubs.
Tips for Small Flock Farmers
- Compost Bins:
- Consider using compost bins to keep your pile contained and tidy. This also helps maintain the necessary heat.
- Winter Composting:
- In colder months, insulate your compost pile with straw or a tarp to keep it active.
- Garden Benefits:
- Composting chicken manure not only enriches your soil but also helps retain moisture, reducing the need for frequent watering.
By following these steps, you can turn chicken manure into a valuable resource for your garden. Happy composting!

Supplements for Chickens
Vitamins are vital to a chicken’s health, supporting growth, egg production, and immunity. Without adequate vitamins, chickens can suffer from malnutrition, reduced egg-laying, and increased vulnerability to diseases. While a balanced feed, like Shur-Gain Homestead Layer Feed, should provide the necessary daily nutrition, certain situations and stressors may require the need for supplements.
When to Supplement Vitamins:
Environmental stressors can lead to vitamin deficiencies, especially when they cause chickens to eat less or disrupt nutrient absorption. Providing vitamin supplements during these times can help prevent these deficiencies. Consider supplementing your flock during the following environmental stressors:
- Molting – During molting, chickens experience natural stress, which can reduce appetite and hinder nutrient absorption.
- Environmental Stress – Factors like heat, cold, transportation, or predator attacks can suppress the immune system. Vitamins help support immune function during stressful times.
- Illness – Sick chickens may eat less, leading to vitamin deficiencies. Vitamin supplements in water can aid recovery.
Why Vitamins Are Important for Chicken Health:
Chickens need a lot of vitamins in small quantities for proper growth, immunity, and reproduction. Vitamins help in essentials roles like bone development, egg production, and disease prevention. Chicks need vitamins for growth, while adult chickens need a steady supply to stay healthy and productive.
Key Functions of Vitamins:
- Strong bones and healthy metabolism
- Immune system support
- Balanced gut health
- Supports healthy metabolism
- Clear eyesight
- Healthy feathers
- Prevents nerve damage & paralysis
- Prevents hemorrhaging
- Essential for proper egg production
The Essential Vitamins for Chickens:
Chickens require two main types of vitamins: fat-soluble and water-soluble. During times of stress, chickens typically go to water first, so providing a vitamin supplement in their water can encourage them back on track and eating again to prevent further health issues or deficiencies.
For laying hens, small amounts of crushed oyster shells can support healthy egg production by providing a calcium supplement. Oyster shells should make up no more than 10% of their daily diet. You can offer them on a free-choice basis, allowing hens to eat as much or as little as they need. If you notice that they are consuming more than necessary, remove the bowl after 15-20 minutes to prevent overconsumption.
Fat Soluble Vitamins:
Fat-soluble vitamins are stored in the chicken’s body fat and used as needed. These vitamins can accumulate and lead to toxicity if consumed in excess, so it’s essential to monitor their intake.
Important fat-soluble vitamins for chickens include:
Vitamin A – Vital for vision, growth, bone development, and immune system support.
Vitamin D – Crucial for calcium absorption, which is needed for strong eggshells and bones. Chickens can naturally produce Vitamin D through sunlight exposure.
Vitamin E – An antioxidant that protects cells and supports immune and reproductive health.
Vitamin K – Essential for proper blood clotting.
Water-Soluble Vitamins:
Water-soluble vitamins aren’t stored in the body, so they must be replenished regularly through diet. These vitamins are less likely to cause toxicity since excess amounts are excreted, but deficiencies can occur if they aren’t consistently supplied.
Important water-soluble vitamins for chickens include:
- Vitamin B Complex – The Vitamin B complex consists of eight vitamins. The B complex is essential for energy metabolism and overall health. The eight B-vitamins include:
- Thiamine (B1): Helps convert nutrients into energy and supports brain and nervous system function.
- Riboflavin (B2): Aids in energy production and B-vitamin synthesis.
- Niacin (B3): Supports energy conversion and cell health.
- Pantothenic Acid (B5): Involved in enzyme production and fat metabolism.
- Pyridoxine (B6): Crucial for protein metabolism, immune function, and brain health.
- Biotin (B7): Promotes healthy feathers, skin, and nails.
- Folate (B9): Supports reproductive health and aids in vitamin and amino acid metabolism.
- B12: Essential for red blood cell production and neurological function.
- Vitamin C: Known for its antioxidant properties, Vitamin C helps reduce stress on the immune system and prevent disease. Chickens can produce Vitamin C naturally from other vitamins in their diet.
Common Vitamin Deficiencies and Symptoms:
Each vitamin is essential for maintaining a chicken’s health, with some vitamins working together while others serve specific roles. A deficiency in any vitamin can lead to symptoms related to its unique function in the chicken’s overall well-being.
- Skin & Feathers: Thiamine and biotin are two vitamins that help a chicken maintain healthy feathers and skin. Deficiencies in these B-vitamins can lead to increase in feather pecking, feather loss, and feather eating.
- Immune System Support: A lack of Vitamins A, E, and B6 can weaken a chicken’s immune system.
- Bone & Skeletal Health: Vitamins D, A, and B help support bone growth and calcium metabolism. Chicks especially need these vitamins as bone development is occurring more rapidly as they grow.
- Egg Production: Vitamin D, E, and Folate play an important role in reproductive health and egg production in hens. A lack of these Vitamins can cause a decrease in laying or an increase in laying related ailments like egg binding.
Recommended Supplement Line:
At Feeds’n Needs, we recommend Chick’N Swell™ supplements, which are 100% natural, safe to use every day and veterinarian approved. This line of chicken supplements offers natural essential oil products specifically developed for the maintenance of overall chicken health.
Chick’N Swell™ Benefits:
- Moisturizes and helps maintain overall health
- Supports immunity
- Contributes to eggshell quality
- Supports digestive health
Conclusion
Vitamins are essential for your chickens’ health, supporting everything from egg production to immune function. Ensure a balanced diet and use supplements when necessary to keep your flock happy, healthy and productive!

Grit & Oyster Shells: Essential to Your Chickens
Though both grit and oyster shell are essential for chickens, they serve distinct purposes and are not interchangeable. Here’s a breakdown of the unique roles each plays in your chickens’ health.
Grit
Purpose: Chickens don’t have teeth, so they rely on their gizzard to break down food.
How It Works:
- After food is swallowed, it passes into the crop, a storage compartment in the esophagus, where it can sit for up to 12 hours.
- From the crop, the food slowly moves to the gizzard, which functions as the digestive grinder.
- To aid this process, chickens consume grit—small pieces of rock and sand—which sit in the gizzard.
- As the gizzard muscles grind, the grit helps break the food into smaller, digestible particles.
Maintenance:
- As the grit wears down, it’s expelled, so chickens need a constant supply to maintain proper digestion.
- Without sufficient grit, chickens can experience digestive issues, such as nutritional deficiencies or intestinal blockages, which may require veterinary treatment.
Providing Grit:
- If you can’t let your chickens roam and forage for grit, you’ll need to provide it yourself.
- A separate grit dispenser allows chickens to eat as much or as little as they need.
- Be sure to choose the appropriate size grit—too small a size will pass through the chicken’s system without aiding digestion.
For Chicks:
- Chicks don’t require grit when they are fed a finely ground starter feed.
- Once they begin eating treats, oats, or fresh produce, you should provide them with chick grit.
- For chicks under 10 weeks old, use specially formulated, smaller grit to fit their developing gizzards.
Oyster Shell
Purpose: Oyster shell is a natural source of calcium carbonate, which is crucial for laying hens to produce strong eggshells.
How It Works:
- Chickens need more calcium than what’s typically found in layer feed, as they use calcium daily to form eggshells.
- A lack of calcium can cause hens to leach calcium from their bones, leading to weakened bones and deformities.
- Without adequate calcium, chickens may also lay soft-shelled or shell-less eggs.
Additional Benefits:
- Calcium helps with the muscle contractions in the hen’s oviduct that push eggs out.
- Insufficient calcium can lead to egg-binding, a serious condition where an egg gets stuck in the oviduct, potentially causing life-threatening complications if the egg breaks.
Providing Oyster Shell:
- Like grit, oyster shell should be provided on a free-choice basis, allowing hens to consume as much or as little as they need.
- This approach also saves money because non-laying chickens won’t consume the calcium.
- Overfeeding calcium can lead to kidney problems, so it’s important to monitor intake and only provide it to laying hens.
Conclusion
While both grit and oyster shell are vital for your chickens’ health, they serve different roles. Grit is essential for digestion, while oyster shell supports the formation of strong eggshells and overall bone health. Ensure you provide each in the right quantities and forms for your flock’s needs.


