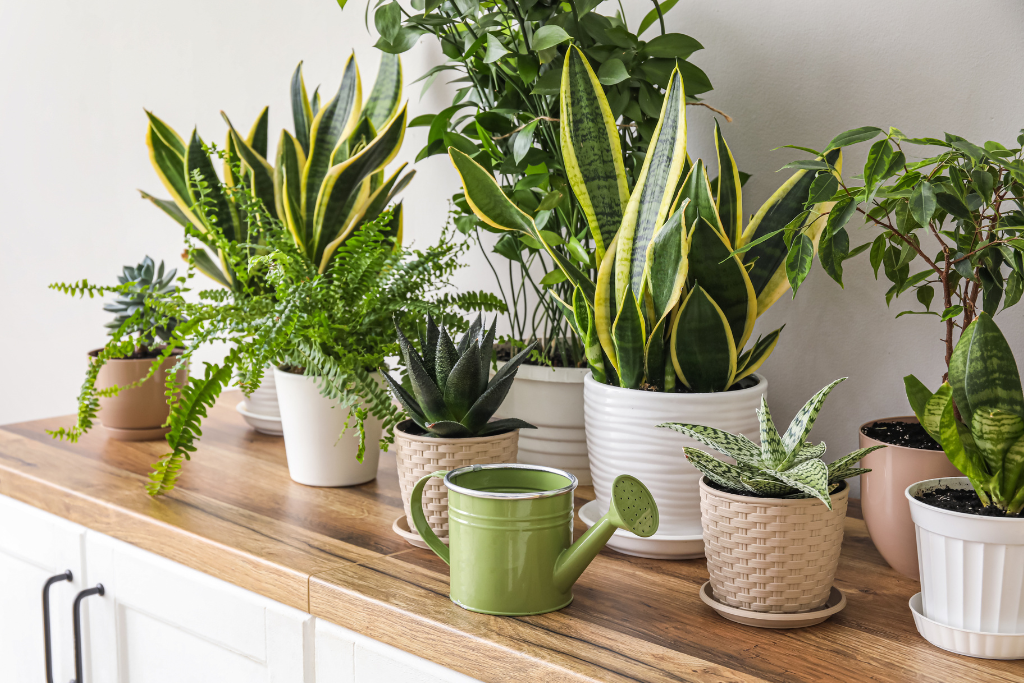
Winter Challenges in Maritime Homes
Dry indoor air from baseboard or wood heat, short daylight, and drafts from coastal winds can stress plants. These simple habits keep your indoor green friends thriving.
1) Light: Make Every Ray Count
- Move plants to south or east-facing windows for maximum winter light.
- Rotate weekly for even growth.
- Use LED grow lights for low-light species or rooms with limited sun.
2) Humidity: Combat Dry Air
- Group plants together to create a microclimate.
- Place pots on pebble trays with water (not touching the pot base).
- Avoid misting near windows during freeze-thaw, it can lead to fungal spots.
- Consider a small humidifier for tropical plants like monstera or ferns.
3) Watering: Less Is More
- Test soil with your finger. Water only when the top inch is dry.
- Water thoroughly, then empty saucers to prevent root rot.
- Reduce watering frequency for succulents and cacti.
4) Temperature & Drafts
- Keep plants away from cold windows and heater vents.
- Ideal indoor temps: 18–24°C for most houseplants.
5) Feeding & Repotting
- Hold off on fertilizer until late February/March when growth resumes.
- Repot only if severely root-bound; otherwise wait for spring.
Maritime-Friendly Plants
- Snake Plant, ZZ Plant, Pothos (tolerate lower light).
- Spider Plant, Peace Lily (handle variable humidity).
- Herbs like rosemary and mint with supplemental light.
Find LED grow lights, humidity trays, potting mix, and plant care tools at Feeds’n Needs to keep your winter plant corner flourishing.
Conclusion
With proper care—dry bedding, good ventilation, and a few preventive measures—you can keep your flock safe and healthy all winter long. Here’s to happy hens and a frostbite-free season!
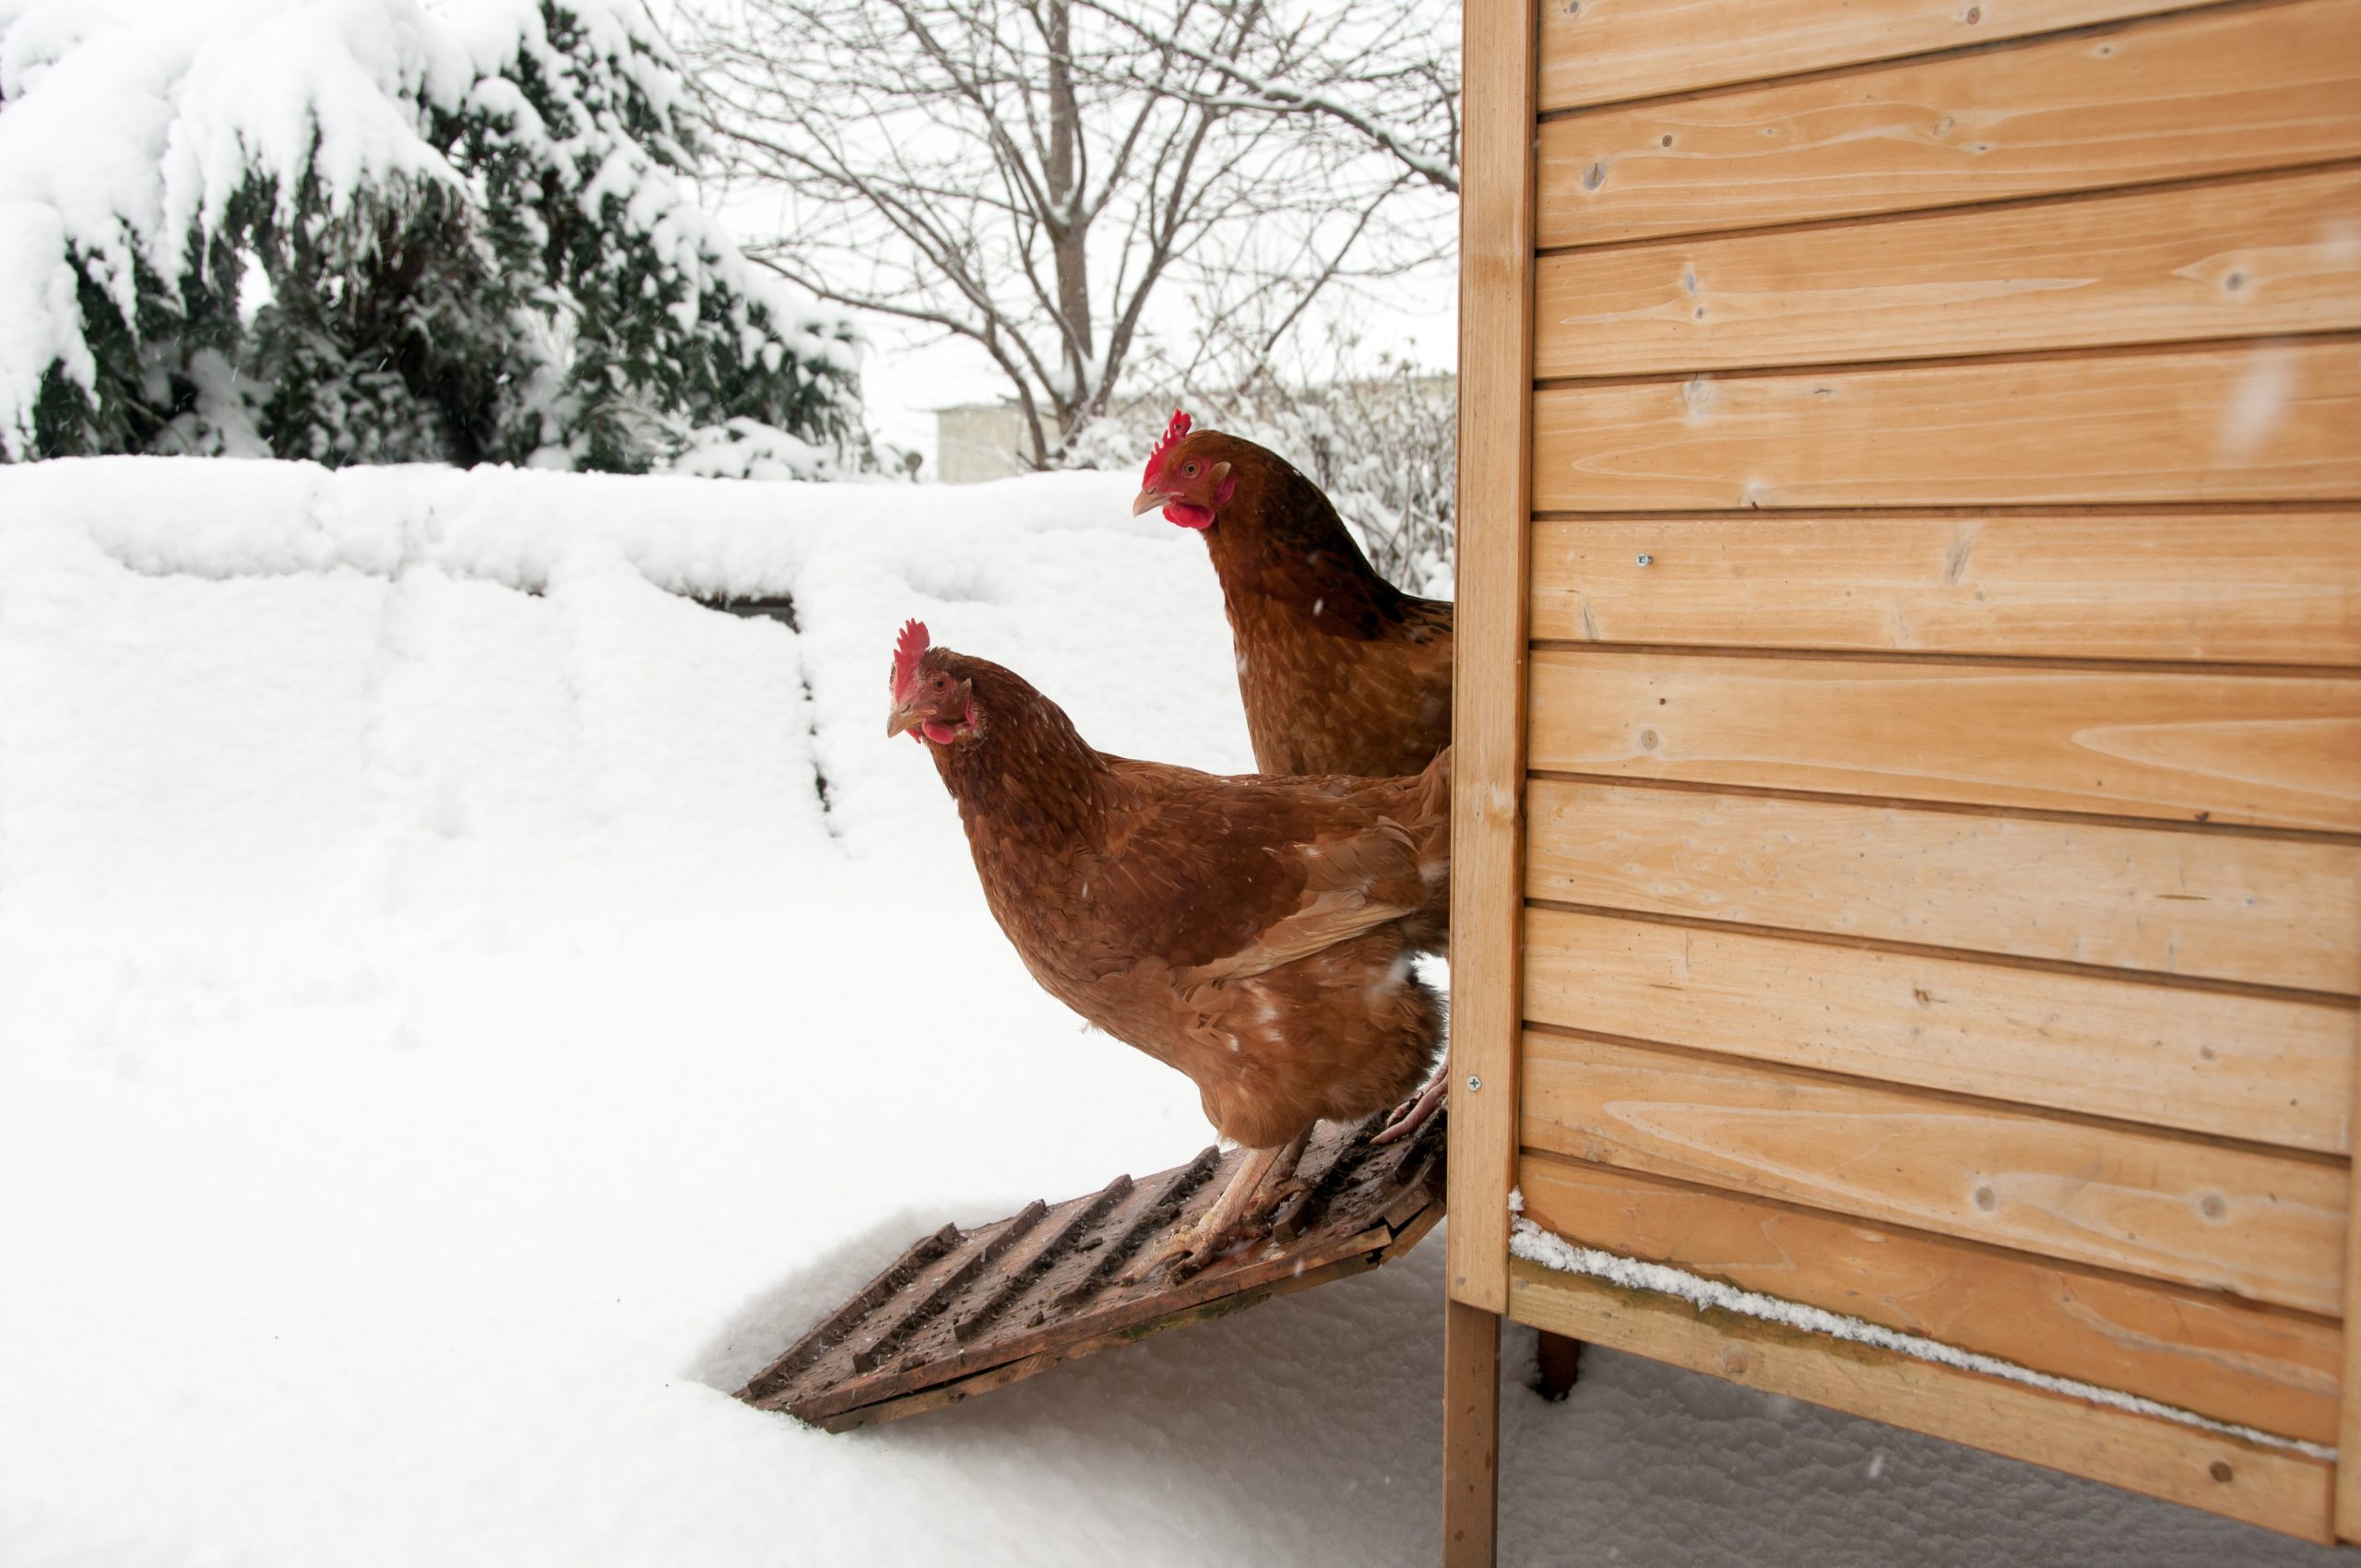
How to Prevent Frostbite in Chickens
Cold weather can be tough on backyard flocks, and frostbite is one of the most common winter challenges for chicken owners. Understanding what frostbite is, how to recognize it, and how to prevent it can make all the difference in keeping your birds healthy and comfortable.
What Is Frostbite in Chickens?
Frostbite occurs when skin and underlying tissues freeze, typically affecting a chicken’s comb, wattles, and sometimes feet. Because these areas have small surface areas, frostbite can set in quickly—especially during extreme cold or wind chills. Early detection and treatment are key to preventing long-term damage.
Signs of Frostbite
Watch for these symptoms:
- Early Stage: Combs and wattles turn gray; feet may appear dark red.
- Advanced Stage: Swelling in large combs and wattles, blackened tissue, or necrotic areas. Severe frostbite often cannot be reversed.
Chickens are good at hiding discomfort, so knowing their normal behavior helps you spot problems early.
What to Do If Frostbite Occurs
If you notice frostbite:
- Warm Slowly: Use a warm, damp cloth on combs and wattles for 15–20 minutes. For feet, a shallow lukewarm bath works well. Avoid rapid warming or rubbing the tissue.
- Isolate & Monitor: Place the bird in a warm, draft-free area with deep bedding. Apply a hydrogel spray to promote healing.
- Watch for Infection: Severe cases may involve blisters or tissue loss—contact a vet if needed.
What Temperature Puts Chickens at Risk?
When temps drop below 32°F (0°C)—especially with wind chill—frostbite becomes a real threat. Roosters and breeds with large combs are most vulnerable. Daily checks and proper shelter are essential.
7 Tips to Prevent Frostbite
- Apply a Protective Salve: Use coconut oil or bag balm on combs and wattles (avoid Vaseline in extreme cold—it can freeze).
- Ensure Proper Ventilation: Good airflow prevents moisture buildup, reducing frostbite risk.
- Provide Electrolytes & Vitamins: These can help birds cope with cold stress.
- Create Ample Roosting Space: Chickens huddle for warmth—make sure everyone has room.
- Avoid Open Water Bowls: Use nipple waterers to prevent wet feathers and feet.
- Keep Bedding Dry: Damp bedding increases frostbite risk. Use deep litter and refresh often.
- Add a Safe Heat Source: In extreme cold, consider a heating panel or caged lamp (avoid fire hazards).
Can Chickens Recover From Frostbite?
Recovery takes time—often 4–6 weeks. Dead tissue will slough off naturally, leaving healthy tissue behind. The biggest risk is infection, so monitor closely and consult a vet if needed.
Conclusion
With proper care—dry bedding, good ventilation, and a few preventive measures—you can keep your flock safe and healthy all winter long. Here’s to happy hens and a frostbite-free season!
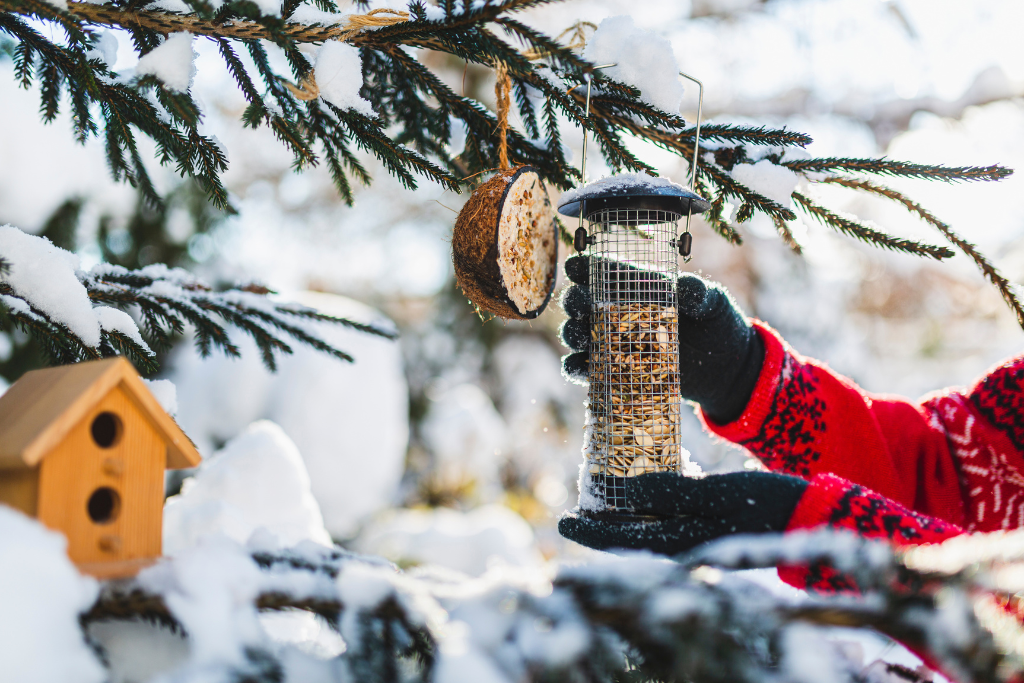
Prepare Birds for Winter
As winter settles in, the vibrant colors of Blue Jays, Red-Breasted Nuthatches, and Northern Cardinals bring life to an otherwise dull landscape. But with snow covering natural food sources and insects disappearing, birds face a tough challenge finding enough to eat. By providing food, water, and shelter, you can help your feathered friends survive—and even thrive—through the cold months.
Why Feed Birds in Winter?
Winter is one of the most energetically demanding seasons for birds. They need extra calories to maintain body heat, yet natural seeds and insects become scarce. Feeding birds not only helps them endure harsh conditions but also brings beauty and activity to your backyard. Keeping feeders up into spring can even support migrating species on their long journeys north.
Top Tips for Winter Bird Feeding
- Choose the Right Feeders
- Tube Feeders: Perfect for black oil sunflower, mixed seed, safflower, or peanuts. These attract chickadees, nuthatches, goldfinches, and finches.
- Hopper Feeders: Great for safflower, sunflower seeds, or cracked corn. They draw larger birds like cardinals, jays, and red-winged blackbirds.
- Suet Feeders: Suet is a high-energy food loved by woodpeckers, chickadees, and nuthatches.
Avoid placing seed directly on the ground—it attracts deer and other unwanted guests. Instead, opt for mess-free seed blends and consider fencing feeders to keep wildlife out.
- Provide Fresh Water
Water is just as critical as food. When natural sources freeze, birds struggle to stay hydrated. Use a sturdy birdbath in a sunny spot or invest in a heated birdbath to keep water accessible. Refresh water every other day and clean baths with a 9:1 water-to-vinegar solution.
- Keep Feeders Clean
Dirty feeders can spread disease. Clean them every two weeks with a solution of 9 parts water to 1 part bleach, scrub thoroughly, and dry before refilling.
- Offer High-Calorie Foods
Winter birds need quick energy. Stock feeders with:
- Sunflower seeds
- Peanuts
- Suet cakes
- Mealworms
- You can also offer fruits like apples, grapes, cherries, and oranges (asy-to-eat slices)
- Create Shelter
Brush piles and bird boxes provide safe roosting spots during storms. Nest boxes can double as winter shelters.
Extra Tips for Success
- Fill feeders daily, ideally in late afternoon, to give birds an energy boost before nightfall.
- Spread feeders around at different heights for safety and variety.
- Brush snow and ice off feeders after storms.
- Leave seed-bearing plants and leaf litter in your garden for natural food sources.
Helping birds through winter is rewarding—for them and for you. With a little effort, you’ll enjoy a lively backyard full of color and song all season long.
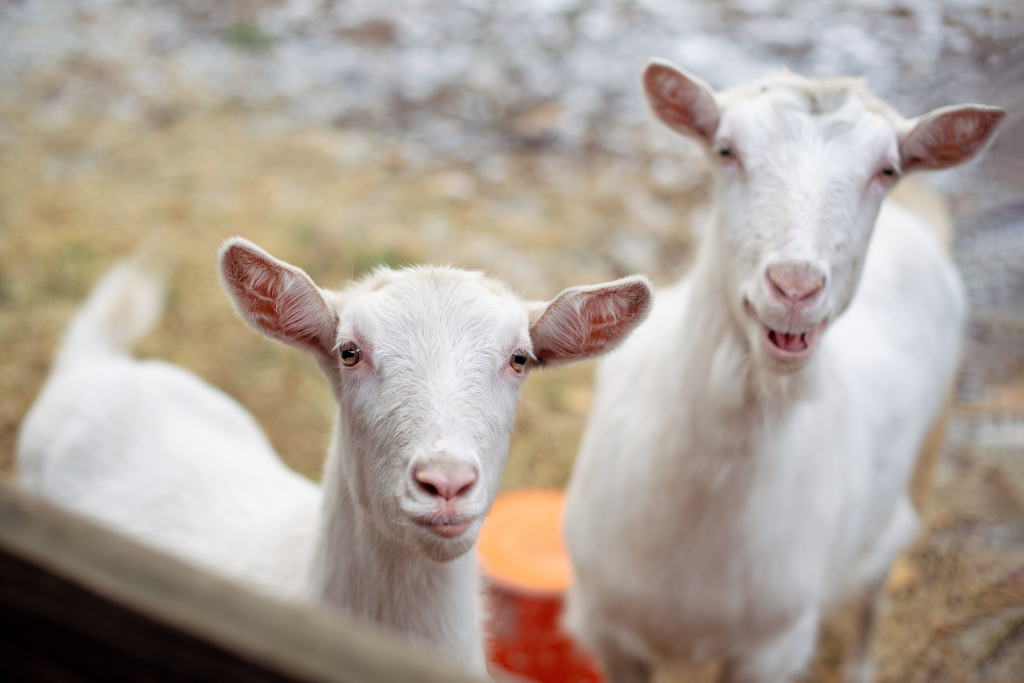
Winter Care for Goats
Ensuring the well-being of your goats is a top priority as winter weather approaches. Cold temperatures and harsh conditions bring unique challenges that can impact your goats’ health and comfort. By covering the basics—shelter, water, and nutrition—you can help your herd thrive all season long.
Shelter: Protection from the Elements
Goats don’t need elaborate housing, but they do require protection from wind, snow, and rain. At a minimum, provide a three-sided shelter that blocks cold north winds while still allowing ventilation. In barns, consider using a door flap to keep wind and snow out while letting goats move freely. To maintain comfort and insulation, keep plenty of clean, dry straw or shavings available for bedding.
Ventilation Matters:
Avoid sealing the barn too tightly. While drafts should be minimized, airflow is essential to prevent moisture buildup, which can lead to pneumonia and other respiratory issues. Proper ventilation reduces humidity and keeps your goats healthy.
Keep It Dry
Moisture is the enemy in winter.
- Location: Avoid low-lying areas where water collects.
- Maintenance: Regularly refresh bedding and keep loafing areas dry to prevent hoof problems like rot or scald, and udder issues such as mastitis.
Do Goats Need Heat?
Surprisingly, goats do not need supplemental heat in most cases. Heat lamps and jackets can interfere with their natural ability to acclimate. As temperatures drop, goats grow a thick winter coat for insulation.
Tip: If snow sits on their coat without melting, their insulation is working!
Typically only newborn kids or a sick goat require extra warmth—use heat lamps with extreme caution due to fire risk and cord chewing.
Water: Fresh and Unfrozen
Goats need constant access to fresh water, even more so in winter when hay replaces moisture-rich pasture. Without water, goats eat less and lose body condition. To prevent freezing, use heated water bowls or change water frequently.
Nutrition: Fuel for Warmth
Winter feeding isn’t just about calories—it’s about heat production.
- Hay is Key: Offer free-choice hay 24/7. Goats are ruminants, and the fermentation process in their rumen generates internal heat.
- Extra Energy: Consider adding alfalfa for protein and energy, but use caution with bucks and wethers to avoid urinary calculi.
- Minerals: Provide salt and mineral supplements year-round.
Helping Goats Adjust
Gradual acclimation is important. Keep goats outdoors as long as possible in fall so they develop thick coats before moving to winter housing. Goats generally handle snow well if they have dry shelter and clear paths to water and feeders. Plowed snow can even serve as a windbreak.
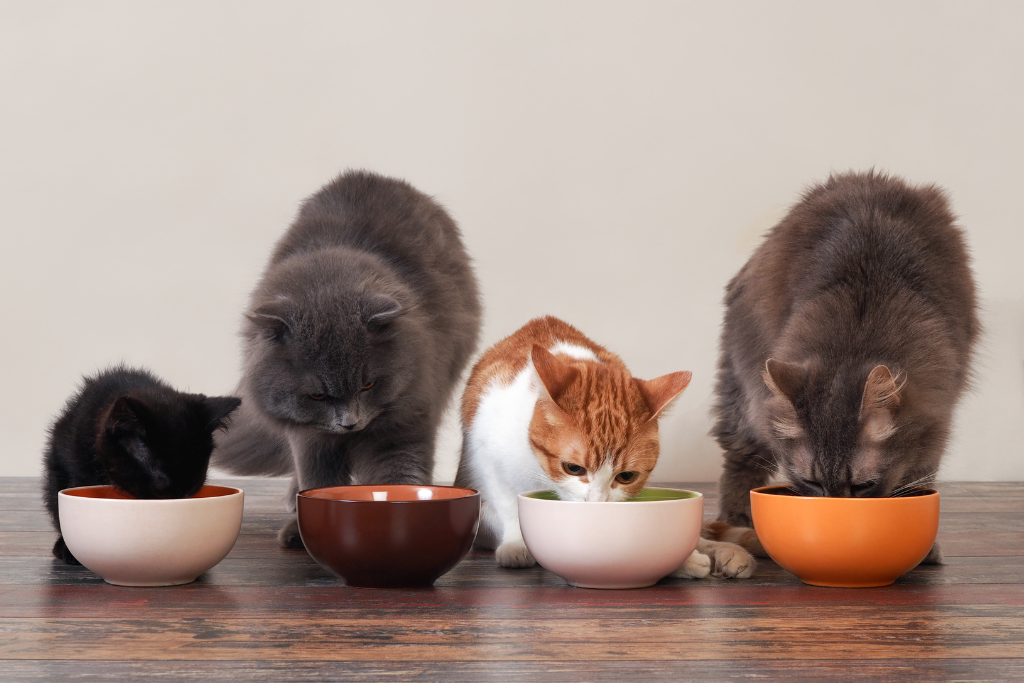
When to Switch from Kitten to Cat Food
As your kitten grows, their nutritional needs change. Knowing when and how to transition to adult cat food is essential for their health and development.
Can Kittens Eat Adult Cat Food?
The answer is on the label! If the food says, “for all life stages,” it’s formulated to meet the needs of both kittens and adult cats. Otherwise, stick with kitten food until it’s time to switch.
When to Switch
- Most Cats: Around 12 months old, when they’ve reached their full adult size.
- Large Breeds (like Maine Coons): Wait until 18 months to 2 years before transitioning.
How to Transition
Switching foods abruptly can cause digestive upset. Instead, make the change gradually over 7 to 10 days:
- Day 1–2: Mix 25% adult food with 75% kitten food.
- Day 3–4: Mix 50% adult food with 50% kitten food.
- Day 5–6: Mix 75% adult food with 25% kitten food.
- Day 7 and onward: Switch completely to the new adult cat food.
A slow transition ensures your cat’s digestive system adjusts comfortably, keeping them happy and healthy during this important change.

Fall Garden Prep
As the days grow shorter and the air turns crisp, it’s the perfect time to give your garden a little TLC before winter sets in. Prepping your garden in the fall not only keeps things tidy but also sets the stage for a healthy, vibrant growing season next year. Here’s how to wrap up the season with care:
Clean Up and Sanitize Your Garden
A tidy garden is a healthy garden. Start by removing any spent annuals and vegetable plants that have finished producing. This helps prevent pests and diseases from lingering through the winter.
- Toss diseased plants in the trash—not the compost pile—to avoid spreading pathogens.
- Leave healthy roots from nitrogen-fixing plants like beans and peas in the soil. They’ll break down naturally and enrich your garden.
- Weed thoroughly, especially those that have gone to seed, to reduce next spring’s weed load.
Enrich Your Soil
Fall is a great time to give your soil a boost so it’s ready to support new growth come spring.
- Test your soil every few years to check pH and nutrient levels. Fall is ideal for applying amendments like lime, which need time to take effect.
- Add compost—a 2–3 inch layer will feed your soil over the winter as it breaks down.
- Mulch generously with shredded leaves, straw, or wood chips to protect the soil and retain moisture.
Care for Perennials and Bulbs
Your perennials and bulbs need a little attention before the frost hits.
- Divide and transplant overcrowded perennials to give them room to thrive.
- Water deeply before the ground freezes to help roots stay hydrated through winter.
- Plant spring-blooming bulbs like tulips and daffodils now for a colorful show next year.
- Dig up tender bulbs such as dahlias and gladiolus and store them indoors.
Prep Your Tools and Equipment
Don’t forget to take care of your gardening gear!
- Clean and sharpen tools to keep them in good shape and ready for spring.
- Drain hoses and irrigation systems to prevent freezing and cracking.
- Store pots and containers in a dry place to avoid damage from freeze-thaw cycles.
Fall Planting and Final Harvest
There’s still time to enjoy a few more crops before winter.
- Plant garlic between September and the end of November.
- Harvest remaining produce before the first hard frost. Green tomatoes? Let them ripen on a sunny windowsill indoors.
With a little effort now, your garden will be healthier, your tools will last longer, and you’ll be one step ahead when spring rolls around. Happy fall gardening!
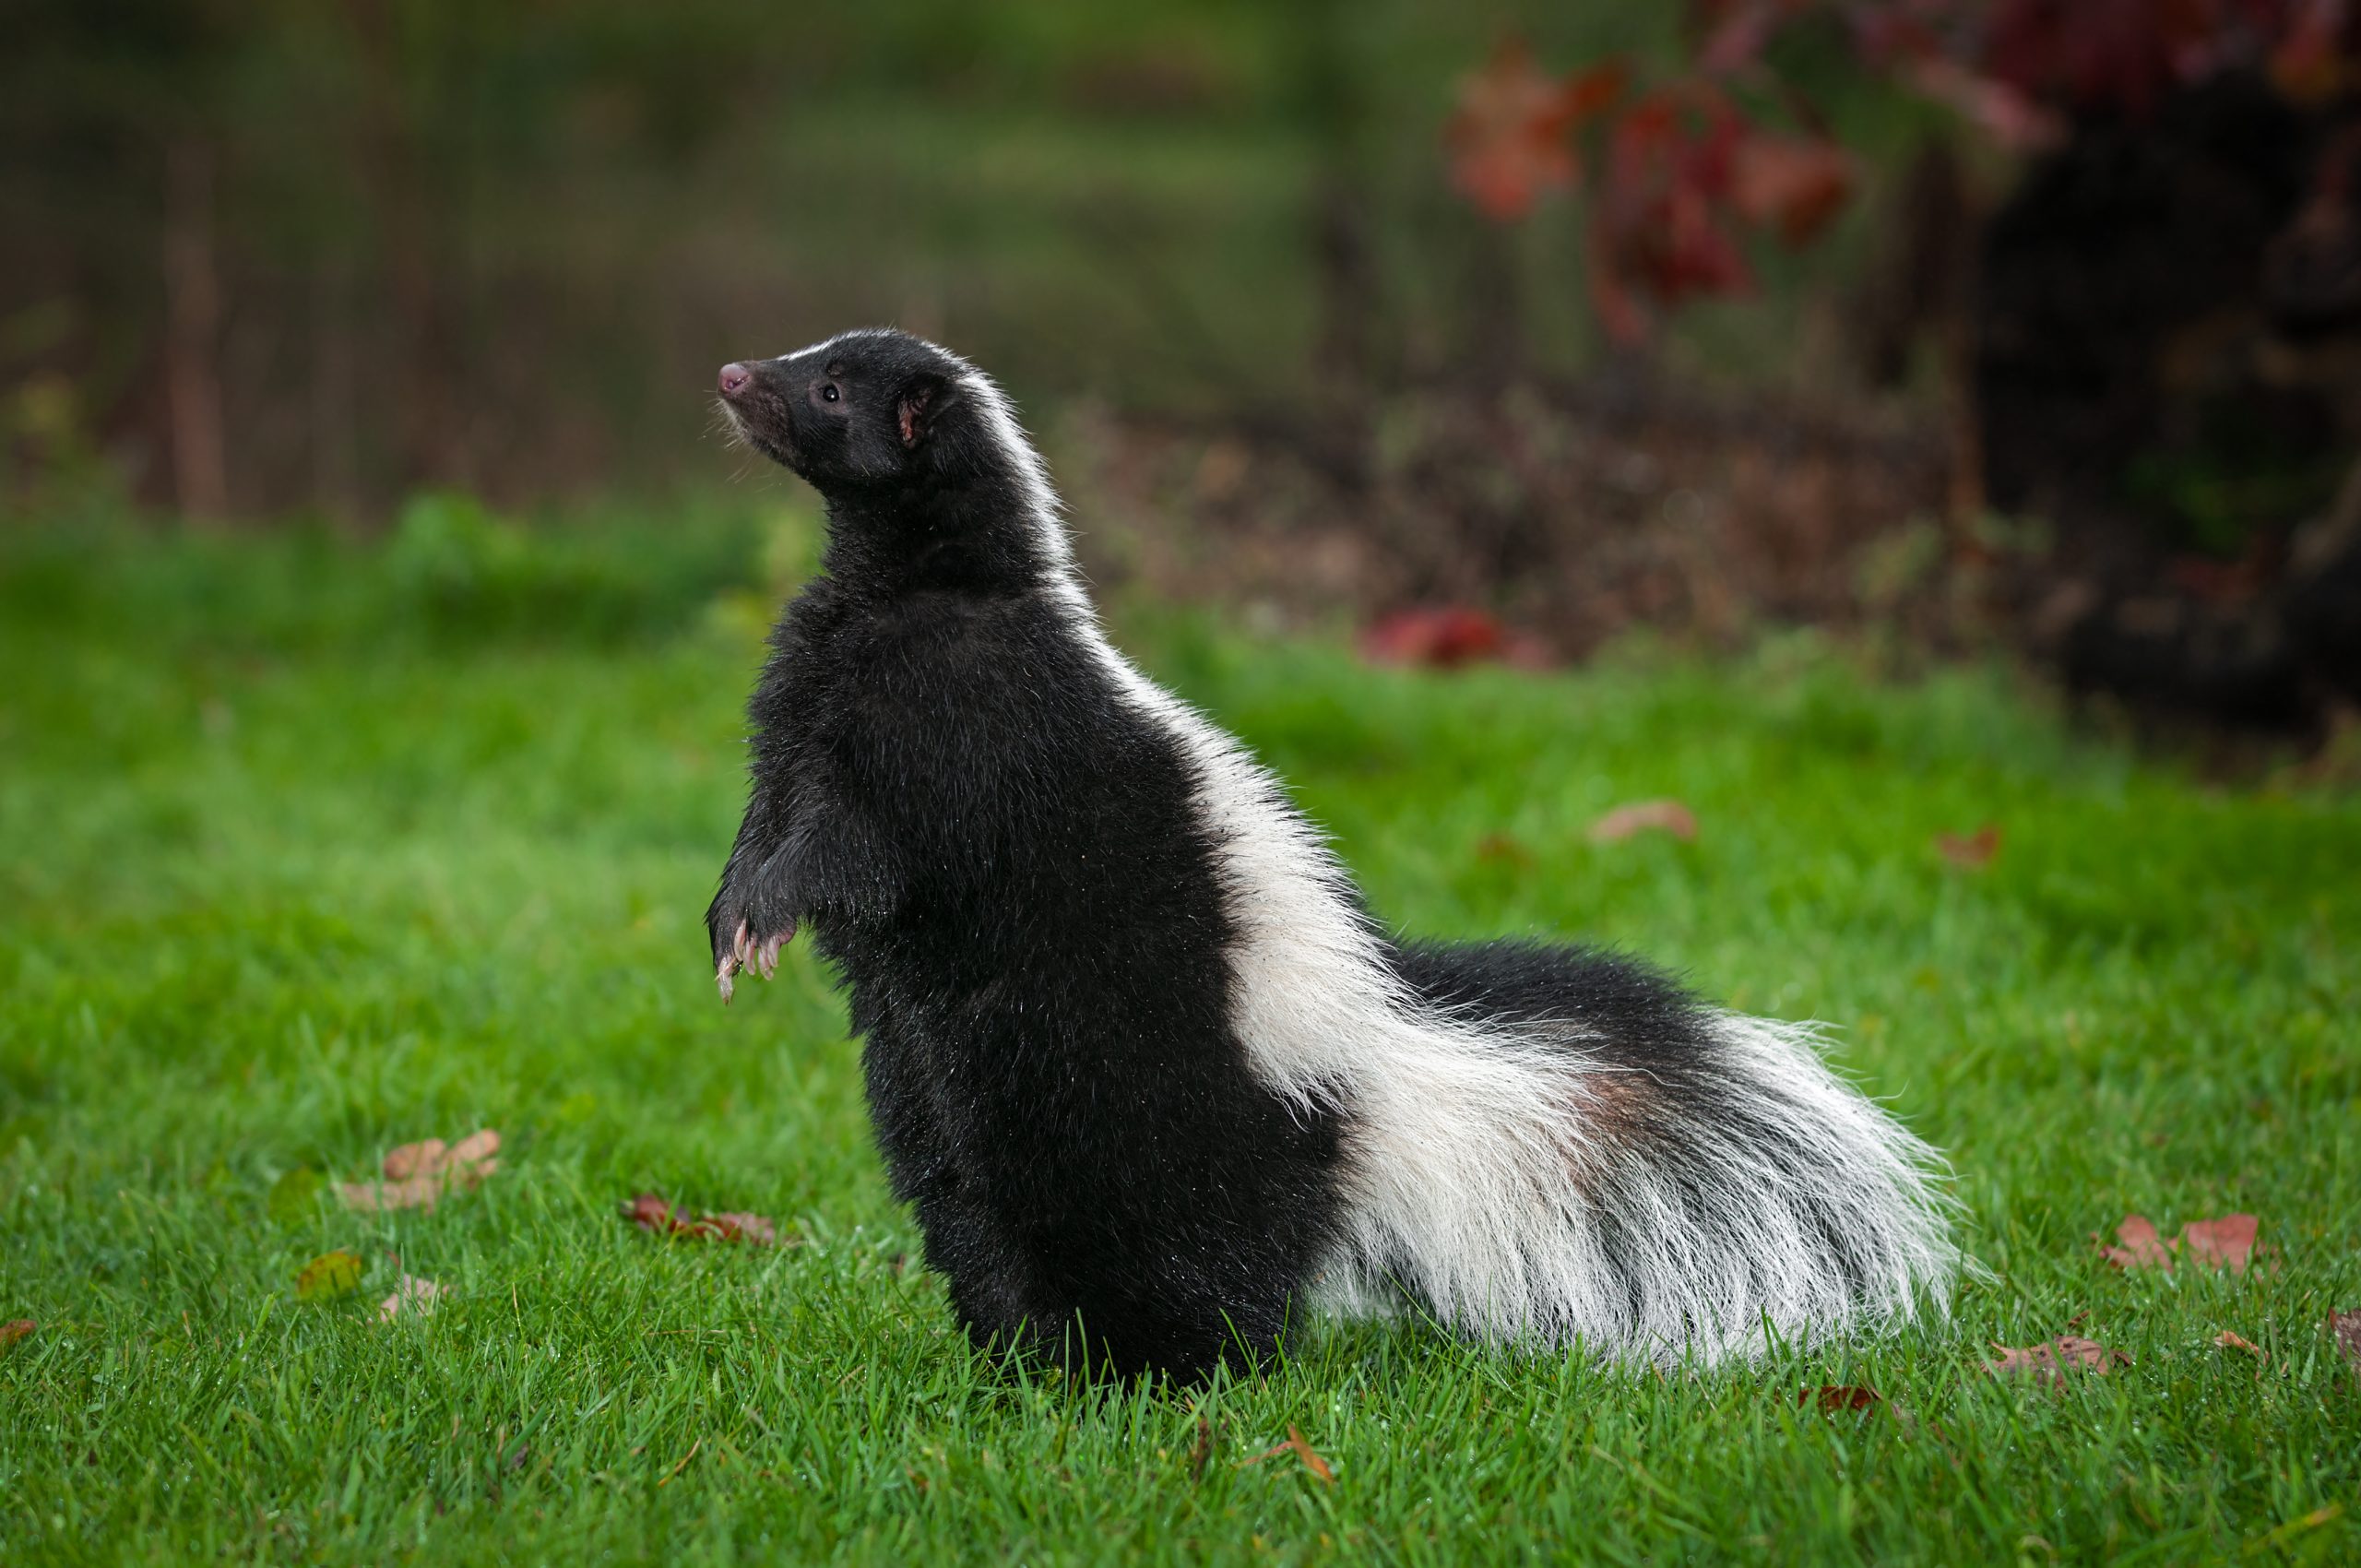
What to do When Your Dog Gets Skunked
It’s a scenario no pet owner wants to face: your dog comes bounding back from the yard, tail wagging… and smelling absolutely awful. Yep, they’ve been skunked.
Skunks are usually peaceful creatures, but when they feel threatened, they don’t hesitate to unleash their powerful defense mechanism — a foul-smelling spray that can linger for days. If your dog has had a run-in with one, here’s what you need to know to handle the situation calmly and effectively.
Ensure Your Dog is Okay
Skunk spray isn’t just smelly — it can cause physical discomfort and, in rare cases, health issues. Here are a few things to check right away:
- Eyes: If your dog was sprayed in the face, their eyes might be red or irritated. Flush them gently with clean water or pet-safe eye drops.
- Mouth: If the spray got into their mouth, rinse thoroughly with water to help remove the taste and odor.
- Wounds or Bites: Look for any signs of injury. If your dog was bitten, especially by a potential skunk with rabis, contact your vet immediately.
- Unusual Symptoms: Watch for signs like lethargy, pale gums, or dark-colored urine. These could indicate a rare reaction affecting red blood cells and should be checked by a vet.
Keep the Stink Outside
As tempting as it is to rush your dog indoors, resist the urge. Skunk odor can quickly spread through your home and cling to furniture, carpets, and clothing. Keep your dog outside while you assess the situation and prepare to clean them up.
How to Remove Skunk Smell from Your Dog
Feeds’n Needs carries products to help remove skunk smell, but you can also whip up a DIY solution that’s surprisingly effective. Here’s a tried-and-true homemade remedy:
Ingredients:
- 1 quart of 3% hydrogen peroxide
- ¼ cup baking soda
- 1 teaspoon liquid dish soap
Instructions:
- Mix the ingredients in a bowl (do not store — it can build pressure).
- Apply the mixture to your dog’s fur, avoiding the eyes and ears.
- Let it sit for a few minutes, then rinse thoroughly.
- Follow up with a full bath using pet shampoo and conditioner.
Note: This mixture may lighten dark fur temporarily and can damage fabrics, so use with care.
Alternative Option: Vinegar Rinse
If you don’t have hydrogen peroxide on hand, mix equal parts white vinegar and water. Apply and rinse as above.
If DIY isn’t your thing, Feeds’n Needs carries a range of skunk odor removal products, including:
- Skouts Honor® Skunk Odor Eliminator
- Nature’s Miracle Skunk Odor Remover Spray & Shampoo
- Loona Pet Atomizer
- De-Skunk Odor Destroying Shampoo
Availability may vary by location, so check with your local store.
Special Care for the Face
When treating your dog’s face, be extra cautious. Avoid getting any cleaning solution near their eyes, ears, or nose. Use a damp cloth to gently wipe the affected areas, and rinse with water if needed. If irritation persists, contact your vet.
Prevention Tips: Keep Skunks Away
The best way to deal with skunk spray? Avoid it altogether. Here are some tips to make your yard less inviting to skunks:
- Secure food sources: Store pet food and bird seed in sealed containers.
- Block hiding spots: Close off access to decks, sheds, and wood piles.
- Use deterrents: Motion-activated lights or sprinklers can scare skunks away.
- Discourage denning: Stuff suspected holes with leaves or paper, or sprinkle kitty litter nearby.
Conclusion
Getting skunked is never fun — for you or your dog. But with a little patience, the right cleaning method, and a watchful eye for any health concerns, your pup will be back to their usual self in no time. And next time they go sniffing around the yard, hopefully they’ll think twice before getting too close to a skunk.

How to Keep Your Cat Hydrated
Staying hydrated is just as important for cats as it is for us. Water supports digestion, circulation, temperature regulation, and overall health. Unlike what many people believe, milk or cream is not a good substitute—most cats are actually lactose intolerant, and dairy can leave them with an upset stomach. That’s why fresh, clean water should always be their number one source of hydration.
If you’ve noticed your cat isn’t drinking much, don’t worry—many felines are naturally picky about water. Here are some ways to encourage them to drink more:
- Fresh Water Daily
Cats can be finicky about their water quality. Make it a habit to change and refull their bowl daily so it’s always fresh and clean.
- Offer Multiple Water Stations
Placing several bowls around the house ensures your cat never has to wader far to get a drink. This is especially helpful in multi-level homes.
- Choose the Right Bowl
Some cats dislike the taste or smell that comes from plastic or metal. Glass or ceramic bowls are usually a safer bet. Wide, shallow bowls are ideal—they help keep whiskers from getting squished and allow cats to feel secure while drinking. You can find a wide variety of water bowls at your local Feeds’n Needs.
- Try a Water Fountain
Running water naturally attracts cats (hence the fascination with faucets). A pet water fountain keeps water circulating and fresh, which can encourage reluctant drinkers. You can find pet water fountains at your local Feeds’n Needs.
- Keep Water Away from the Litter Box
Cats instinctively avoid drinking near where they go to the bathroom—it’s a survival instinct from their wild ancestors. Place bowls in a different room to make the water source more inviting.
- Separate Food and Water
Many cats also prefer to keep their eating and drinking spots apart. Position their water bowl in a different area than their food dish to mimic their natural instincts.
- Add Moisture with Wet Food
Canned or pouch food contains up to 80% water, making it an easy way to boost hydration. If your cat currently eats mostly dry kibble, introducing wet food gradually can help balance their water intake.
- Make Water More Tempting
A splash of tuna water (from tuna in water, not oil) or a little unsalted chicken broth can make plain water more appealing. Be cautious about added salt or seasonings.
Conclusion
Cats are often subtle about their needs, but ensuring proper hydration can make a huge difference in their health and comfort. By offering fresh water, experimenting with different bowls or fountains, and even adjusting their diet, you can help your feline friend stay happy, healthy, and hydrated.
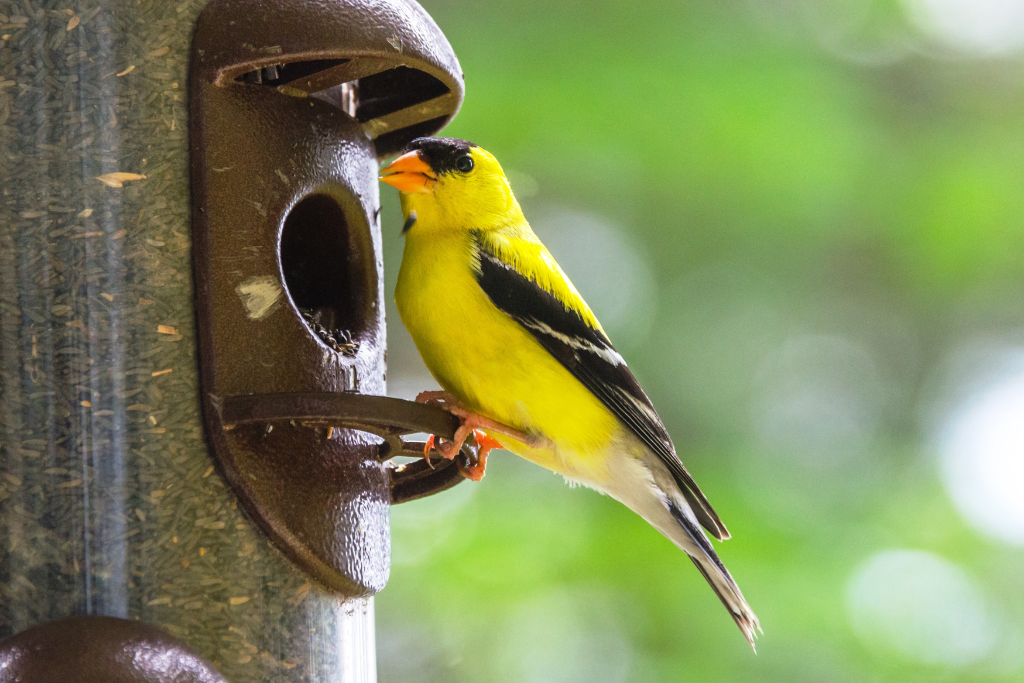
Backyard Birder’s August Checklist
August is one of the most rewarding months for backyard birding. From the lively chatter of finches to the quick, darting visits of hummingbirds, you get a front-row seat to nature at its finest. But the heat of summer can be challenging for our feathered friends—especially as many prepare for late-summer and early-fall migration.
By making a few simple adjustments, you can keep your backyard buzzing with activity while giving birds the food, water, and safe spaces they need.
- Keep Bird Baths Fresh and Clean
In hot weather, water sources can dry up or become stagnant quickly. Clean your bird baths often and refill them with fresh water daily. Birds rely on water not just for drinking, but also for bathing, which helps them keep their feathers in top condition.
- Offer High-Quality, Energy-Rich Food
Provide a mix of high-calorie seeds, suet, and nuts. These energy-packed foods help birds maintain strength through the summer heat and build reserves for their upcoming migration.
- Maintain Clean Feeders
Seed can mold or clump in humid weather. Empty and wash feeders regularly with hot, soapy water, rinse thoroughly, and allow them to dry before refilling. Clean feeders are healthier for birds and more inviting to visitors.
- Keep Hummingbird Nectar Fresh
For hummingbird lovers, fresh nectar is a must. In summer heat, change and clean feeders every 2–3 days to prevent fermentation and bacteria growth.
- Leave Natural Areas Untouched
Skip the urge to rake or blow away leaves as it provides shelter, food, and overwintering space for insects—which in turn feed young birds and other wildlife.
- Say No to Pesticides
Avoid chemical pesticides in your yard. They can harm beneficial insects, reduce natural food sources, and even poison birds. Instead, encourage natural pest control by creating a healthy, balanced ecosystem.
Conclusion
August birding is a way to support wildlife when they need it most. By providing fresh water, nutritious food, and safe spaces, you’ll enjoy more bird activity and know you’re helping these incredible creatures thrive.
Grab your binoculars, fill those feeders, and enjoy the beauty of summer birding right from your own backyard.

UV Safety for Pets
Warm weather means more time outdoors, but while we enjoy the sunshine, it’s important to remember our pets need protection from harmful UV rays too. Sun exposure can be beneficial in small doses—but without proper precautions, pets can suffer sunburns and even face long-term skin issues, including cancer. Luckily, a few simple steps can keep your furry companions safe while they soak up the sun.
Can Pets Get a Sunburn?
Yes, they can—and not just hairless breeds. Any animal can get sunburned, especially in spots where fur is sparse, such as the nose, ears, belly, and around surgical sites. Light-colored or thin-coated pets are more vulnerable.
Even indoor cats who love to nap in sunny windows aren’t fully safe—standard glass doesn’t block all UV rays, so they can still get burned.
What Does a Sunburn Look Like on a Pet?
A sunburn on pets appears much like it does on humans: red, dry, sensitive skin that may crack or peel. Your pet might flinch when touched, lick or scratch at the area, or show signs of discomfort. Severe burns can lead to blisters or even fever, so it’s important not to ignore the warning signs.
Treating a Sunburn
Minor sunburns typically heal on their own, but it’s best to consult your vet if the area is red, painful, or if your pet seems distressed. Treatment often includes cleaning the area, applying a soothing ointment, and possibly trimming fur around the burn to help it heal.
Sun Safety Tips for Pets
To keep your pet safe under the sun:
- Use vet-approved sunscreen on vulnerable areas (never use human sunscreen—it can be toxic to pets).
- Opt for sun-protective pet clothing if your pet tolerates it.
- Plan walks and playtime for early morning or evening when the sun is less intense.
- Seek shade on outings and keep pets cool and hydrated.
- Install UV-blocking window film or shades if your indoor pet loves to bask in sunbeams.
Always check with your veterinarian for recommended sunscreen products and how to apply them safely.
Skin Cancer Risks
Repeated sunburn can increase the risk of skin cancer in pets, particularly squamous cell carcinoma. Regularly check your pet’s skin for any unusual lumps, bumps, red spots, or flaky patches. Early detection makes a significant difference.
If you notice anything concerning, schedule a veterinary exam promptly. Not every change is dangerous, but it’s always better to be safe.
Hot Spots: Another Summer Skin Concern
In warmer months, pets are also more prone to hot spots—raw, inflamed patches caused by constant licking, scratching, or biting. These can be triggered by allergies, insect bites, or matted fur and often become infected quickly.
Treatment involves trimming the hair around the area, cleaning the skin, and applying medications.
Just like us, pets need sun protection. With a little planning and attention, you can help your four-legged friends enjoy the sunny days safely—whether they’re lounging by the window or running around in the yard.


