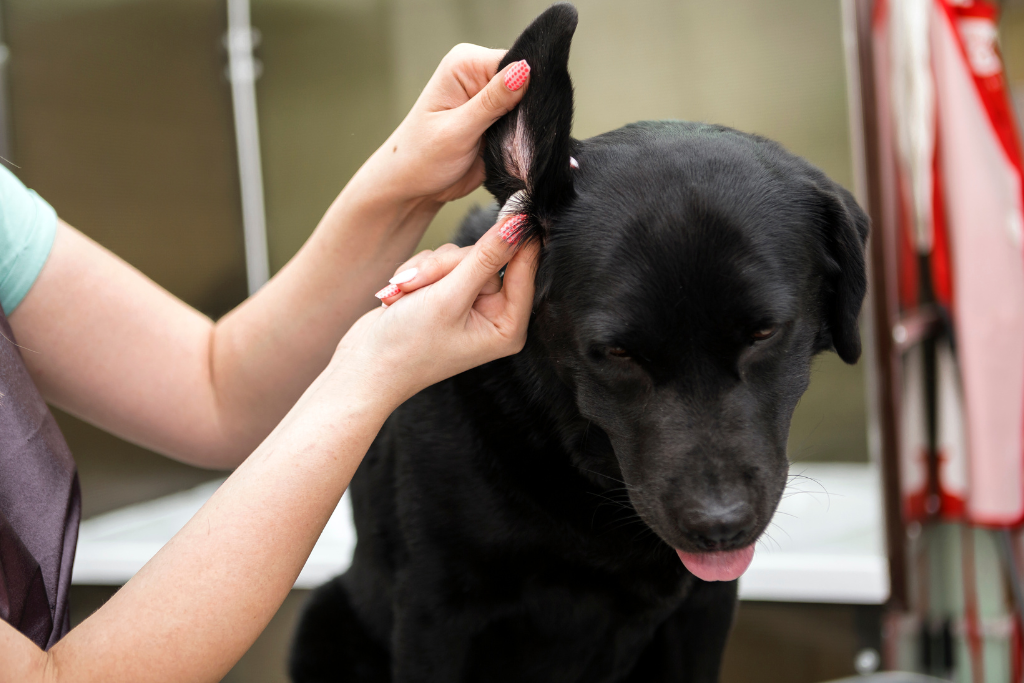
Ears of all shapes and sizes must be cleaned regularly as part of your dog’s grooming.. Every dog is different when determining how often they need their ears cleaned. Long, floppy ears need to be cleaned more often as they can be prone to ear infections, while others rarely require cleaning. If your dog visits a professional groomer regularly, you should check with them to verify that your dog’s ears are getting cleaned. All dog owners should know how to clean their dog’s ears properly. Dogs with short ears and not a lot of hair may only need to have their ears wiped out occasionally when they begin to look dirty. Dogs with long, floppy ears and those with a lot of hair around their ears should have a more thorough inspection and have them cleaned at least every other week to prevent any infections or irritations. Here is everything you need to know, from supplies to steps:
Supplies Needed to Clean Your Dog’s Ears:
- Ear Cleaner: Look for a veterinarian-recommended cleaning solution. If you’re unsure whether something is okay to use on your dog, ask your vet or the Experts at your local Feeds’n Needs. Visit your local Feeds’n Needs for an ear-dry solution with aloe vera by Professional Pet Products. It is a routine ear cleaning, drying and odour control product. Be sure to follow the recommended directions on the ear cleaner you are using.
- Cotton Balls or Pads: Swab your dog’s ears with a cotton ball or pads. Be careful not to go too deep. A rule of thumb to remember is to not go past skull depth to avoid causing hearing damage. Wipe the inside of the ear flap and ridges of the outer ear as well.
- Tweezers: It’s a good idea to have a pair of tweezers dedicated to your dog’s ear.
- A Towel: This is recommended for containing potential messes, especially if your dog is prone to shaking its head when something gets in its ears.
- Treats: You’ll want to reward your dog when you’re all done.
Steps on How to Clean Your Dog’s Ears
Before you begin, take a moment to inspect your dog’s ears. If they appear red or inflamed, they smell bad, or your dog shows signs that their ears itch, contact your vet as they may have an infection that needs to be treated. For dogs who have a lot of hair, use tweezers to clear the hair out of the ear canal. If everything appears normal, follow this step-by-step process on how to clean their ears:
- Get your pup to sit, reward them with a treat and then let them inspect the bottle of ear cleaner.
- If your pup has long, floppy ears, hold their ear flap upright and carefully fill the ear canal with a cleaning solution.
- Keep the ear flap out of the way and gently massage the base of the ear with your fingers for about 20 seconds.
- Allow your dog to shake their head if they desire. Hold a towel over their head to prevent the solution from flying everywhere.
- Use a cotton ball or pad wrapped around your index finger to gently wipe the visible part of your dog’s ear canal and outer ear.
- Reward your pup with another treat and repeat these steps for their other ear.
Tips and Tricks to Make it Easier
Here are a few tips that will help it go easier for both you and your pup:
- Wear old clothing that won’t get ruined if the cleaning solution gets on them.
- Follow directions on the cleaning solution bottle.
- If the ears still appear dirty when you’re done, go ahead and repeat the process, and stop immediately if you notice redness or bleeding or if your dog show signs of discomfort.
Knowing how to clean dog ears is fundamental to their health. Make sure cleaning is done regularly to help protect their hearing and ensure that your pup’s ears stay healthy throughout their life.
Sources: How to Clean Dog Ears | Hill’s Pet (hillspet.com)
24Petwatch: How to Properly Clean Your Pet’s Ears

Pet Fire Safety
National Pet Fire Safety Day takes place every year on July 15. It’s a day to learn how to keep your pet safe during a fire. Pets are part of the family, so it makes sense that we would dedicate a day to keeping them safe during one of the scariest situations we can imagine.
It is important to have a plan for your pets and your entire family, along with making your home “fire safe” for everyone! Make sure you have working smoke detectors and fire extinguishers to protect your whole family. Take these eight additional steps to help keep your pets safe:
1. Prevention:
Never leave your pets unattended around an open flame such as a candle or fireplace. Consider replacing your candles with flameless ones. If your dog knocks it over or your cat’s tail brushes it, they’ll be safe. They offer the same ambiance as a real candle, with fewer hazards. It may be best to eliminate the unnecessary open flames in your home entirely.
If you have a fireplace, be sure to watch your pets around them. Most will stay away, but some are curious and may get too close. Toys or other flammable items can accidentally be pushed too close to a fire which could quickly ignite.
2. Keep Your Pets Away From Hazards:
Cooking equipment is a major cause of pet-originated fires. Pets who jump on counters can hit a stove knob, turning the gas on or turning up a flame. If you have a curious pet or one who climbs on top of your counters, consider using knob covers or remove the knobs when you are not around to monitor your pet safely. Keep young or untrained pets away from potential hazards by crating them or securing them in a safe area with a baby gate.
If you know your pet tends to chew on things, make sure to hide loose wires that could potentially cause a fire, and turn them off and unplug them entirely when they are not in use.
3. Make Sure Emergency Responders Know You Have Pets:
A pet alert sign near each entrance to your home is an important pet fire safety step. It tells emergency responders that one or more pets are in your home and might need help. If you crate pets when you are away or sleeping, keep them near a door, so it’s easy for firefighters to find them after entering your home. You can also keep your leashes by the front entrance so they’re visible to first responders who may enter.
4. Make A Pet Fire Safety Evacuation Plan:
Every family should have a fire evacuation plan and do a practice fire drill at least twice a year. Include your pets in your fire evacuation plan and have leashes or carriers at easy access.
5. Consider Monitored Smoke Detectors:
For pet fire safety you may want to think about upgrading your smoke detectors. Consider using monitored smoke detectors. They are connected to a monitoring center so emergency responders can be contacted when you’re not home or at least send your phone a notification.
6. Know Where Your Pet Is Likely To Hide:
In case of a fire, your pet will probably be scared, especially if a loud fire alarm goes off. Know where your pet is likely to hide inside your home.
Unfortunately, if you can’t find them quickly, get outside and leave the door open for your pets to follow. Call for them to help them find their way and let firefighters know that pets are still inside.
7. Make Sure Pets Aren’t Lost During Evacuation:
A fire is a scary situation, and pets may run off. Another important pet fire safety step is ensuring your pets have a microchip before an emergency and that the information on the chip is up to date.
8. After A Fire, Watch Your Pet Closely:
If your pet acts lethargic or has trouble breathing, it could be a sign of smoke inhalation. See your veterinarian as soon as possible for any needed follow-up care.
Following these tips could help you prevent a fire or even save your pet’s life if an emergency occurs. Preparing ahead of time for pet fire safety can go a long way toward reducing risk. Spend some time this week developing your pet fire safety plan!
Sources: Pet Fire Safety: 8 Ways to Keep Your Pets Safe (bettercitiesforpets.com)

Water Safety For Dogs
Summer is here, and what better way to stay cool on hot sunny days than swimming. It’s a great source of exercise and fun for both you and your pup! Before you take your dog swimming, make sure you know how to keep things safe, especially since not all dogs know how to swim.
Here are some things to consider when swimming with your furry friend:
- Never leave your dog unattended while swimming. If you have a pool, keep your pet away from it when you are not swimming and fence it in if possible.
- Check the water temperature before you let your dog go swimming. Not all dogs can handle super cold water.
- Keep fresh drinking water nearby. Drinking pool, lake or ocean water can make your pet very sick.
- Check that the water is shallow and your pup can easily make it back to dry land. If you have a pool, show your dog how to get out using the steps.
- Thoroughly rinse your dog after swimming. Saltwater, chlorine, and lake algae can irritate or damage their skin and fur. Also, make sure to dry their ears completely to prevent any infections.
- Some dogs do well with life jackets. It’s a good idea to put a life jacket on your dog if you are on a boat or a dock. Make sure it fits them comfortably and that they still have full mobility. Visit your local Feeds’n Needs store with your pup, and our Experts can help with life jacket sizing.
- Never throw your dog into a body of water, especially if it is deep or has a current.
- Know your dog’s limits! Swimming is tiring, and a tired dog is more susceptible to drowning. Let your dog get out of the water to rest if you sense they may be getting tired.
- Remember, if they don’t want to go in, don’t force them. Try to keep it positive and stress-free on your pup. Make sure to know your dog. Some breeds are better suited for water than others. Breeds with short snouts such as pugs, English bulldogs and Boston terriers are not built to swim.
Dogs can have a lot of fun in the water, whether they love to swim or just love wading in the shallow water. Always remember that water safety for dogs is key while you and your pup have fun this summer!
Sources: Swim Safety for dogs | 24Petwatch
Road Trip Safety For Your Dog
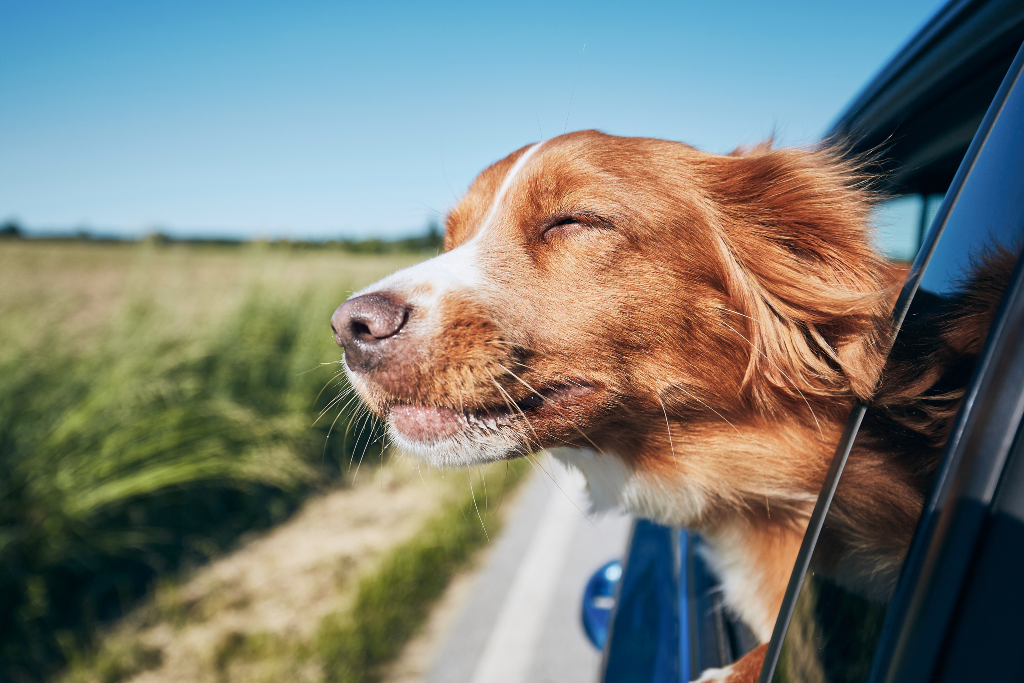
While road tripping with your dog, their safety should be a top priority. Whether you’re driving a couple of kilometres or taking a long road trip, it’s important to have safety precautions in place at all times for your pet’s safety. Check out our tips to road trip safety for your dog. These tips will help keep your furry friends safe, secure and comfortable during your road trips so you both can enjoy the drive!
Keep them Buckled!
In order to keep your pup safe while on the road, the best thing to do is keep them properly restrained. Accidents can’t be foreseen, so it’s crucial to keep them protected at all times. Vehicles, unfortunately, don’t come with doggy seat belts, so during your next visit to your local Feeds’n Needs, ask our Experts what equipment is available and would be best for you and your furry friend. These are necessary to secure your dog and restrict them from harmful movement in the event of an accident. Prepare your pup for a safe road trip by taking them on short trips to town to get used to the safety equipment.
Pack the Essentials!
You never know what may happen on the road, so it’s good to have a first aid kit for you and your dog. Packing your pet’s food, water, treats, medicine, toys, and feeding bowls is also a good idea when going on a long drive. It’s a good idea to have something to keep your dog entertained and engaged, such as their favourite chew toy helping to keep them calm during the ride.
Wear your Dog Out!
A tired pup is often a more well-behaved one, so right before you plan to head out on your trip, take your pet for a long run or a visit to the dog park. This should help your dog feel more rested and calm. They may even sleep a portion of the drive. During long trips, it’s important to stop anywhere from 2 to 3 hours so your dog has some time to play and get some more energy out.
Don’t Let Them Overheat!
You should never leave your dog unattended in your car for any reason. Especially during the warmer weather, this can lead to heat stroke and even death. Be sure to pack water to keep your dog hydrated during your trip. Grab a portable dog water bottle from one of our stores before your next trip, making it simple to keep your pup hydrated during the drive!
These are just simple tips, but following them will help you have a safe road trip with your dog and one that you can both enjoy. If you ever have any questions, reach out to the Experts are your local Feeds’n Needs.
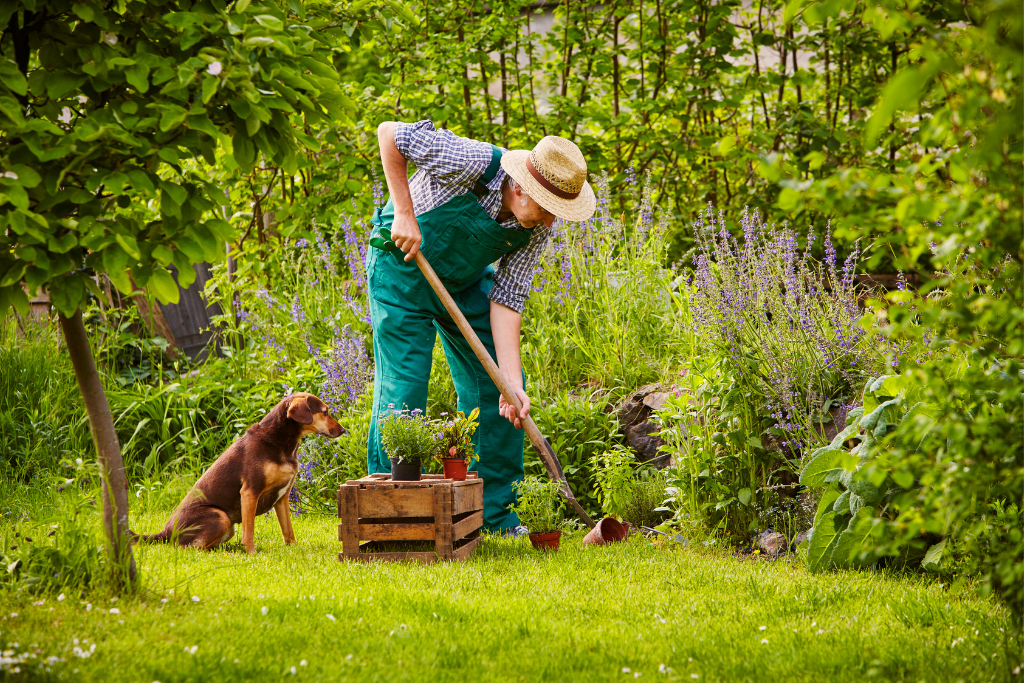
Springtime Garden Pet Safety
Gardening season is upon us, and for us pet owners, that means we need to be aware of how to keep our pets safe from hazardous spring plants! There are few effective treatments for toxic plant ingestion, so it’s important to know the potential dangers spring plants can have on our furry friends.
Most common toxic spring plants:
- Tulips, Daffodils, Narcissus, and Hyacinths – The skin at the bottom of bulb flowers is dangerous to both dogs and cats, but they are especially toxic to dogs. Make sure your dog isn’t digging up the bulbs in the garden! If ingested, it can cause vomiting, diarrhea, and drooling.
- Lilies – These are highly toxic to cats. The pollen, leaves, stems, and even the water in a vase can cause kidney failure, even small ingestions such as 2-3 petals or leaves.
- Irises – These are considered toxic to both dogs and cats. All parts of the iris contain harmful components, but the bulbs are the most dangerous part. If your pet ingests an iris, it can cause vomiting, diarrhea, and drooling.
- Begonias – The underground stem can cause severe mouth irritation for both dogs and cats.
- Buttercups – These flowers can cause your pets to have an upset stomach if ingested.
- Crocus – The spring Crocus may cause gastrointestinal upset like vomiting, diarrhea, and drooling if any part of the plant is ingested by dogs or cats.
- Lily of the Valley – This plant can cause symptoms such as vomiting, diarrhea, a drop in heart rate, severe cardiac arrhythmias, and possibly seizures.
It’s also important to be mindful of fertilizers as these often contain bone, blood or feather meal which ingesting in large quantities can cause vomiting and diarrhea. Next time you visit your local Feeds’n Needs store, be sure to ask our Experts for advice on safe fertilizers to use as a pet owner! You can also keep your curious furry friend away from the garden by fencing it off.
Educating yourself about these springtime hazards will help you, and your pet enjoy your backyard with no worry!
Sources:
Springtime Hazards: Protect your Pets From Toxic Plants | 24Petwatch
Spring Dangers To Pets | Pet Poison Helpline
Dental Health Tips For Your Dog
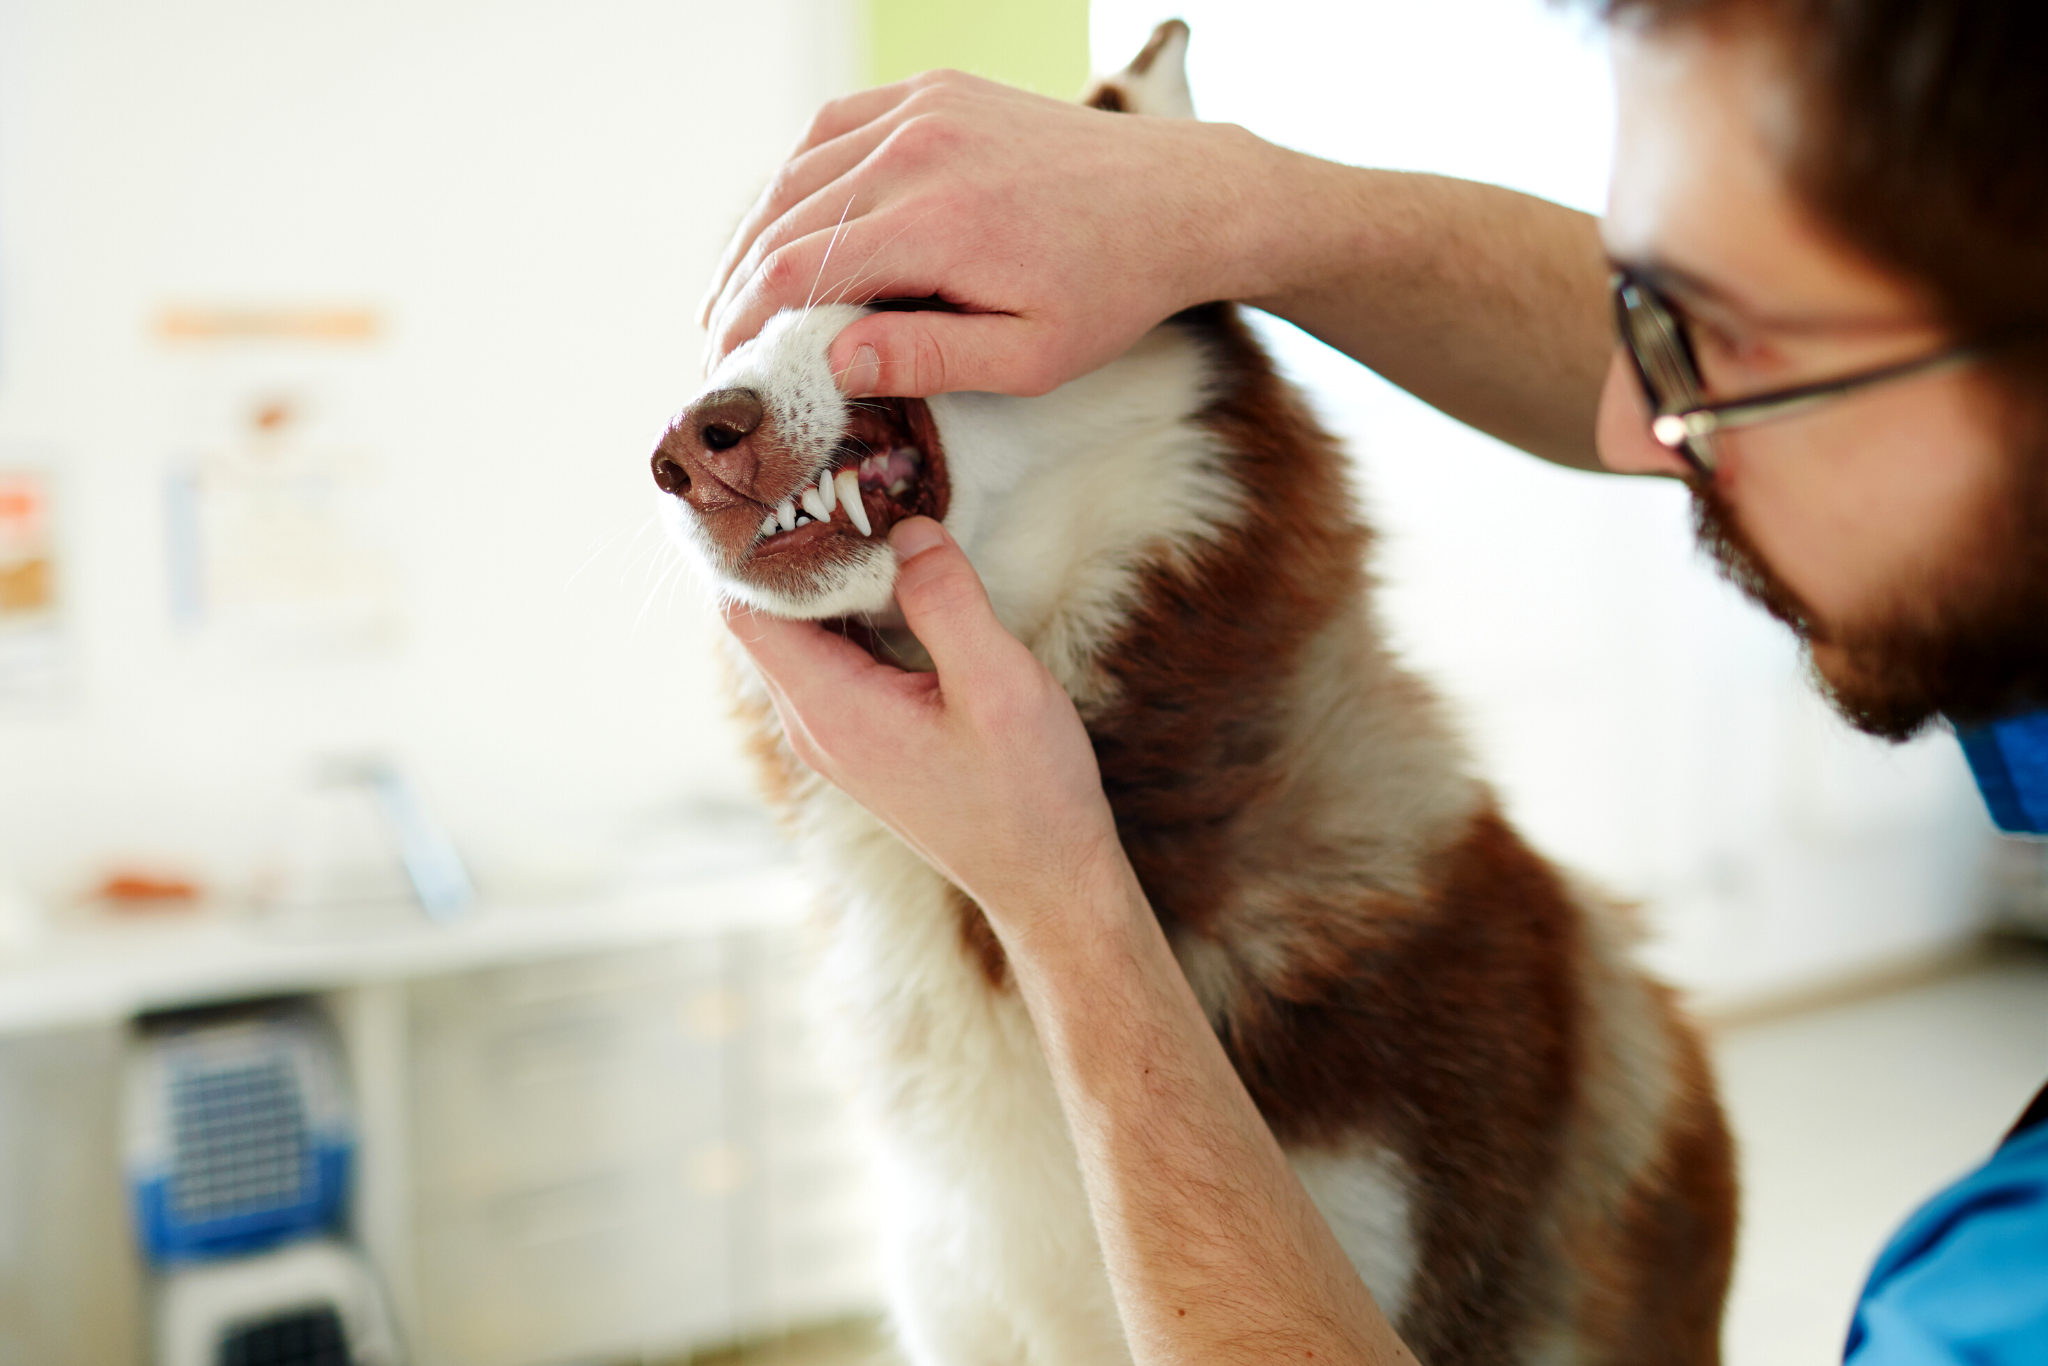
We know the importance of brushing our teeth, but what about our pets? Did you know that dogs can get cavities, gum disease and plaque build up? Yep, just like humans! Your dog’s teeth should ideally be brushed after every meal to prevent tartar build up and protect against periodontal disease. If you haven’t gotten your dog accustomed to teeth brushing as a puppy, it’s not too late to start. Here are a few helpful dental health tips for your dog.
- Get your dog used to having their mouth open when you need to check their teeth or mouth. The more you do this, the more patient and calm your dog will be when brushing. It might be helpful to offer them a treat for good behaviour when they let you do this.
- Head to your local Feeds’n Needs and ask our Experts to help you pick out a dog-friendly toothpaste. This is an important step to take, as human brands contain fluoride which isn’t healthy for your pet to swallow and can be toxic. Many toothpaste for pets come in a variety of flavours, some similar to their favourite treats, such as beef, chicken, bacon and more.
- Pick a soft toothbrush for your dog, to ensure their gums don’t damage during brushing. There is a large selection of options, but opt for one with an angled tip, making it easier for you to reach the back of your dog’s mouth. Many pet owners use toothbrushes made for babies, as they are smaller and less intrusive in your dog’s mouth. If your dog is used to having your fingers in their mouth, you could consider purchasing a finger brush slip that can go over your index finger and get the job done!
Pro tip: If your dog is fussy when brushing, don’t worry too much about brushing the insides of their teeth as their tongue does a great job of keeping the inner sides of their teeth clean throughout the day. - Pick up some dental treats and kibble for your pet to help protect against disease. Greenie’s Dental Treats are a perfect choice for both dogs and cats, as they freshen breath while the treats’ textured surface helps remove tartar buildup. Ask our Experts in-store which treats they recommend!

Watch our Tick Webinar Recording with Dr. Nicolette Faraone
We were fortunate to have Dr. Nicoletta Faraone, PHD. join us for a tick webinar to teach us all about tick safety and prevention! Dr. Nicoletta Faraone is an assistant professor at the Chemistry Department, Acadia University, Wolfville (NS). She teaches Biochemistry and Natural Product Chemistry. Her research focuses on studying tick chemosensory system, how ticks detect odours from hosts and how they respond to repellents. She designs and develops novel essential oil-based tick repellent products. In this one hour long webinar, customers had the chance to learn from Dr. Faraone and ask their questions. If you missed the live webinar, you can watch the recording below!
For more Expert Advice on products we carry to protect your pets, click here.

Keep Tick Safety Top of Mind This Spring and Summer
Its spring, which mean it is tick season here in the Maritimes. As the weather warms up, it’s important to remember that ticks will be more present within our communities and the places we love to adventure with our pets. Whether you are letting your dogs out in your yard, or heading to a local trail to get some exercise, you will need to be diligent about checking for ticks on both you, and your pet. Here are a few Tick Tips to ensure you and your pet’s safety this season!
Where ticks are present:
Ticks are small so it can be difficult to spot them not just on your pets, but where you are outside that they could be hiding. The most popular ticks in our area are called Blacklegged ticks, or commonly known as deer ticks. Ticks can be as small as the size of a poppy seed, so be vigilant! Typically, ticks can be found in tall grass, woods, shrubs, walkways and trails.
Ticks can also be found in your own backyard. In fact, most people contact Lyme disease from ticks within 100 yards of their own homes in areas with woods or tall grass. If you are doing some spring cleaning around your yard, be careful of the shrubs, sticks and trees when you are doing your chores in preparation for the summer.
Pet owner tip: if you are doing yard work, wear long pants and boots and wear clothing that is light in colour so you can easily identify a tick. Spray yourself with repellent and remember to take a hot shower once your yardwork is complete.
Where to check your pet for ticks:
The more frequently you check your pet, the more likely you are to locate ticks before they fully latch onto your cat or dog. Here are a few places they like to hide on your animals.
Ears: In and around the ears are popular places for ticks to hide. They could even be inside your pet’s ears! If your dog has floppy ears, be extra vigilant of this area.
Between the toes: Check in between each toe of your pet, on each paw. Ticks like to burrow in between these areas as they are drawn to dark, warm places.
The tail: Naturally your pet is going to be happy when they are out adventuring, but this makes for some extra wagging in areas where ticks hide. Check at the base of the tail and your pets groin for ticks.
Under the collar: Your pet’s neck is another likely place for ticks to latch onto. It can be extra difficult to spot ticks in this area, especially with pets who have lots of fur or scuff on their neck area. When it’s safe, remove your pet’s collar and check for ticks underneath it where they might be burrowed.
Under back and front legs: while this may seems standard, it’s important that this area is checked as carefully as other furry areas on your pet!
How to prepare for tick season and protect your pet:
Preparing your tick season means beginning with preventatives for your pet. It’s important to talk to your vet before choosing a treatment to best suit your pet’s needs. At Feeds’n Needs, we carry many preventatives, topical treatments (Infestop, Advantix, and Advantage products), oral preventatives, sprays (Zodiac and Atlantick) and many tick accessories (tick removing tools, shampoos, etc.) in-store! Ask our Experts for help regarding tick safety on your next visit, and remember to always check your pet for ticks!

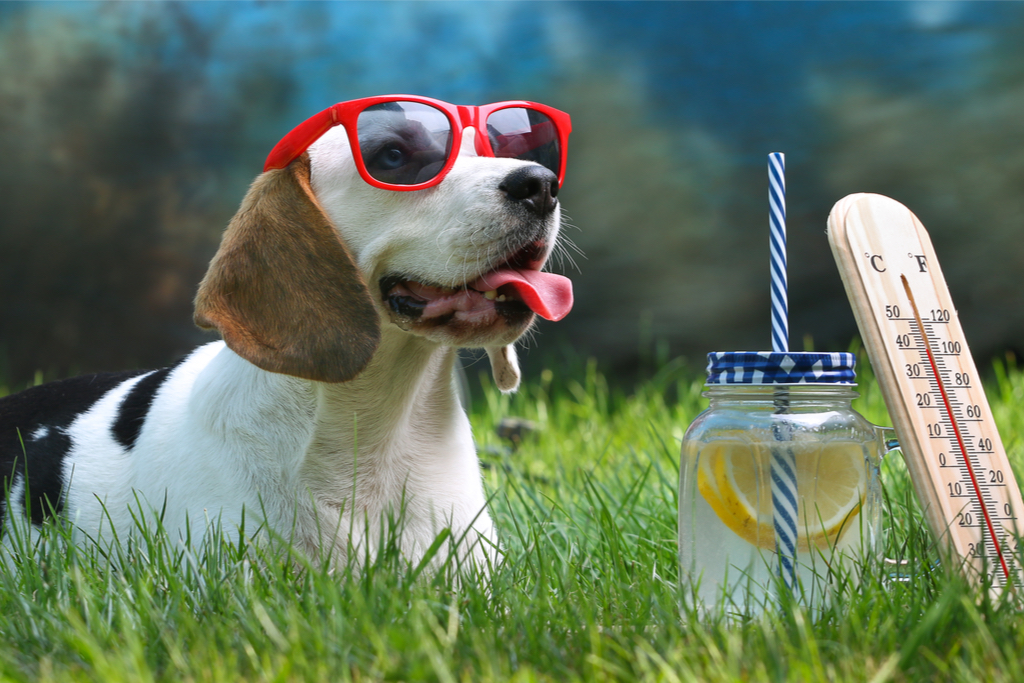
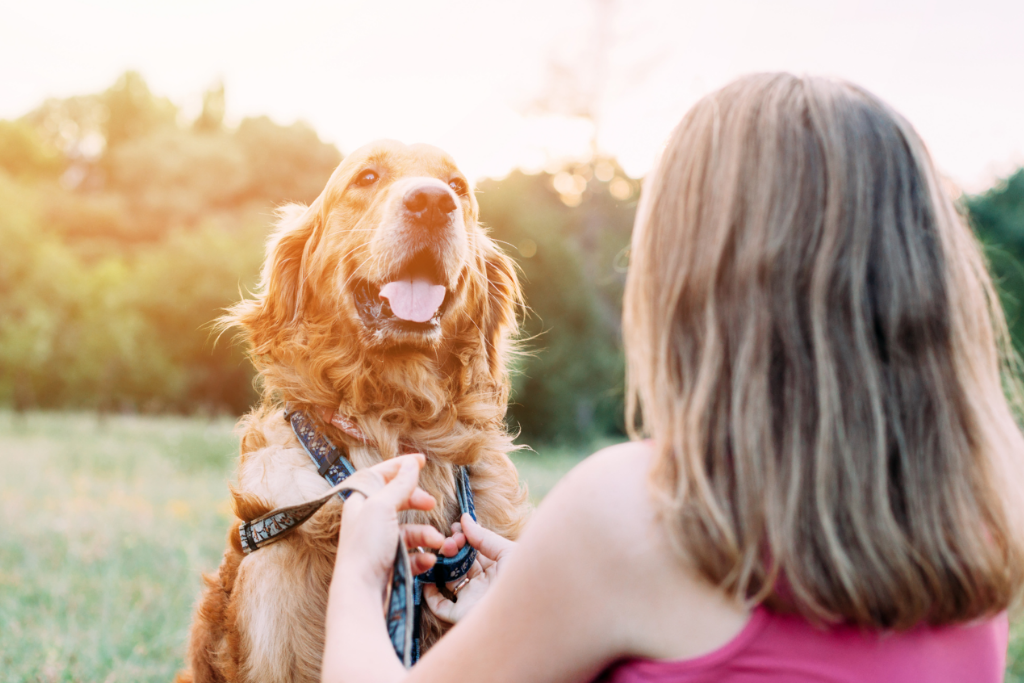
Animal Welfare During a Heat Wave
On hot days, it’s important to think about our four legged friends because chances are, they are probably hotter than you are. This article offers a few tips and solutions to help you keep your animals comfortable and cool during hot weather. Be sure to think about animal welfare during a heat wave!
Keep your pet well hydrated
No surprise here! Like their owner, animals must stay hydrated at all times and even more during hot periods. Make sure to give your pets water as often as possible during the day. The same goes for animals on farm. Think, for example, of cows, pigs or even horses, who drink large amounts of water on a normal day. Add a heat wave or drought in there and their water needs significantly amplify. Offer several areas on your property that allow for animals to have easy access to water, either on the ground, around the building or in your home.
Place ice cubes in the water to keep it cool. One trick to encourage your pet to drink more frequently: put bowls of water throughout your house, instead of having one spot they can go to drink. When going out with your pet, bring more water than you think is enough for yourself and your companion. Also, try to avoid going out in peak heat times (afternoon) and aim instead to go in the morning or the evening when the weather cools down.
If the pavement is too hot, consider putting booties on your pet so they don’t injure or burn their pads. If the weather is too hot, indoor activities are best. Consider playing games to develop the animal’s mental faculties, to allow them to burn energy while avoiding the hot sun.
Avoiding the sun
Close curtains and blinds to prevent the sun’s rays from entering and heating the house. For bird owners, try as much as possible to keep them away from the windows. If allowed, installing a small shaded kiddie pool can prove to be the perfect refreshment tool for dogs who love the water and swimming.
If you are on a farm, try to have a few places on land where animals can shade, like a shelter.
Identifying heatstroke in your pet
It is crucial to know how to recognize heat stroke in a pet! In case of heatstroke, the animal should see a veterinarian without delay. Here are some important symptoms to watch out for:
- Vomiting
- Diarrhea
- Bright red gums
- Disorientation
- Body temperature exceeding 40 degrees Celsius
When transporting your animal to the vet, cool it with a cold towel over their body. Do not use ice cubes.
Also, watch out for dogs with flat noses, older animals and young people. They are more at risk of having difficulty breathing during heat waves!
Other tips and tricks
Here are some additional hips to keep your pets cool at all times:
- Freeze a bottle of water and wrap it in a kitchen towel. Then place the cold bottle near the places where you pet is resting. Your animal should stay near it to cool down.
- Brush your pet often. A tangle free coat will be more comfortable for your pet, especially on a really hot day.
- Leave a cold water base in the bath so that your companions can soak their paws from time to time.
During periods of extreme heat, get in the habit of observing the behavior of your animals and make sure they don’t lack any water or shade. Thanks to these tips, you now have some handy tools up your sleeve to make the hot days more pleasant and much safer for your animals!
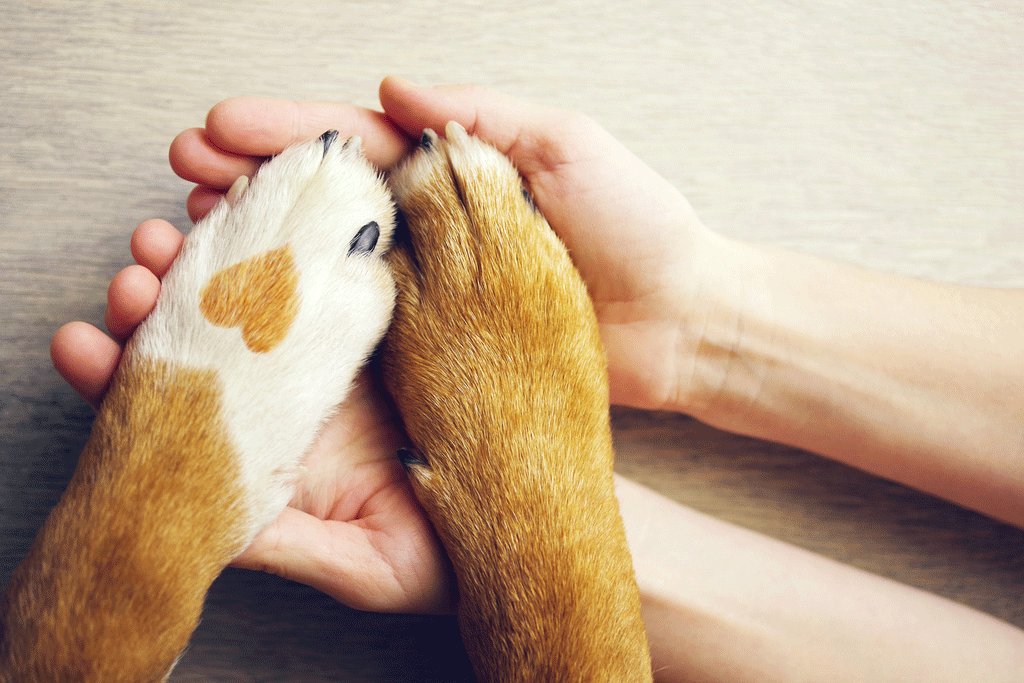
What You Need to Know About Your Dog’s Paws
Believe it or not, the pads of your dog’s paws are similar to the palms of your hands, while we humans know what we need to do to keep our hands and skin healthy throughout the changing seasons, our dogs need some extra help from you to do the same to ensure a better quality of life.
The pads
To prevent your pup’s pads from cracking and drying out, applying a pet-friendly moisturizer (yes, they exist!) or preventative can be so helpful when it comes to protection against even minor weather conditions. It is important to get into the habit of examining your dog’s paws and pads after every outing to double check for small rocks, cuts or scrapes that may have occurred after an adventure. Pay close attention to your dog’s walk to make sure he or she is not limping, which may be a sign of a recent ailment.
Additionally, during the summer months, it’s still important to take the extra minute to do a quick rinse of your dog’s pads after every outing with water and patting them dry. You can never be too safe! Whether the outside temperature is hot or cold, you can take additional precautions with your pet by using boots to add an extra layer between the pavement and your pet’s pads.
In the summer, asphalt can be more dangerous for your pet than you may think. Even if you think the air is comfortably warm, the ground can get much hotter than the surrounding air as it absorbs heat quickly. An easy way to test if the pavement will be too hot for your dog is to do the “seven second test” by simply touching the pavement with the back of your hand for seven seconds. If you can’t hold it for the duration of seven seconds, you can guarantee the pavement is too hot for your dog’s paws. Try to keep to the grass when outdoors, and stick to either morning or evening walks when the temperature is more comfortable for your pet.
Claws
How often do you trim your dog’s claws? If your response isn’t “regularly”, you may need to do it more frequently. Settle your dog in a calm environment where he or she feels comfortable. Be sure to have lots of treats on hand to give them during the trim as a reward. It may be beneficial to get them familiar with the tools required for trimming, such as the clipper for example. Although it may be tempting to trim their claws while they are sleeping, surprising them in such a way will make your dog associate the clippers negatively, making it increasingly more difficult to keep them calm when they are in need of a trim!
When you are trimming the claws, it’s important to trim them roughly, no need for them to be perfect! It’s also worth noting that you should be careful not to cut them too short. Make sure that the vein (pink part of their claw) is not affected when you are trimming. One way to ease your dog into this is by getting your dog used to you handling his or her paws. Pick them up, take a look at their pads and claws and keep giving them treats for good behaviour while you are getting them used to the contact.
One tip to keep their claws in good condition: play with your dog on a hard surface, such as asphalt or concrete (when the temperature is safe, of course!). This will allow the claws to file down naturally, allowing a bit less maintenance. For optimal comfort, it’s recommended you trim your dog’s claws at least once a week.
Taking care of your dog’s paws will greatly improve their mood and comfort, remember to check them often and always contact a veterinarian if a problem arises!
Sources:
